“Building Thoreau’s Cabin”
at The North House Folk School, Grand Marais, MN June 2015.
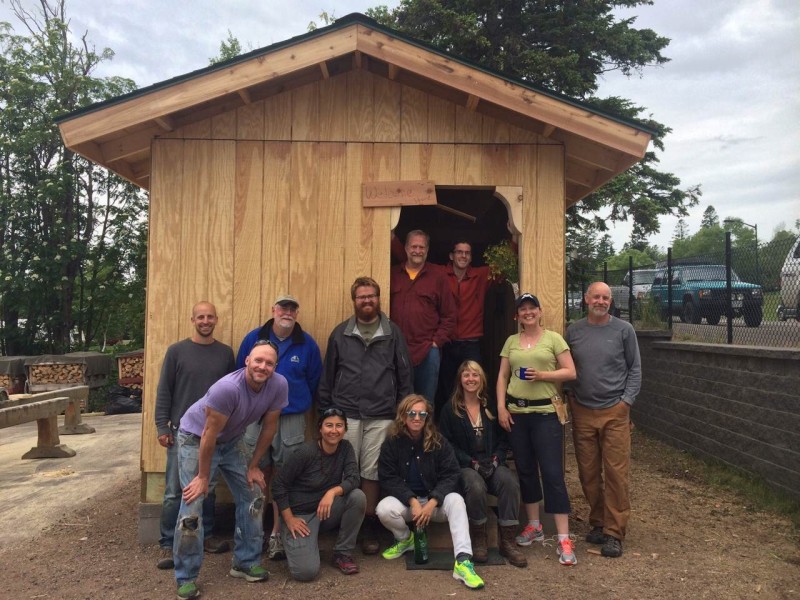
In 5 days, we completed the basic structure, outer walls, and roofing. While the size of our cabin was pretty close to Thoreau’s original, the aesthetics and the materials of our cabin differed. I think ours resembled a large dog house 🙂 but, hey, the point was to learn basic building skills, which we can then apply according to our own aesthetics.
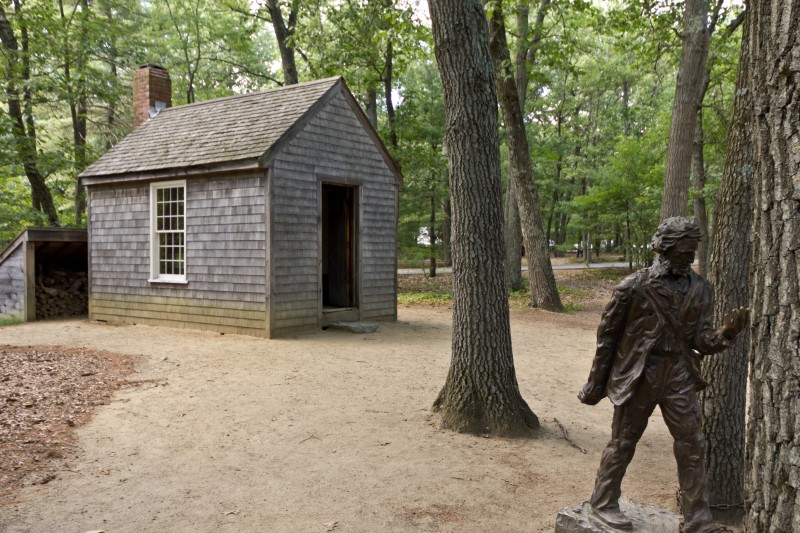
If you’re curious about Thoreau’s cabin… a replica of it exists at the Walden parking lot.
Cost of Materials for Thoreau’s House (from Walden)
“These are all the material excepting the timber, stones and sand, which I claimed by squatter’s right.”
Board’s: $8.03 1/2, mostly shanty boards
Refuse shingles for roof and sides: $4.00
Laths: $1.25
Two second-hand windows with glass: $2.43
One thousand old brick: $4.00
Two casts of lime: $2.40. That was high.
Hair: $0.31. More than I needed
Mantle-tree iron: $0.15
Nails: $3.90
Hinges and screws: $0.14
Latch: $0.10
Chalk: $0.01
Transportation: $1.40. I carried a good part on my back.
In all: $28.12 1/2
Basic design:
10×14 Cabin with 1 door and three windows. Choosing a door and windows and completing the interior were left to the creative imagination and pocketbook of the lucky future owner.
Foundation:
Place a 17×17 chimney block at each of the four corners of where you will build the cabin. Level and square the 4 blocks.
As the cabin was going to be moved, we didn’t give too much thought for a foundation. For a little added support, you could fill in the chimney blocks with cement and vertical rebar, and put the rebar through pieces of wood that’ve been attached to the rim joists. But, if it’s going to be a more permanent construction, consider building on a gravel perimeter trench, or a concrete slab. In California, we don’t need to worry about frost, but in a cold zone there would be a consideration for how deep the foundation would need to be.
Building the Floor:
We built a rectangular box out of 4 pieces of 2×10 lumber. These 4 pieces are called rim joists. Cut 2 of the 2×10’s to 14′ length, and 2 of them to 9’9″ (subtracting 3″ from 10′ to account for the 2 other 2×10’s you will be attaching them to.) Screw the 4 pieces together to create the 4-sided box, with the shorter lengths “inside” the longer lengths (use a driver with self-tapping torx screws.) Level and square the box on your cement blocks. Screw in 2 diagonal boards across the width and length of the box to keep it square while you continue to build the floor.
*Note: treated lumber is used in constructing the rim and floor joists to avoid rot. As an alternative to treated lumber, you could use cedar boards.
On the 14′ rim joists, measure and mark a line every 16″. These marks designate the placement of the floor joists. Actually, it is more convenient to do it like this — measure 16″ from the right corner of the rim joist, then mark at 15 1/4″ and make an “X” to the left of that. That way, you can place the floor joist flush to your mark and the center of it will fall at 16″. Using 2×10 lumber, cut 9’9″ lengths to create the floor joists. At each place you marked on the rim joist, attach a floor joist. Place one screw on each side to hold the joist, then put in 3 nails on each side.
For added support, attach joist hangers under both ends of each floor joist.
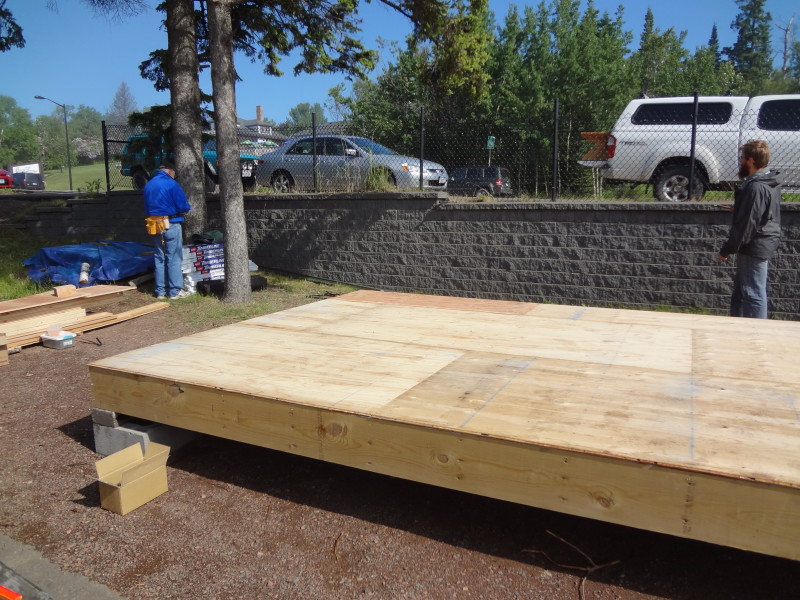
Now, on top of the floor joists you’re going to lay out 3/4″ plywood sheets (starting with 4×8′ sized sheets). First squeeze a line of PL400 or similar subfloor glue onto the rim joists and floor joists, then place your 1st plywood sheet onto one corner. You’re going to want to stagger the joints of the plywood sheets. Lay out the first sheet with the 8′ length of it perpendicular to the floor joists.
Using the chalk, snap a line every 16″ on the plywood sheet, so you’ll know you’ll be nailing into the floor joists below. Nail it down, using “8 penny nails” every 6-8″ along the floor and rim joists. Cut and lay out remaining plywood sheets to complete the subfloor, making sure that all the joints are staggered, and tongues are fitted into grooves at each joint. We created the subfloor out of 7 plywood pieces of the following sizes: 4×8, 4×6, 4×4, 4, 2, 2×8, 2×6.
Done for the day!
Next post: Day 2


Joist hangers and the fasteners have to be of the very same type of metal, otherwise you will get an electrochemical reaction that will slowly rust one or the other types.