If you’re in Grand Marais, grab a doughnut and let’s get to work.
Today we are going to start building the wall frames.
Walls:
Here’s a schematic showing the components of an exterior wall frame:
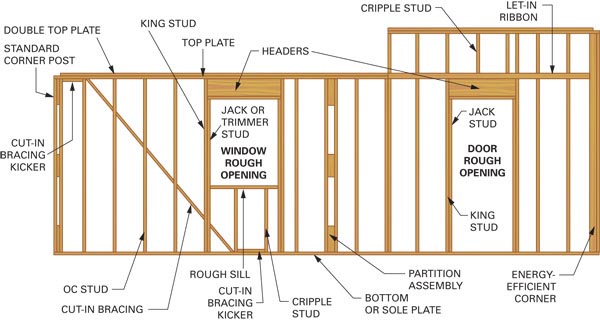
We used 2×6’s for the bottom and top plates and for the studs. (You could also use 2×4’s but 2×6’s give you more insulation capacity.) Measure and cut 2 pieces of 14′ length to be the top and bottom plates. Lay out your top and bottom plates onto the subfloor and mark the center of the window opening on them with a “C” (Use the “rough opening” dimensions for your window). We planned for a window rough opening of 2′ and 2 1/8″ W x 2′ and 5 7/8″ H, so there was 13 1/8″ on each side of the center mark. At both ends of the window opening, make an “O” mark where the trimming stud will go, and then an “X” to the outer side of each “O” where another full stud will go.
Then mark out 16″ centers for the studs- as before, marking at 15 1/4″ and placing an “X” to the appropriate side of that. There will also be one stud at each end of the plate. Thus the studs will end up being directly over the floor and rim joists.
How tall will the wall be? How long should you cut the studs?
Well, we chose the height of our wall based on the size of the siding panels we planned to install on the exterior. The height of the siding panels was 8′ (96″). The panels need to cover the top plate (1.5″H) the studs (?H), the bottom plate (1.5″H), the plywood subfloor (3/4″H) and 1″ of the floor joists. So, we calculated the studs needed to be 91 1/4″H.
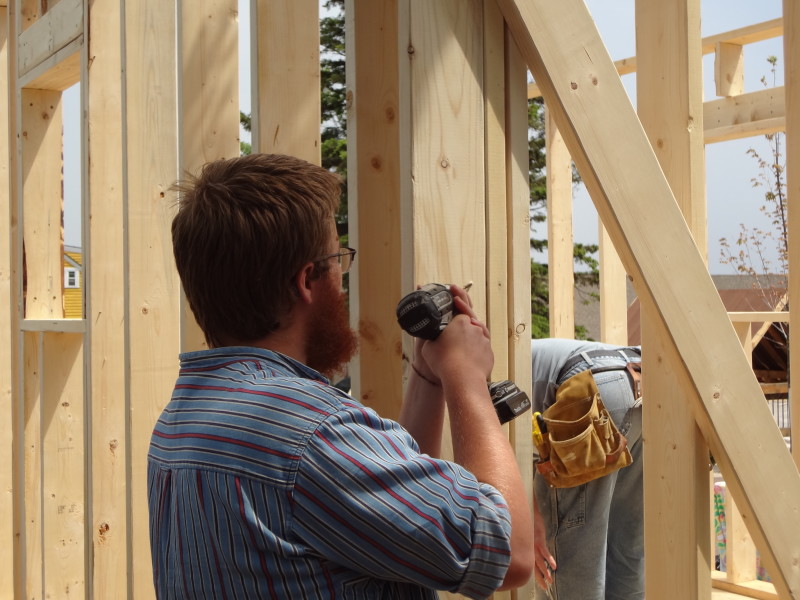
Cut the studs to length. Work on constructing the wall frame on top of the plywood subfloor so you’ll be able to easily lift it into place. Fasten the studs to the bottom and then the top plate where you marked their placement, using 16 penny nails. Lift the wall into place and fasten it to the plywood, with nails directed diagonally through the bottom plate into the floor joists.
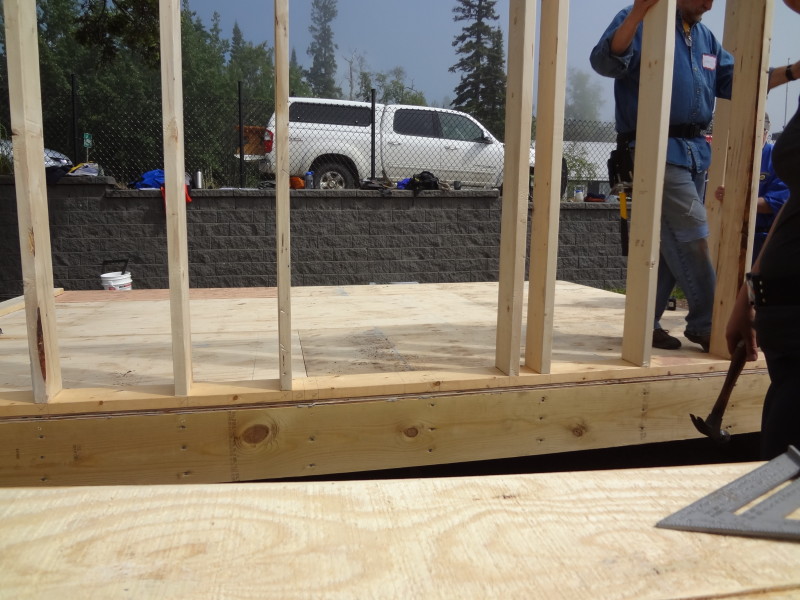
Notice how the studs are aligned with the floor joists (vertical rows of nails along rim joist). The two studs that are not aligned with floor joists are for framing the window.
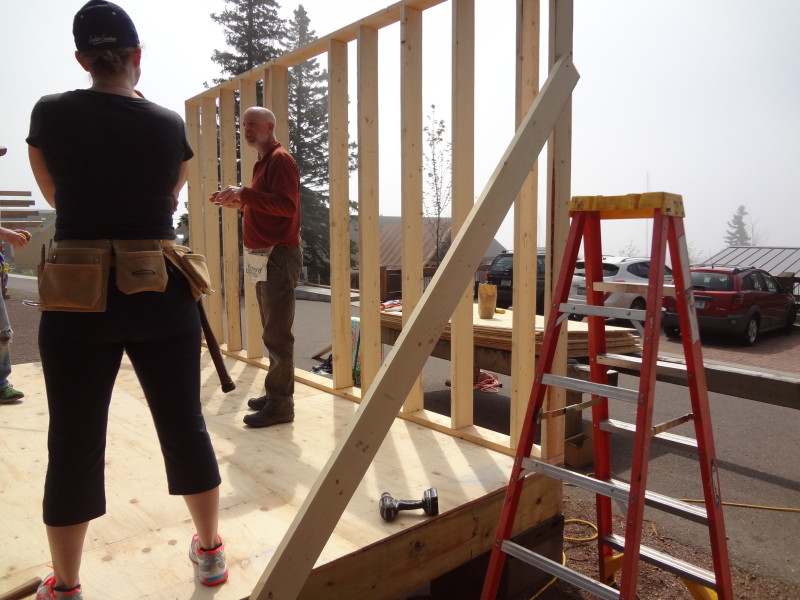
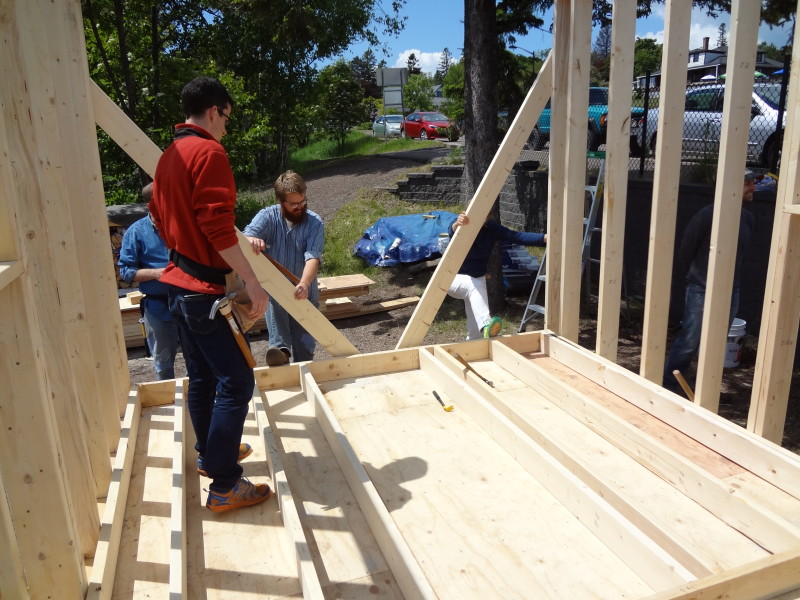
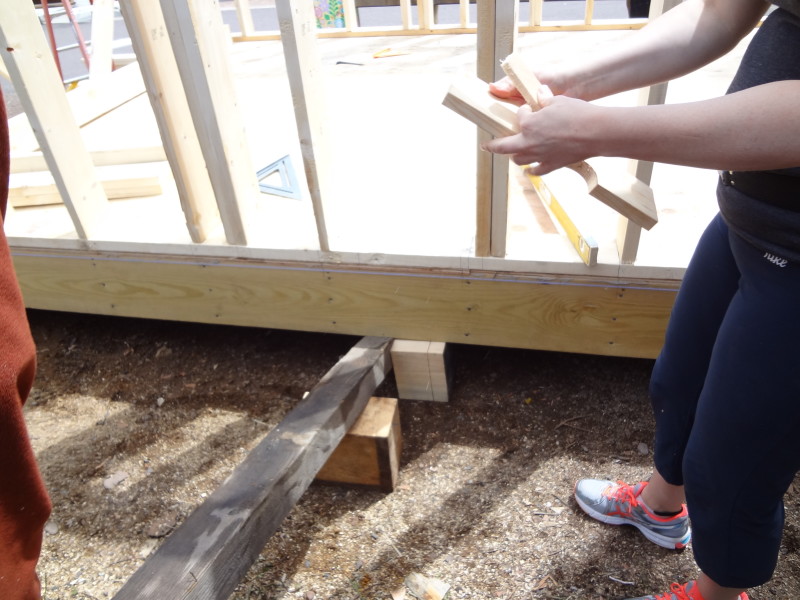
Attach the wall to the rim joist temporarily with two boards to hold it in place.
Now, construct the other 14′ wall the same way, and then move ahead to construct the two 10′ walls.
Ok, back to work. Construct the back 10″ wall using two 2×6’s of 9’1″ length for the top and bottom plates.
Note: Though you want a 10″ wall, you have to account for the width of the two 14″ walls that it will fit between. Remember that the actual dimensions of 2×6’s are 1.5″x5.5″. So, to fit between the two 14″ wall frames (each 5.5″ width = 11″ total), your 10″ wall will be constructed as a 9’1″ wide frame.
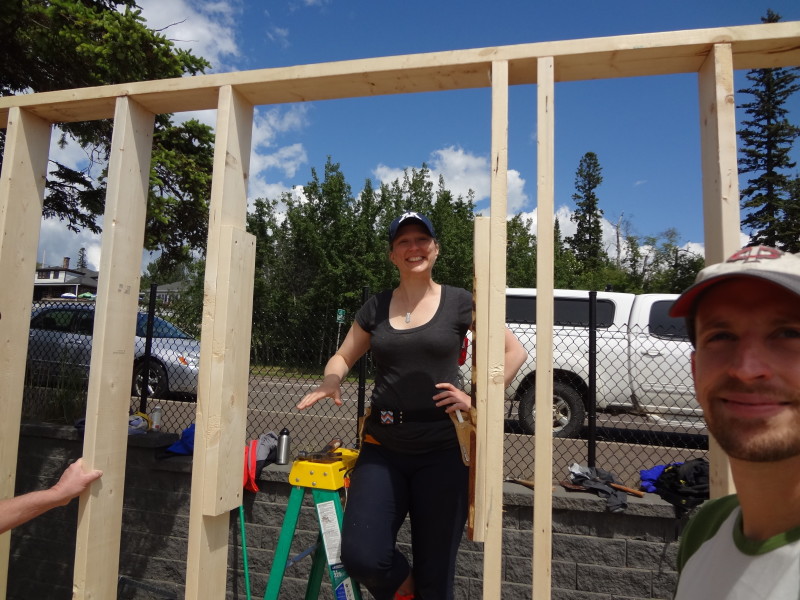
Mark out your rough opening for the window again, as before, and mark out the stud placements. Raise the wall and fasten it to the plywood base and to the other two wall frames.
Now, construct the front 10′ wall. Instead of marking out the window opening, mark out the rough opening for the door. Otherwise, the process is the same. Level the whole structure again underneath the middle of the walls, using heavy blocks of some sort.
Trimming the Windows and Door:
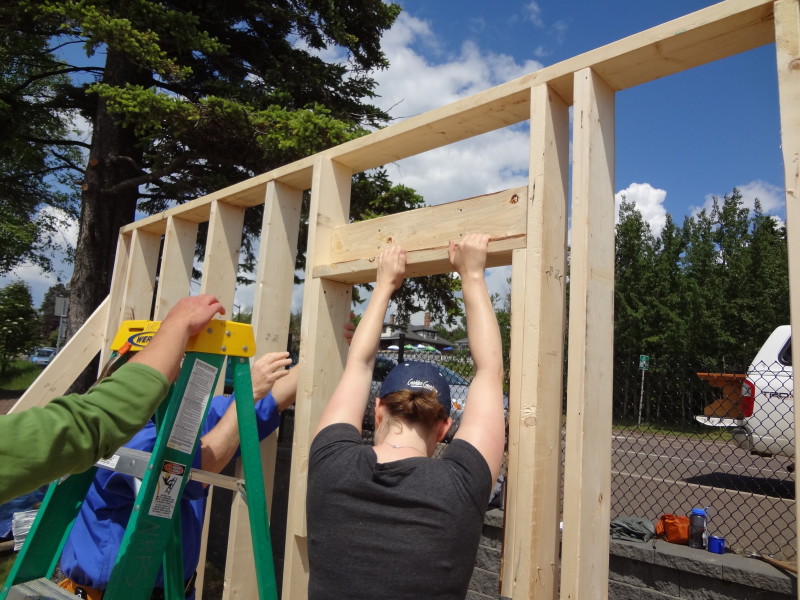
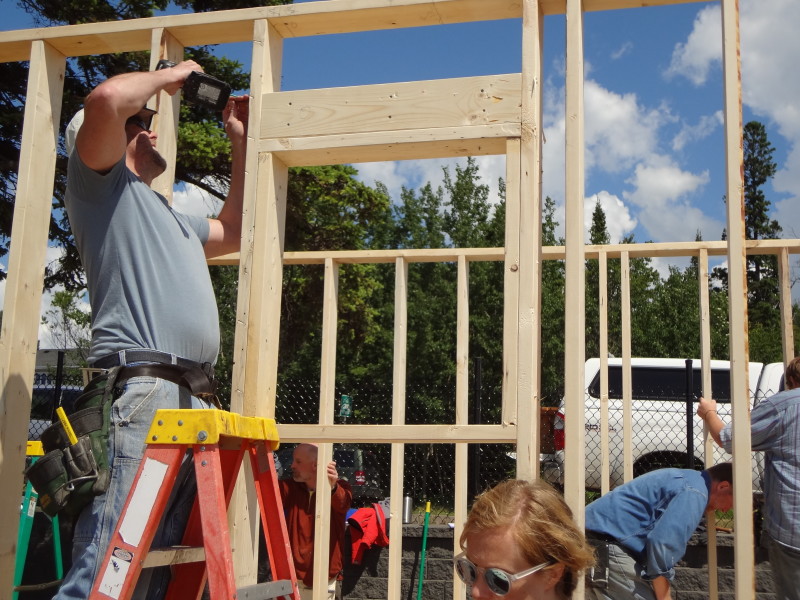
Measure and mark the height of the window openings onto the framing studs. Measure and cut 2 trim studs for the sides of each window openings, and fasten to the king studs.
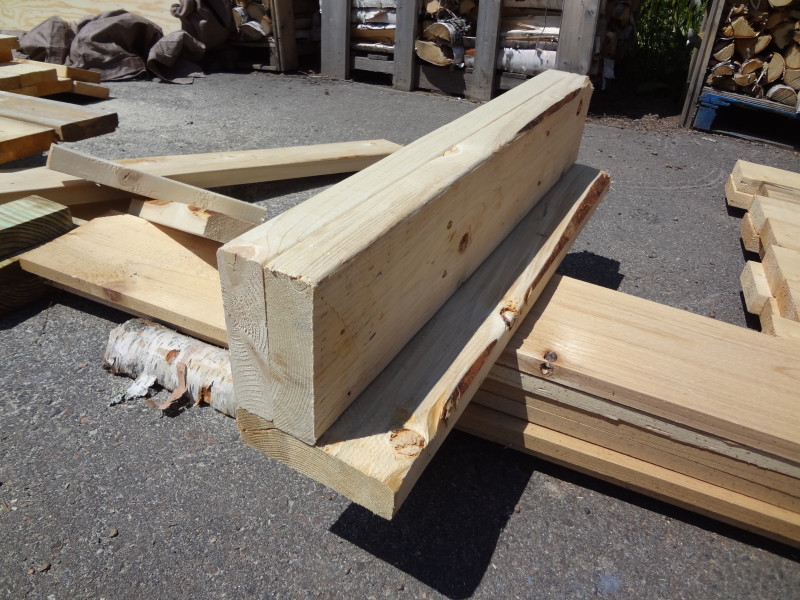
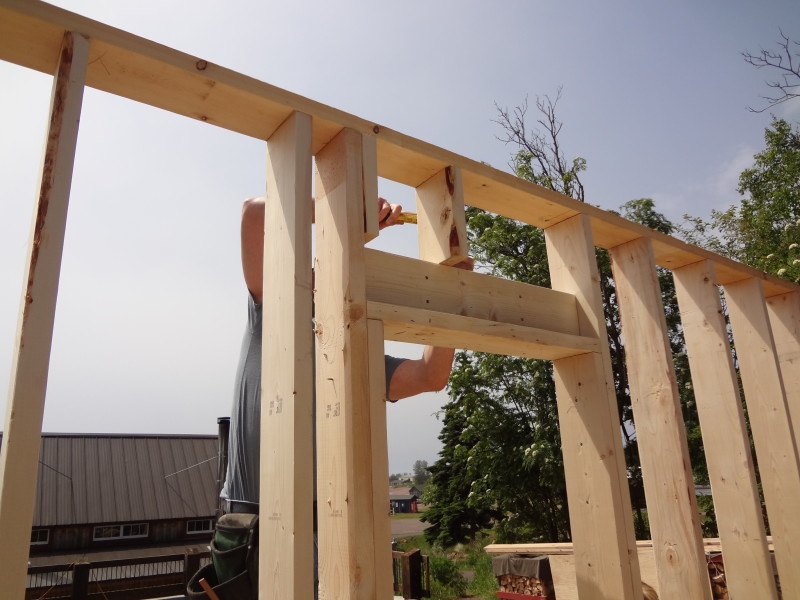
Make a header for each window and door. Each header is made of three 2×6 boards, cut to the width of the rough opening. 2 of the boards are sandwiched together, then fastened perpendicular to the 3rd board. Fasten the header into the rough opening, with the shelf facing the interior of the cabin.
Measure and cut the window sill, and fasten it to the king studs and upper trimmer studs.
Cut the 2 jack studs to go under the window sill at the corners, and the cripples to go under the middle of the window sill. Fasten them to the framing studs at the appropriate level. Measure the space between the header and the top plate of the wall, cut the upper cripples to that size and fasten them into that space.
Exterior Walls:
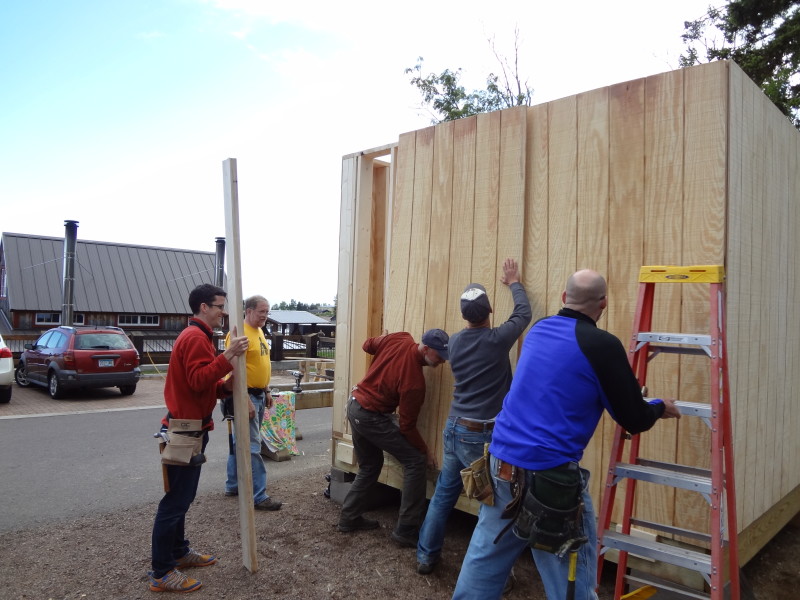
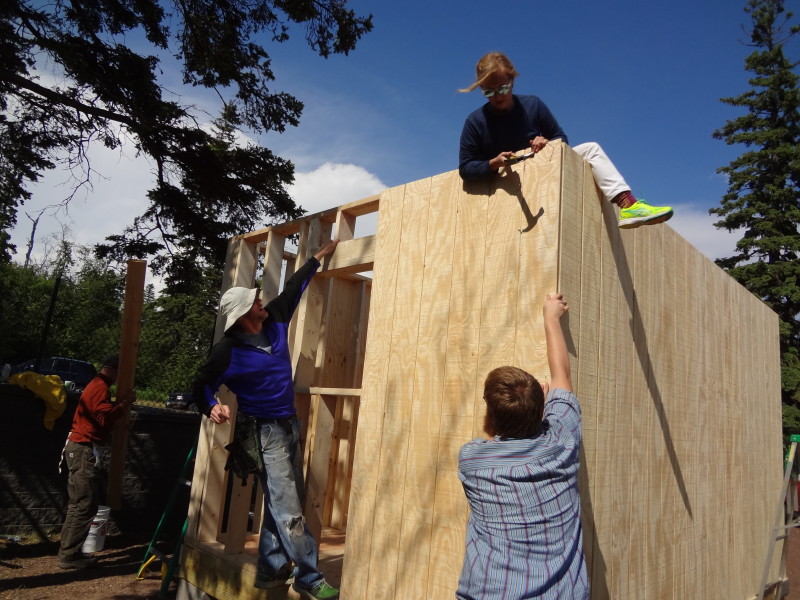
We used T1-11 plywood panels, which serve as the exterior wall and the siding. It’s a fast and inexpensive way to get an exterior wall up. It’s kinda ugly, and I wouldn’t choose to put it on my cabin or dwelling, but it could make sense for a shed.
To ease the lifting and stabilization of the wall panels during installation, screw some wood blocks along the rim joists 1″ down from the top of the rim joist. You can rest the wall panels on these blocks while you fasten them to the wall frame.
Note that the panels have a tongue side and a groove side. Install wall panels beginning with the right side of one wall, with the groove facing to the right. Continue adding panels to the left of this one, matching the groove with the tongue of the preceding panel. You will need to cut the last panel to cover the wall exactly.
Cut out the door opening in the front exterior wall. Tomorrow we will start building the roof.
Next post: Day 3

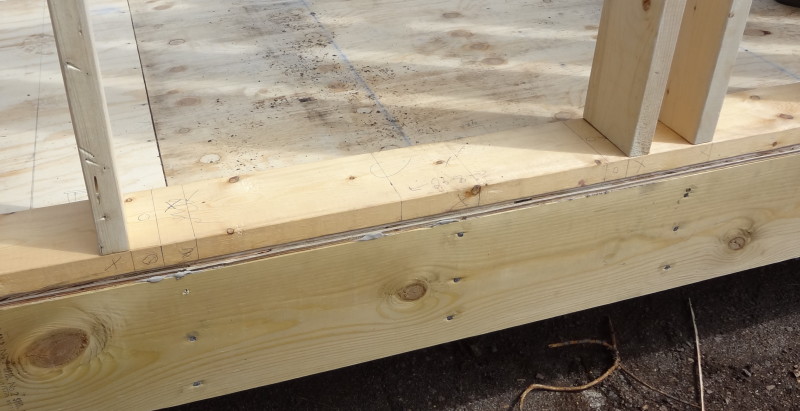
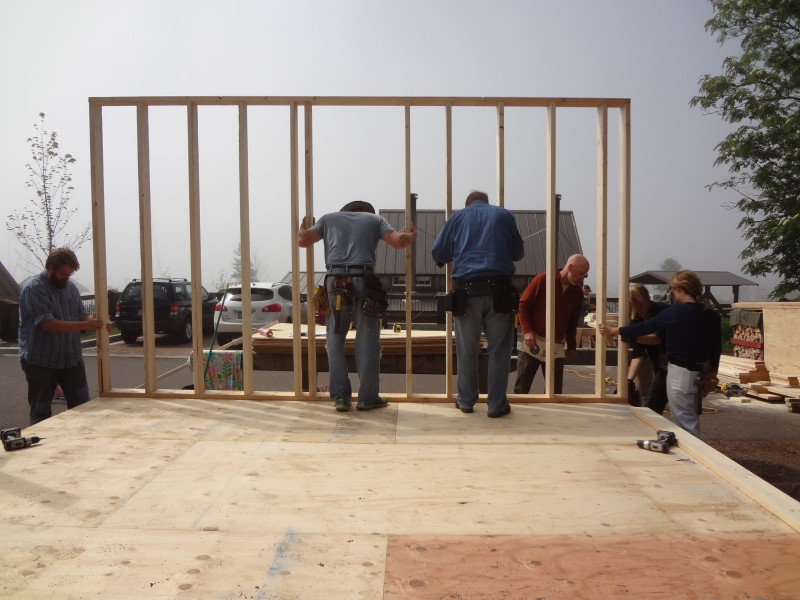
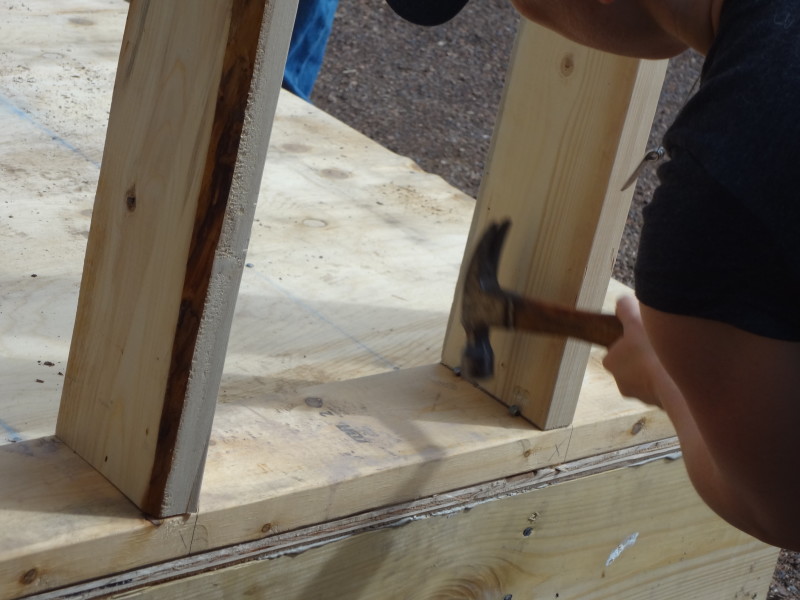
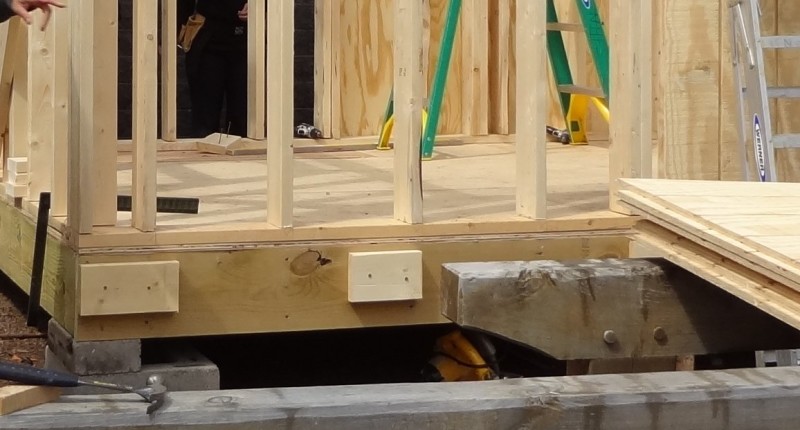
How long were the nails that were directed diagonally through the bottom plate into the floor joists and how many were they? I see two on one side, is there another nail from the other side?
I am trying to build a shed, and out of the zillion videos and the few library books I have on the subject they leave out the fine details on nailing. They just say get a box of so many pounds of different kinds of nails on the project but for the most part leave out what goes where.