Today we are going to be…
Framing the roof:
Before getting started on the roof, attach a 2nd top plate on top of the four walls to level and square the tops of the walls. Shim this top plate as needed to level it.
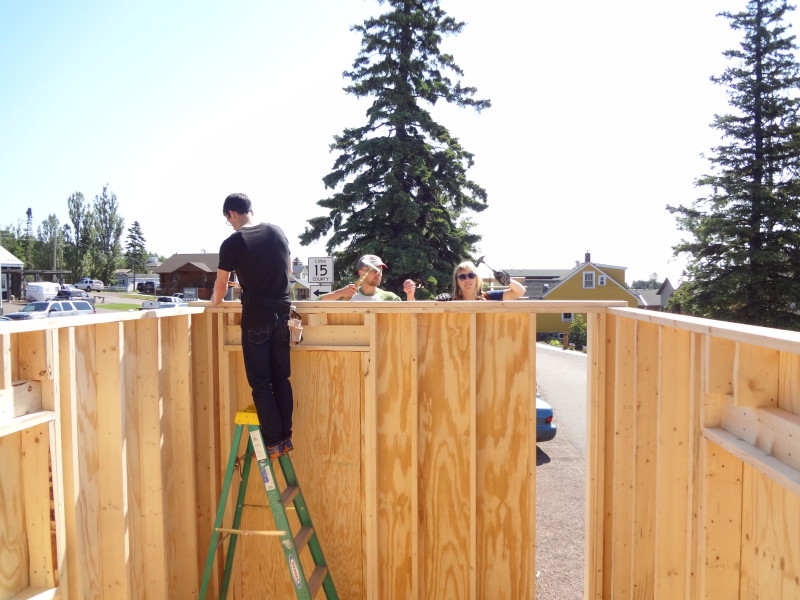
Attaching the 2nd top plate
Decide on your roof pitch. We initially chose a 4/12 pitch, but due to some “discrepancies” 🙂 it ended up being be more like 4.5/12. The pitch is a measure of the roof’s steepness. A 4/12 pitch means that the roof rises 4 inches vertically (“rise”) for every 12 inches that it extends horizontally (“run”).

Our cabin was 10ft wide, so its midpoint was 5ft, or 60in. If for every 12 inches of that 60-inch span the roof rises 4 inches, then the peak of the roof will be 20 inches high, measured from the top plate.
An easy and quick way to construct the roof is to use pre-fabricated wood trusses as roof supports. Instead of this method, we used a ridge beam and individual rafters as roof supports. It was a good experience to learn how to properly cut the rafters.
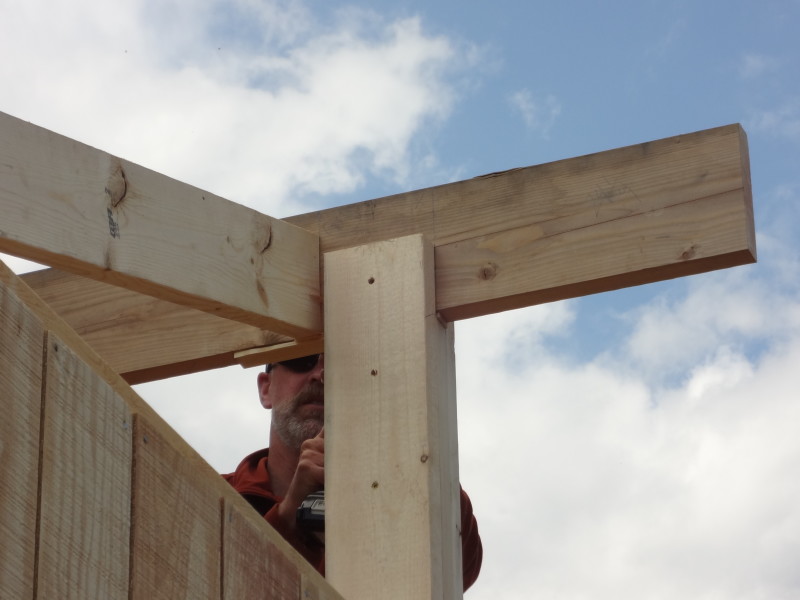
First, you’re going to build two supports for the ridge beam that will span the length of the cabin. The ridge beam supports are made from three pieces of 2×6’s sandwiched together, with the middle piece of 20″ height. The three pieces are attached together at the front and back walls.
Making the ridge beam supports
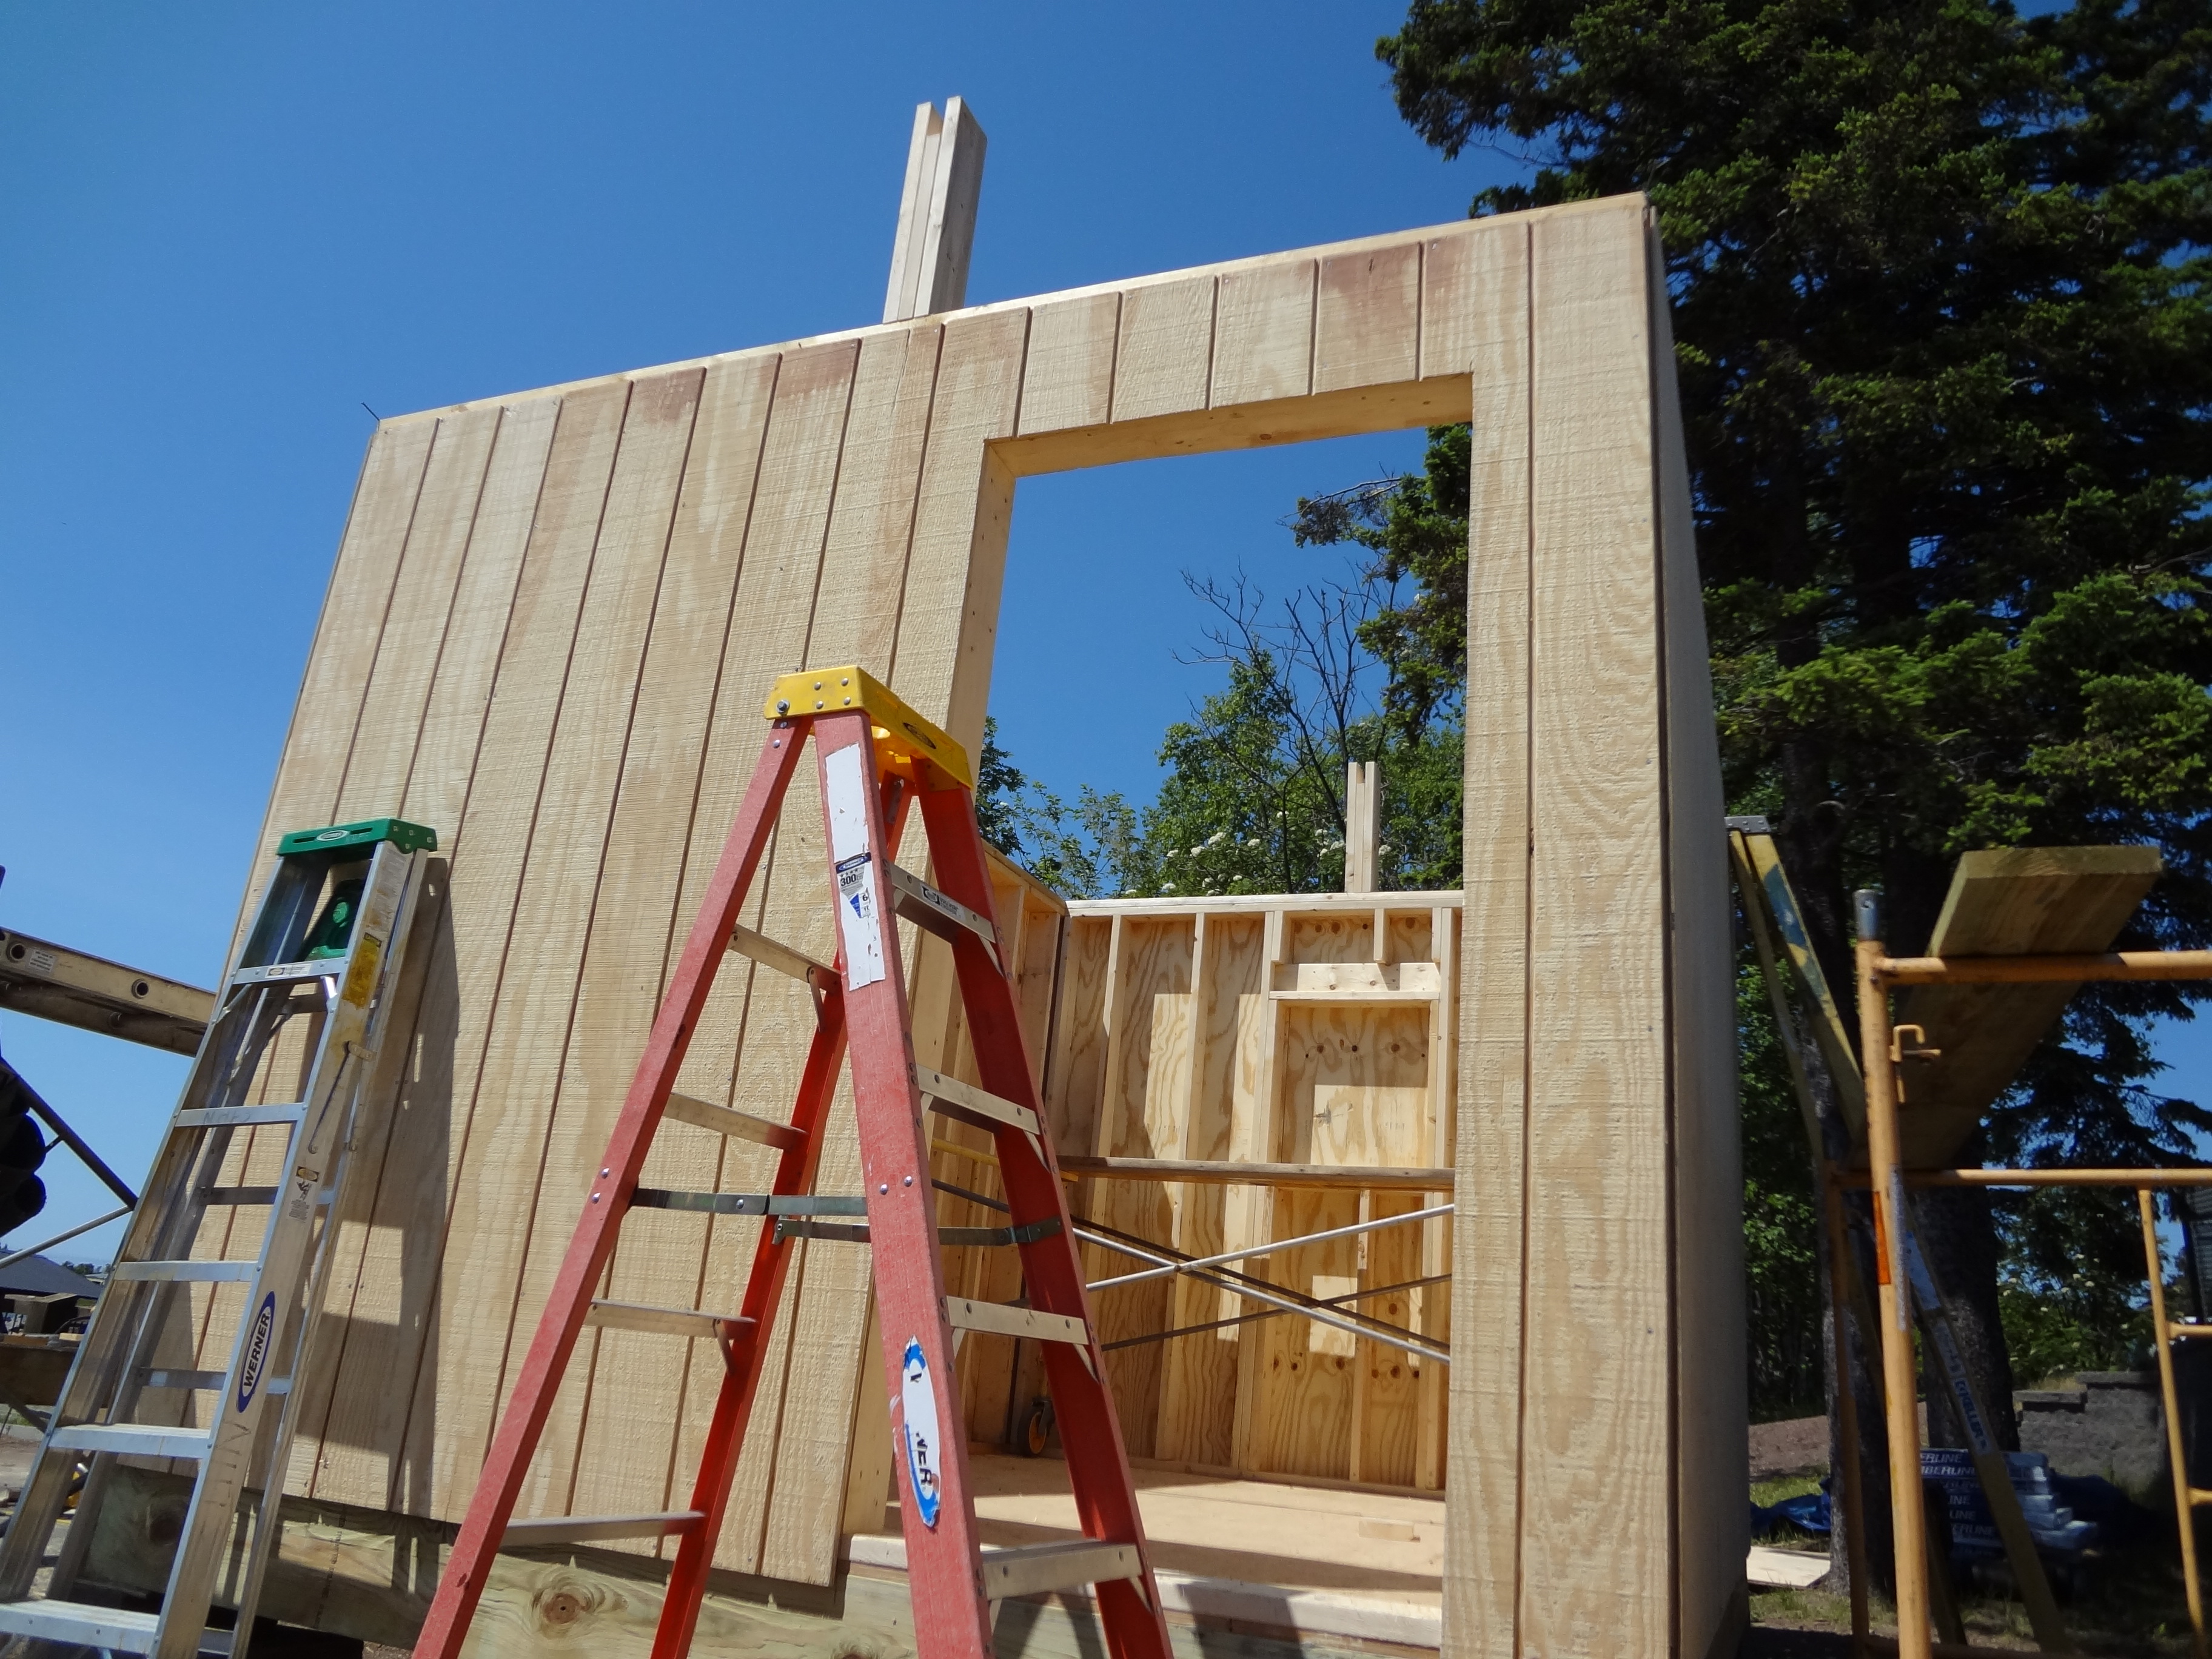
Both ridge beam supports in place
The ridge beam is cut from a 2x8x18. The length of the cabin is 14′ and you want to add at least 16″ overhang to protect the exterior walls from rain. So, cut the ridge beam to 14′ + 32″ (16′ and 8″) and fasten it into the ridge beam supports.
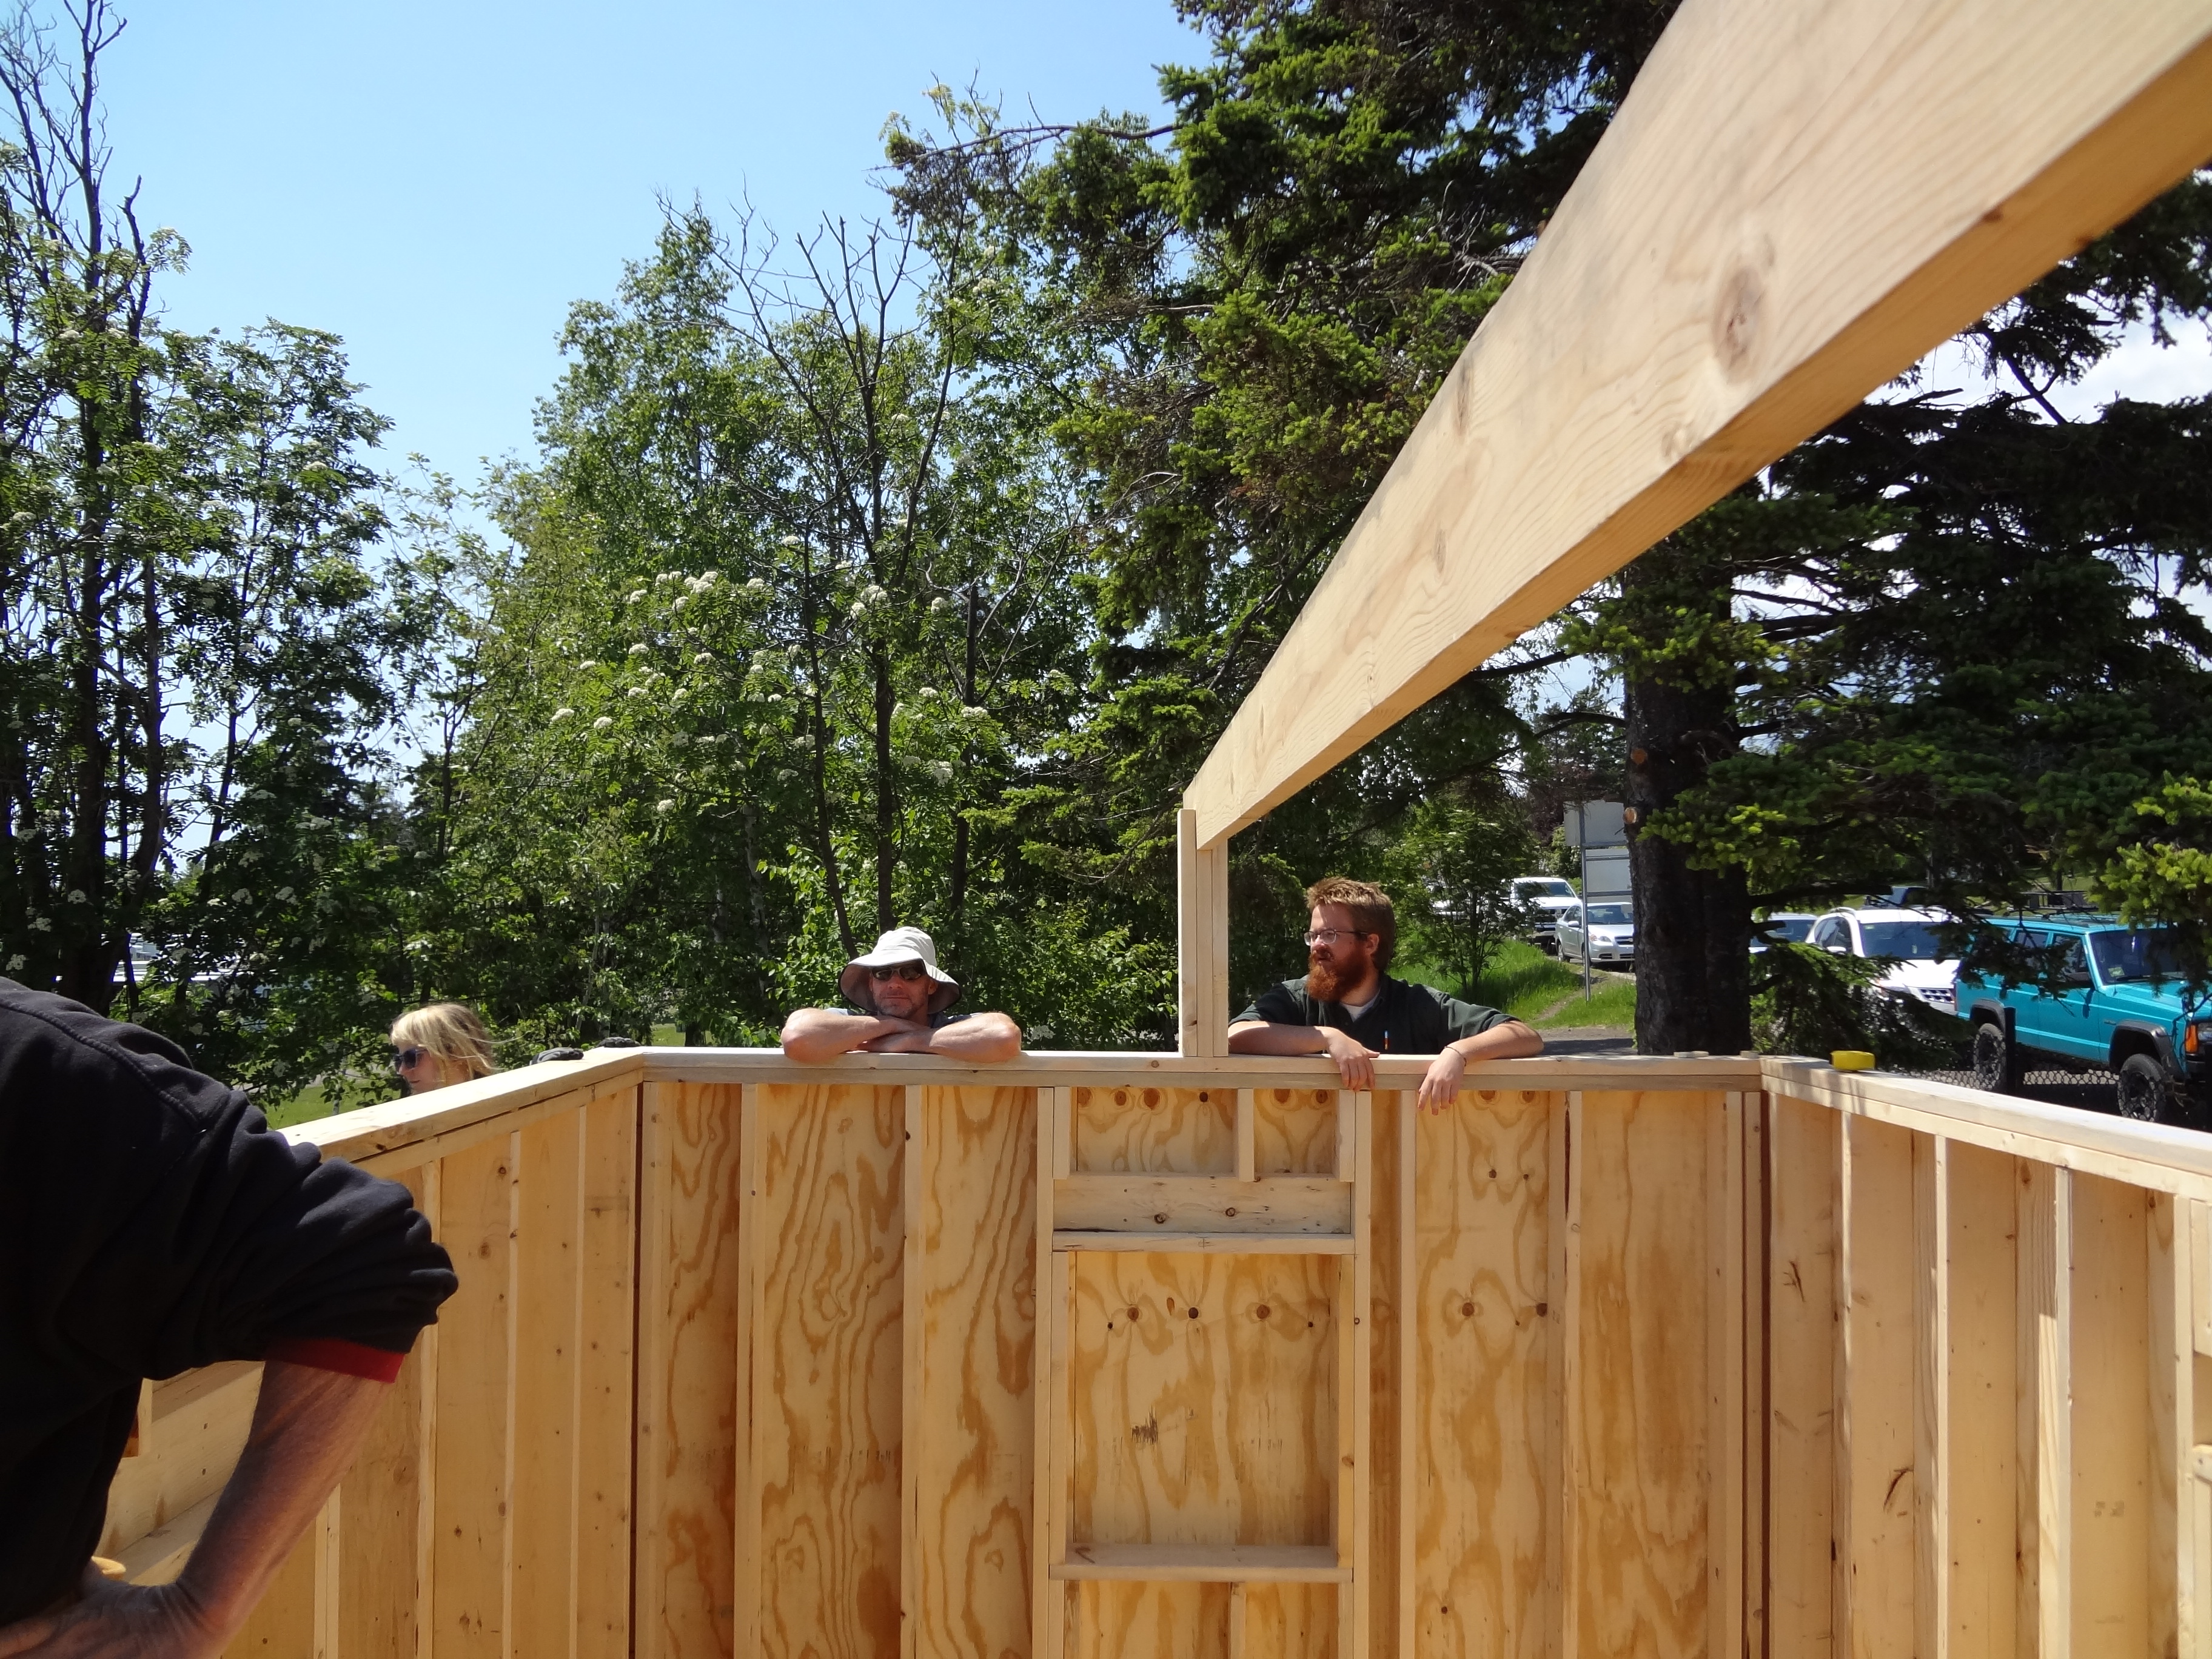
Ridge beam in place
For the rafters we used 2×6’s. You will need to make 3 cuts on each rafter: one at both ends – the end that joins the ridge beam and the end that overhangs the sides of the cabin, as well a triangular cut called the “bird’s mouth” where the rafter will rest on the top plate. The rafter length will be the length of half the span of the roof (5′) plus 16″ for the overhang.
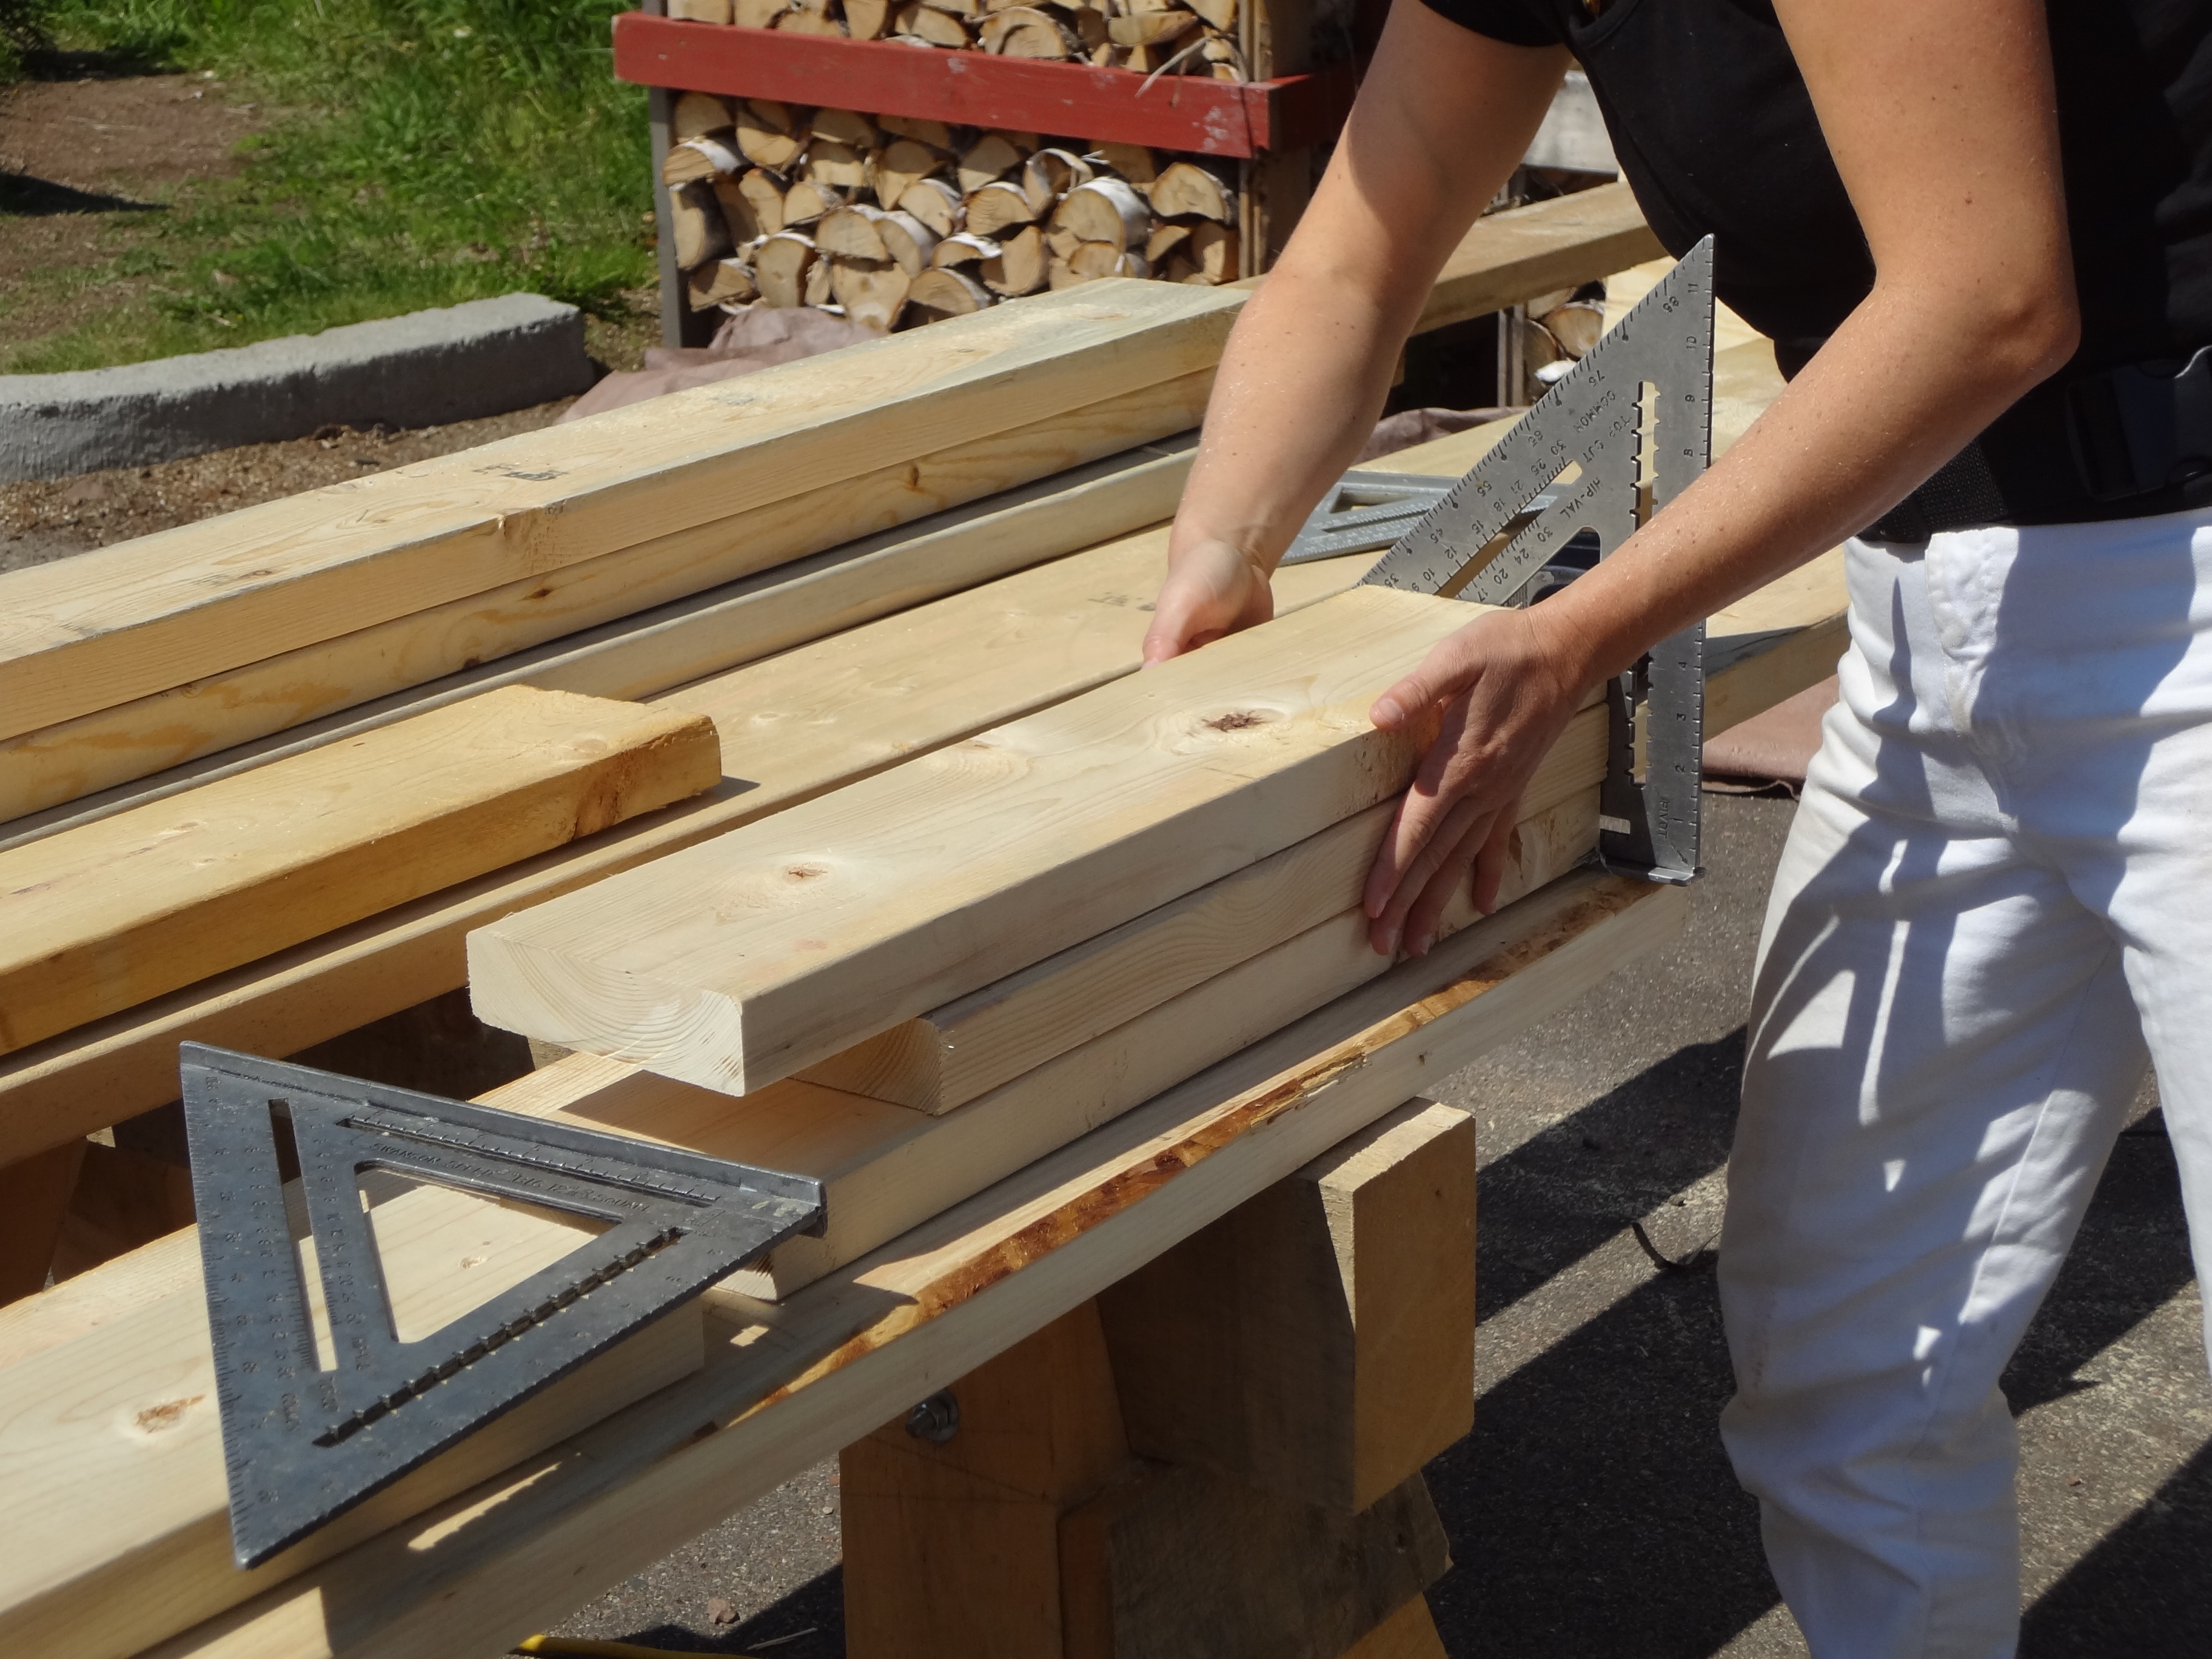
You can calculate the angles you need to cut the rafter at by using a speed square. Using the numbers on the “common top cut” line on the speed square, choose the angle that corresponds to your roof pitch and twist the speed square to that number and draw a line. That will create the correct angle to join the rafter to the ridge beam.
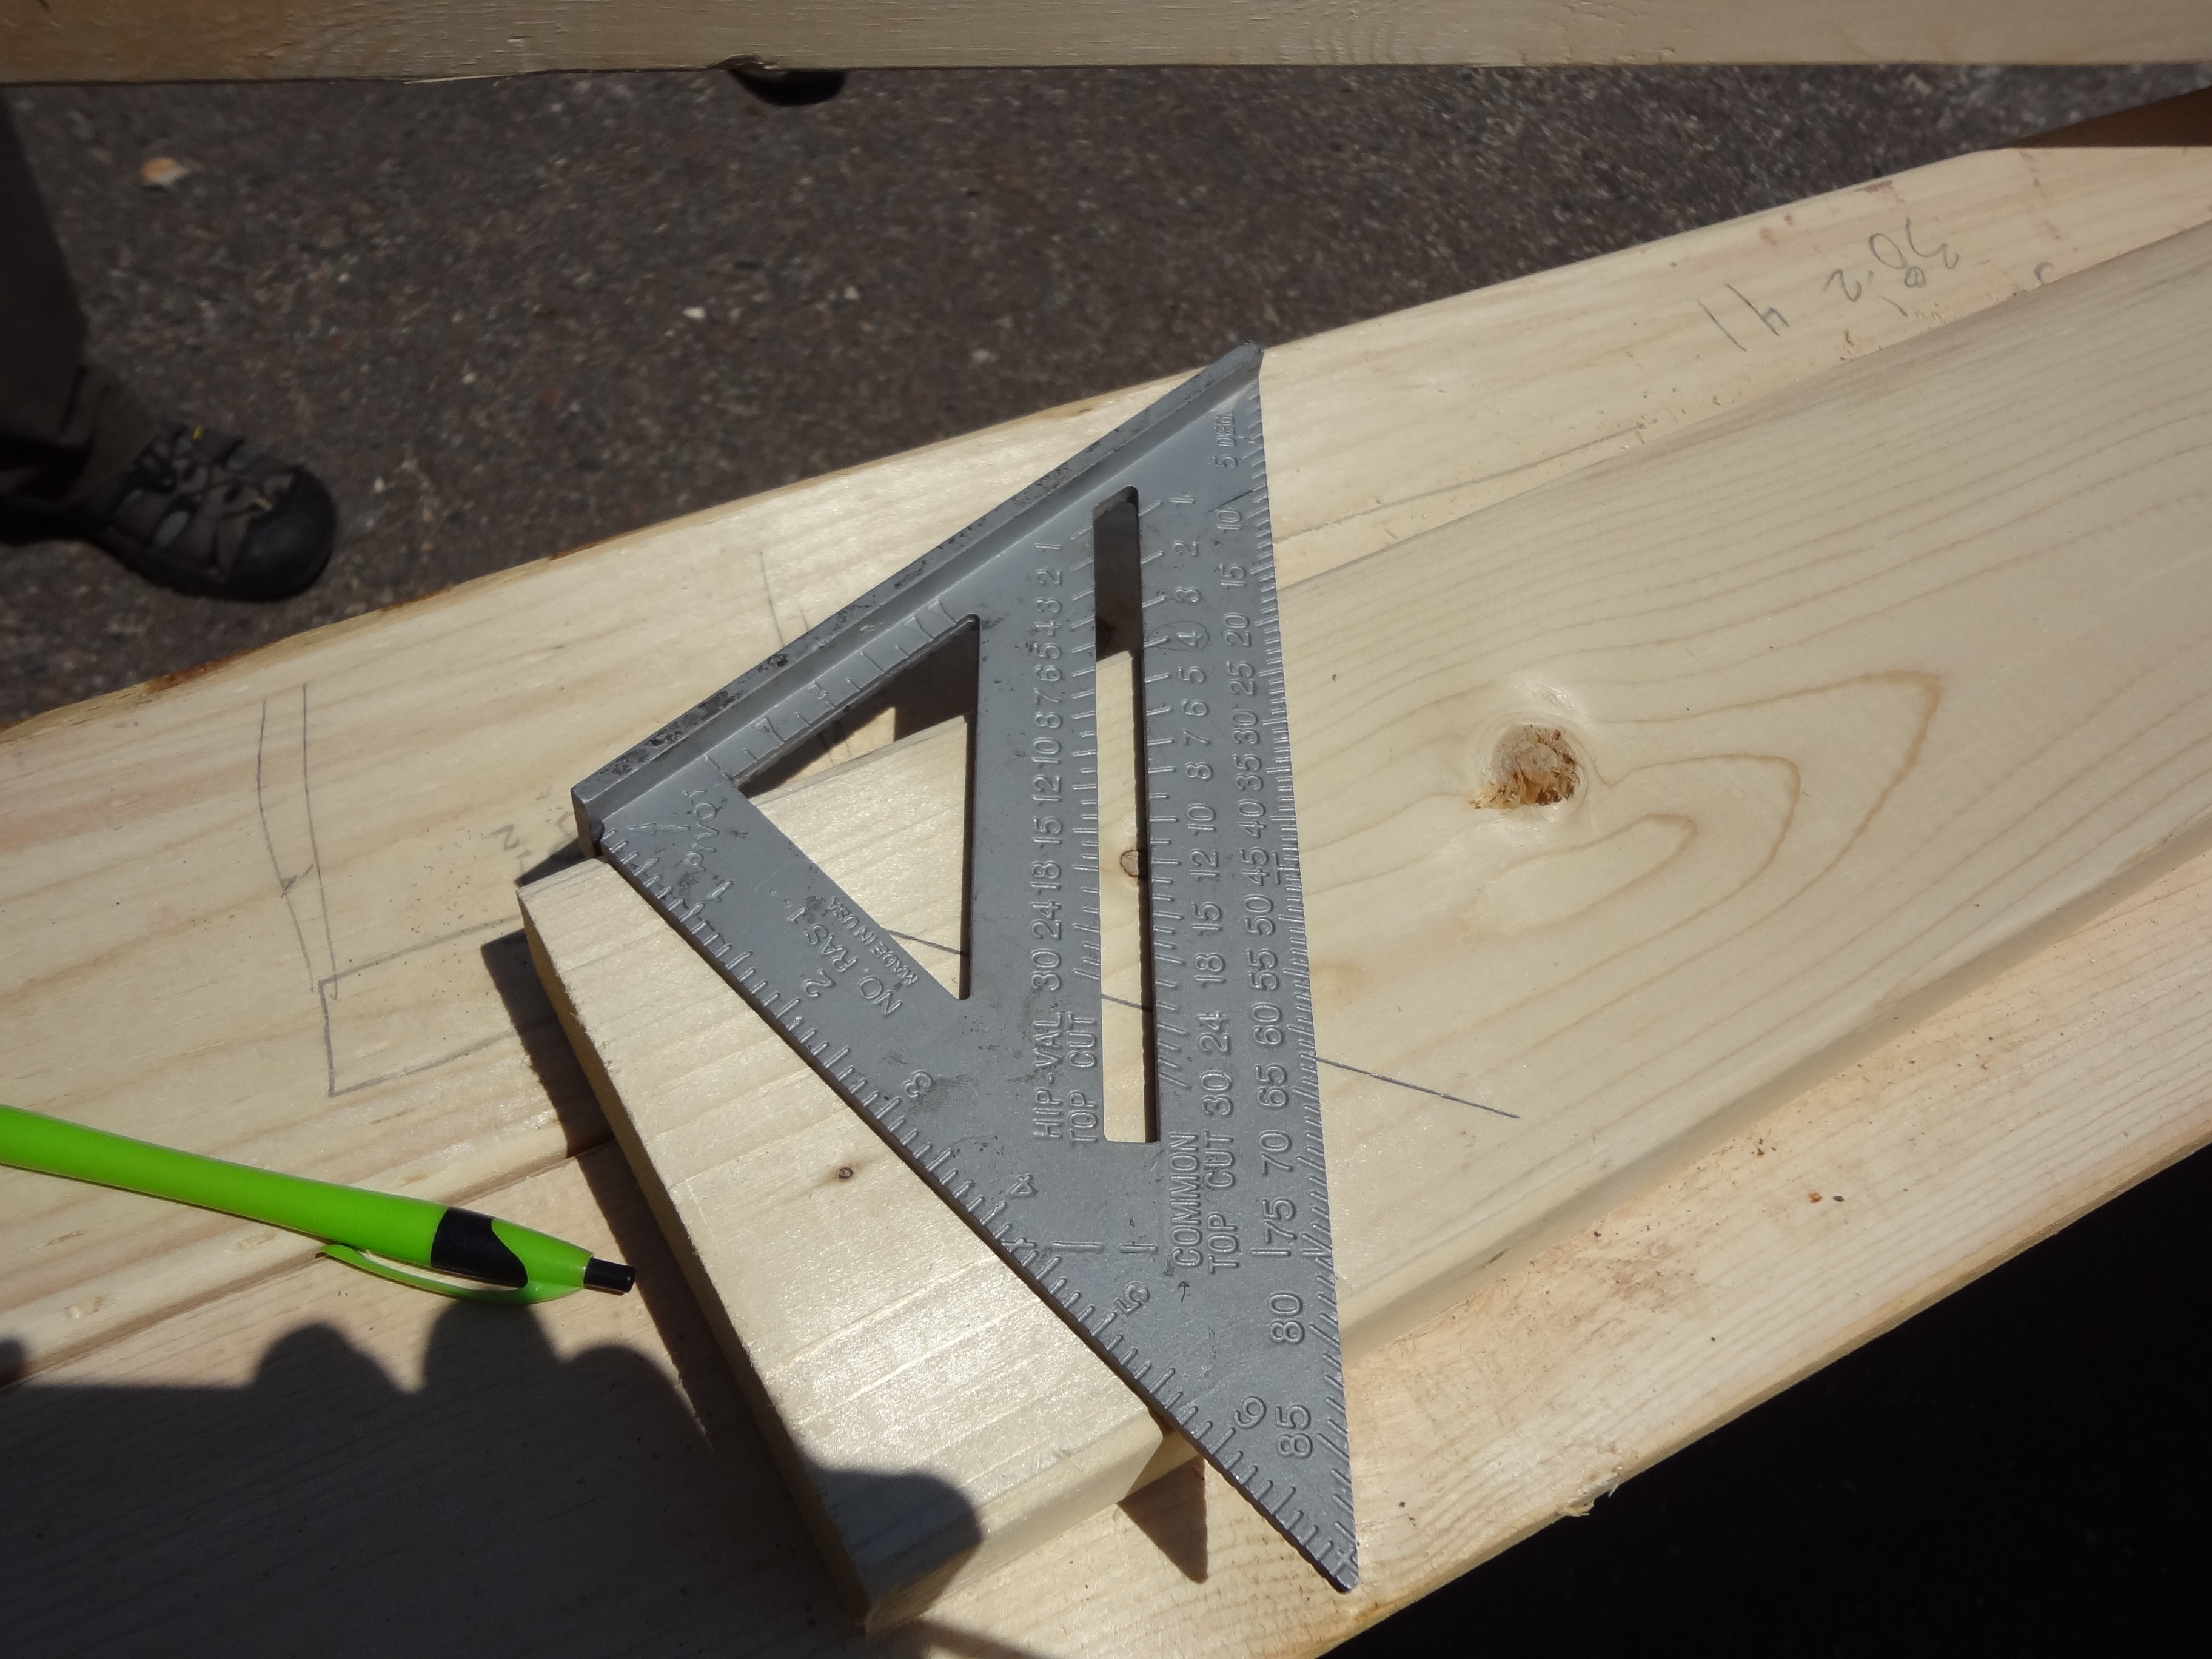
Speed square method. Note that the square is twisted to “4” on the common top-cut line. This would be the angle for the 4/12 pitch roof. (Ignore the line on the board.)
Or, if you don’t like dealing with the speed square and numbers, you can just hold the rafter up where it’s going to go, up against the ridge beam holder and over the top plate, and trace out what cuts you need. We chose to trace the cuts and ended up needing to make minor adjustments to get them to join well. So, I feel it’s worth learning to use the speed square to draw out the precise angles.
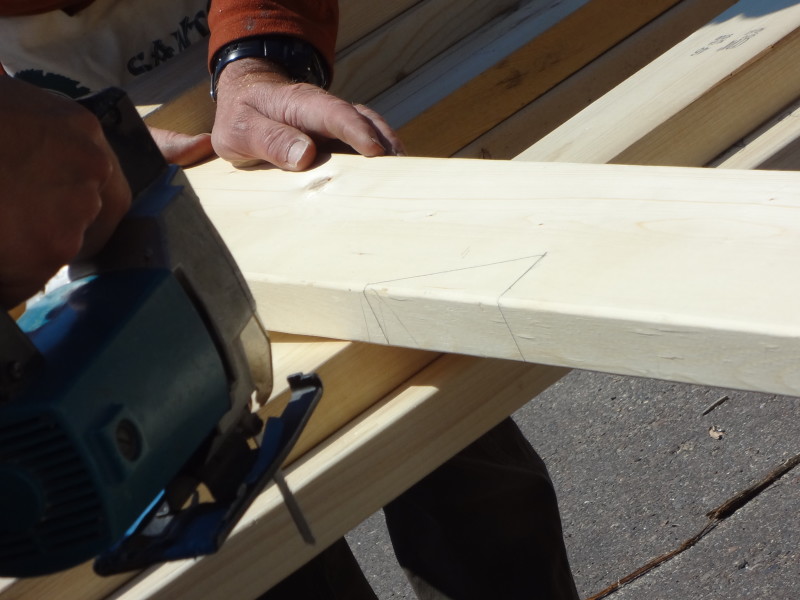
Draw the bird’s mouth and cut it out with a jigsaw
**Note: Another option instead of creating bird mouth cuts is to use brackets to fasten the rafters onto the top plate.
Now attach the rafters to the ridge beam and to the top plate, spaced 2′ apart.
The 1st rafter fastened to the ridge beam

Rafters
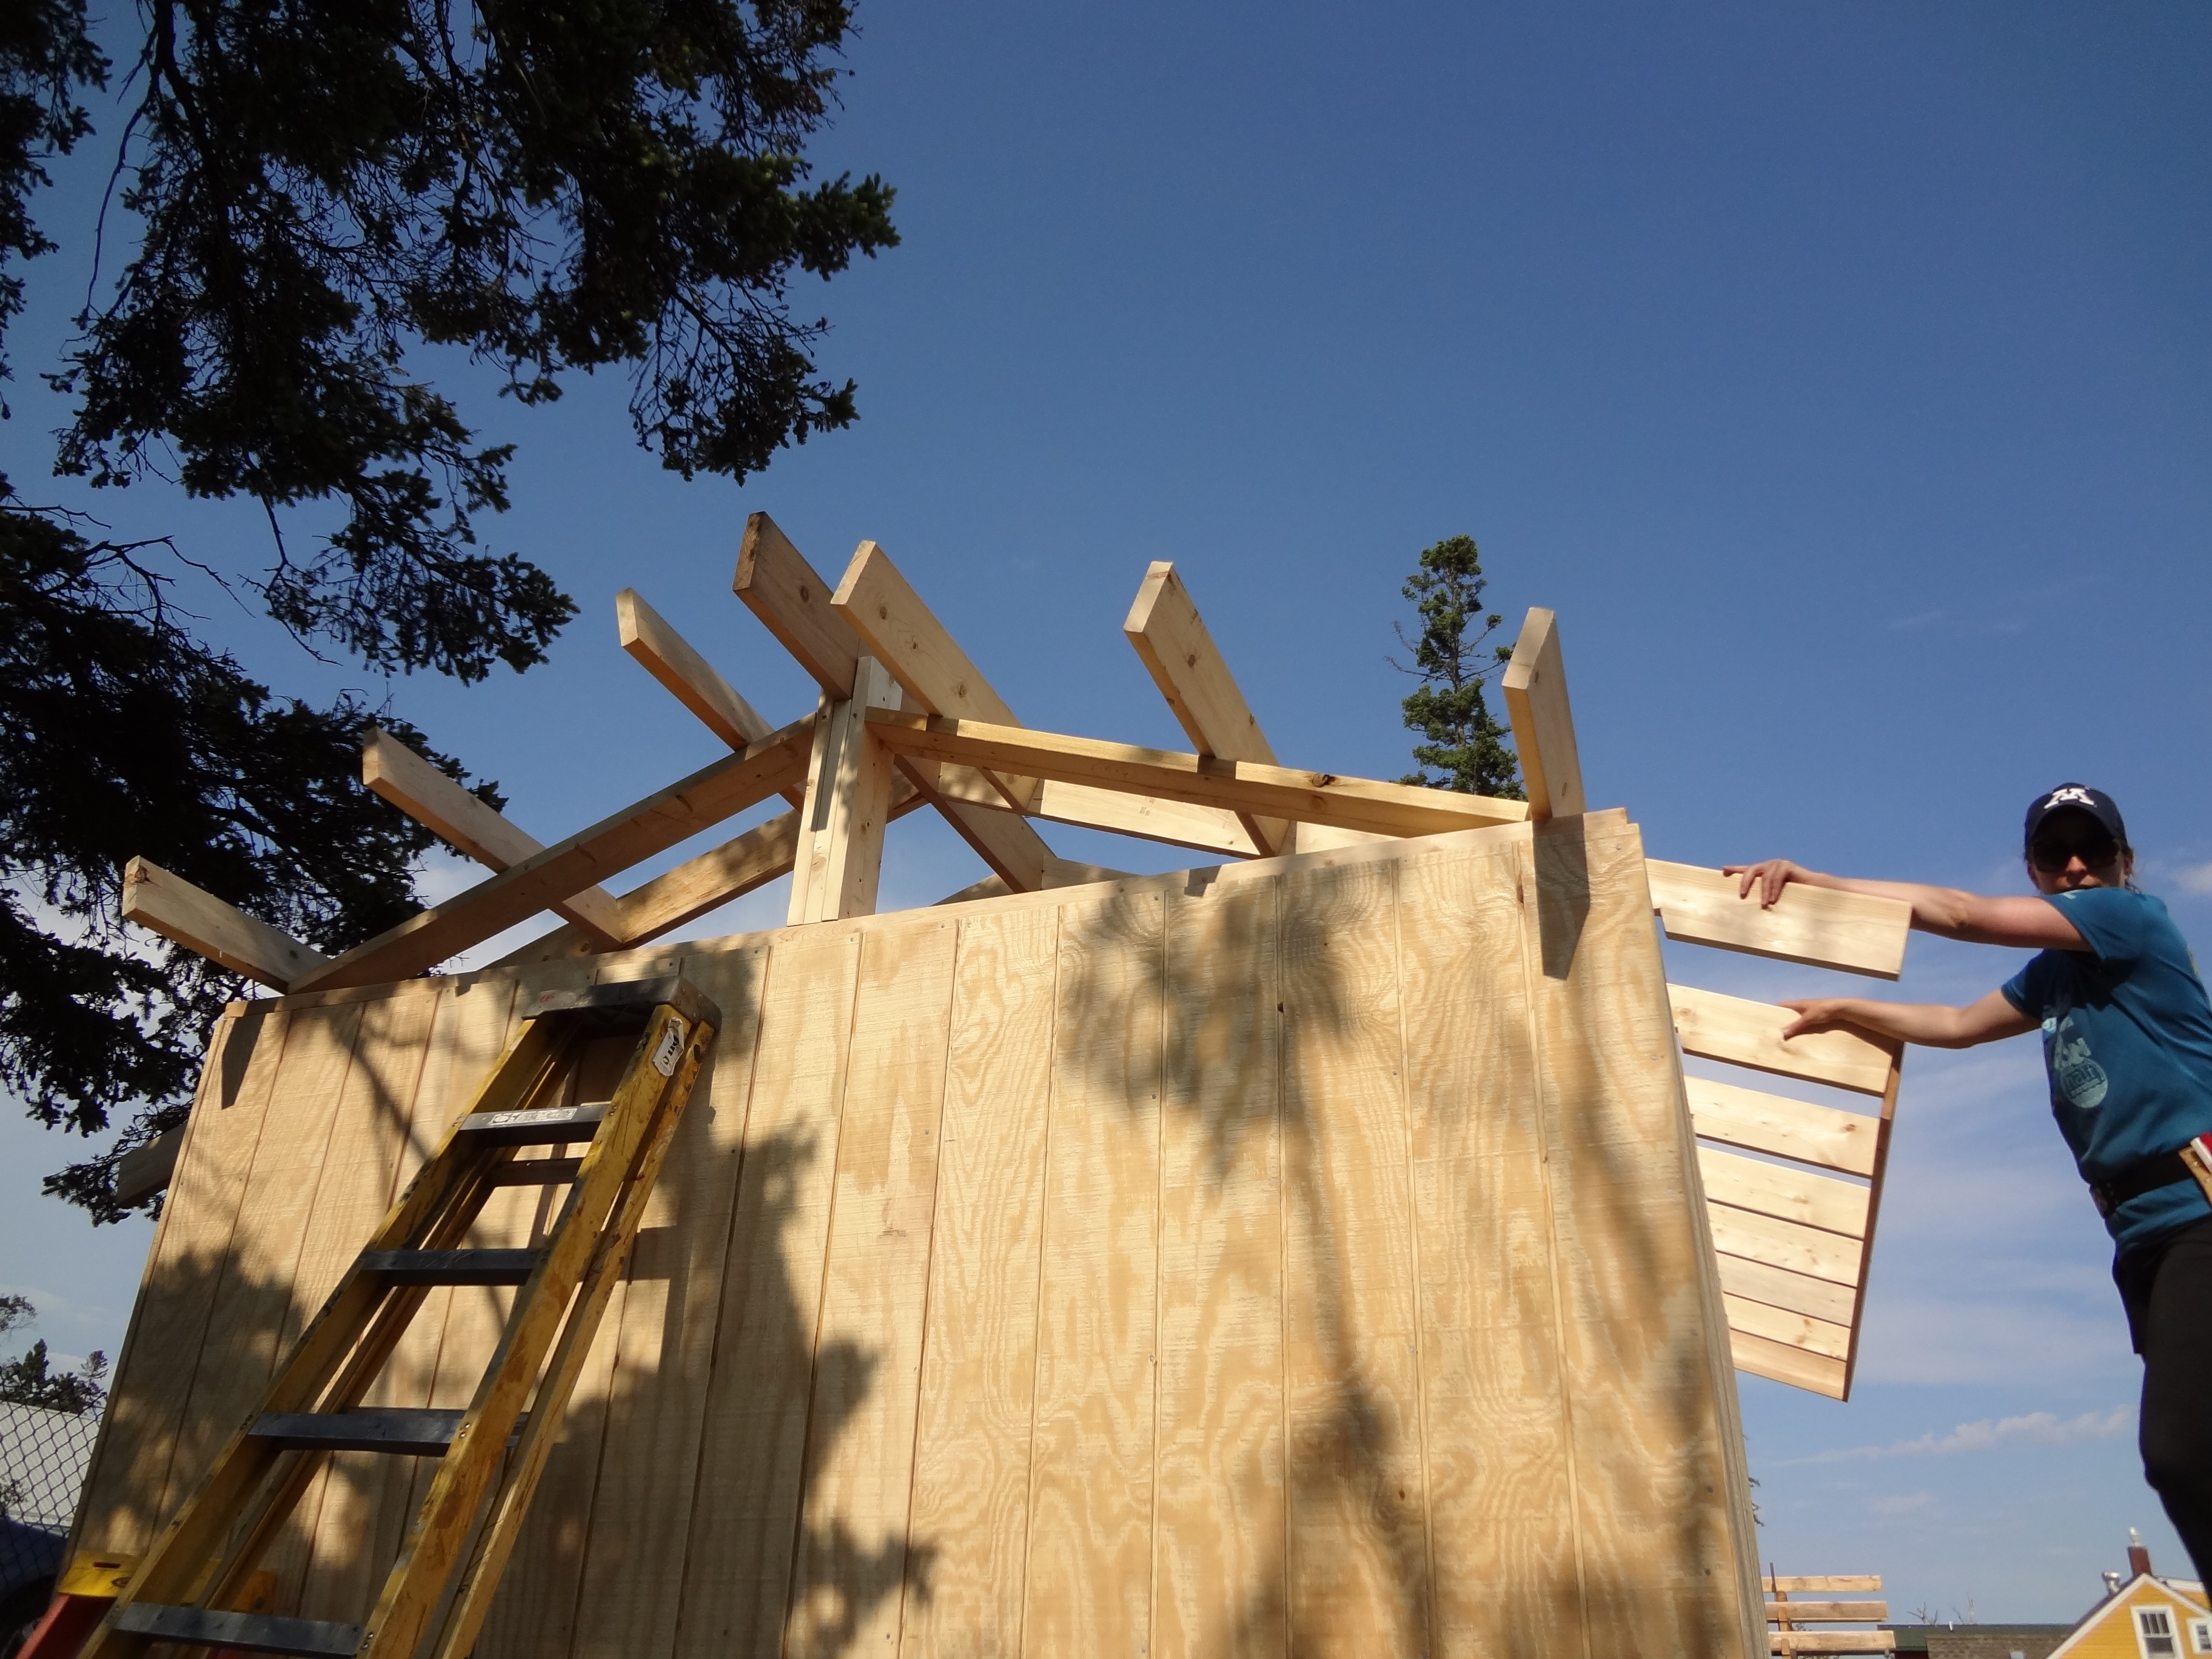
Then, cut and attach the “overlooks” to the front and the back rafters to create a 16″ roof overhang. You’ll need 6 overlooks for the front end of the cabin, and 6 overlooks for the back.

Front overlooks

Back overlooks. Note that the last rafter is a foot or so from the back cabin wall, so the back overlooks need to be cut longer than the front ones.
The overlooks will rest on the gable frames. Cut the top plates for the gable frame. Level and square the overlooks, then attach the top plate of the gable frame to the ridge beam and overlooks.
Back overlooks with top plate of gable frame in place
Measure, cut and fasten the gable frame studs between the gable top plate and the top plates of the wall.
Next, you will create the fascia – a band of cedar boards (1×8) that encircles all four sides of the roof frame. Attach the fascia with nails to the ends of the rafters and overlooks, flush with the tops of the rafters.

Attaching the fascia
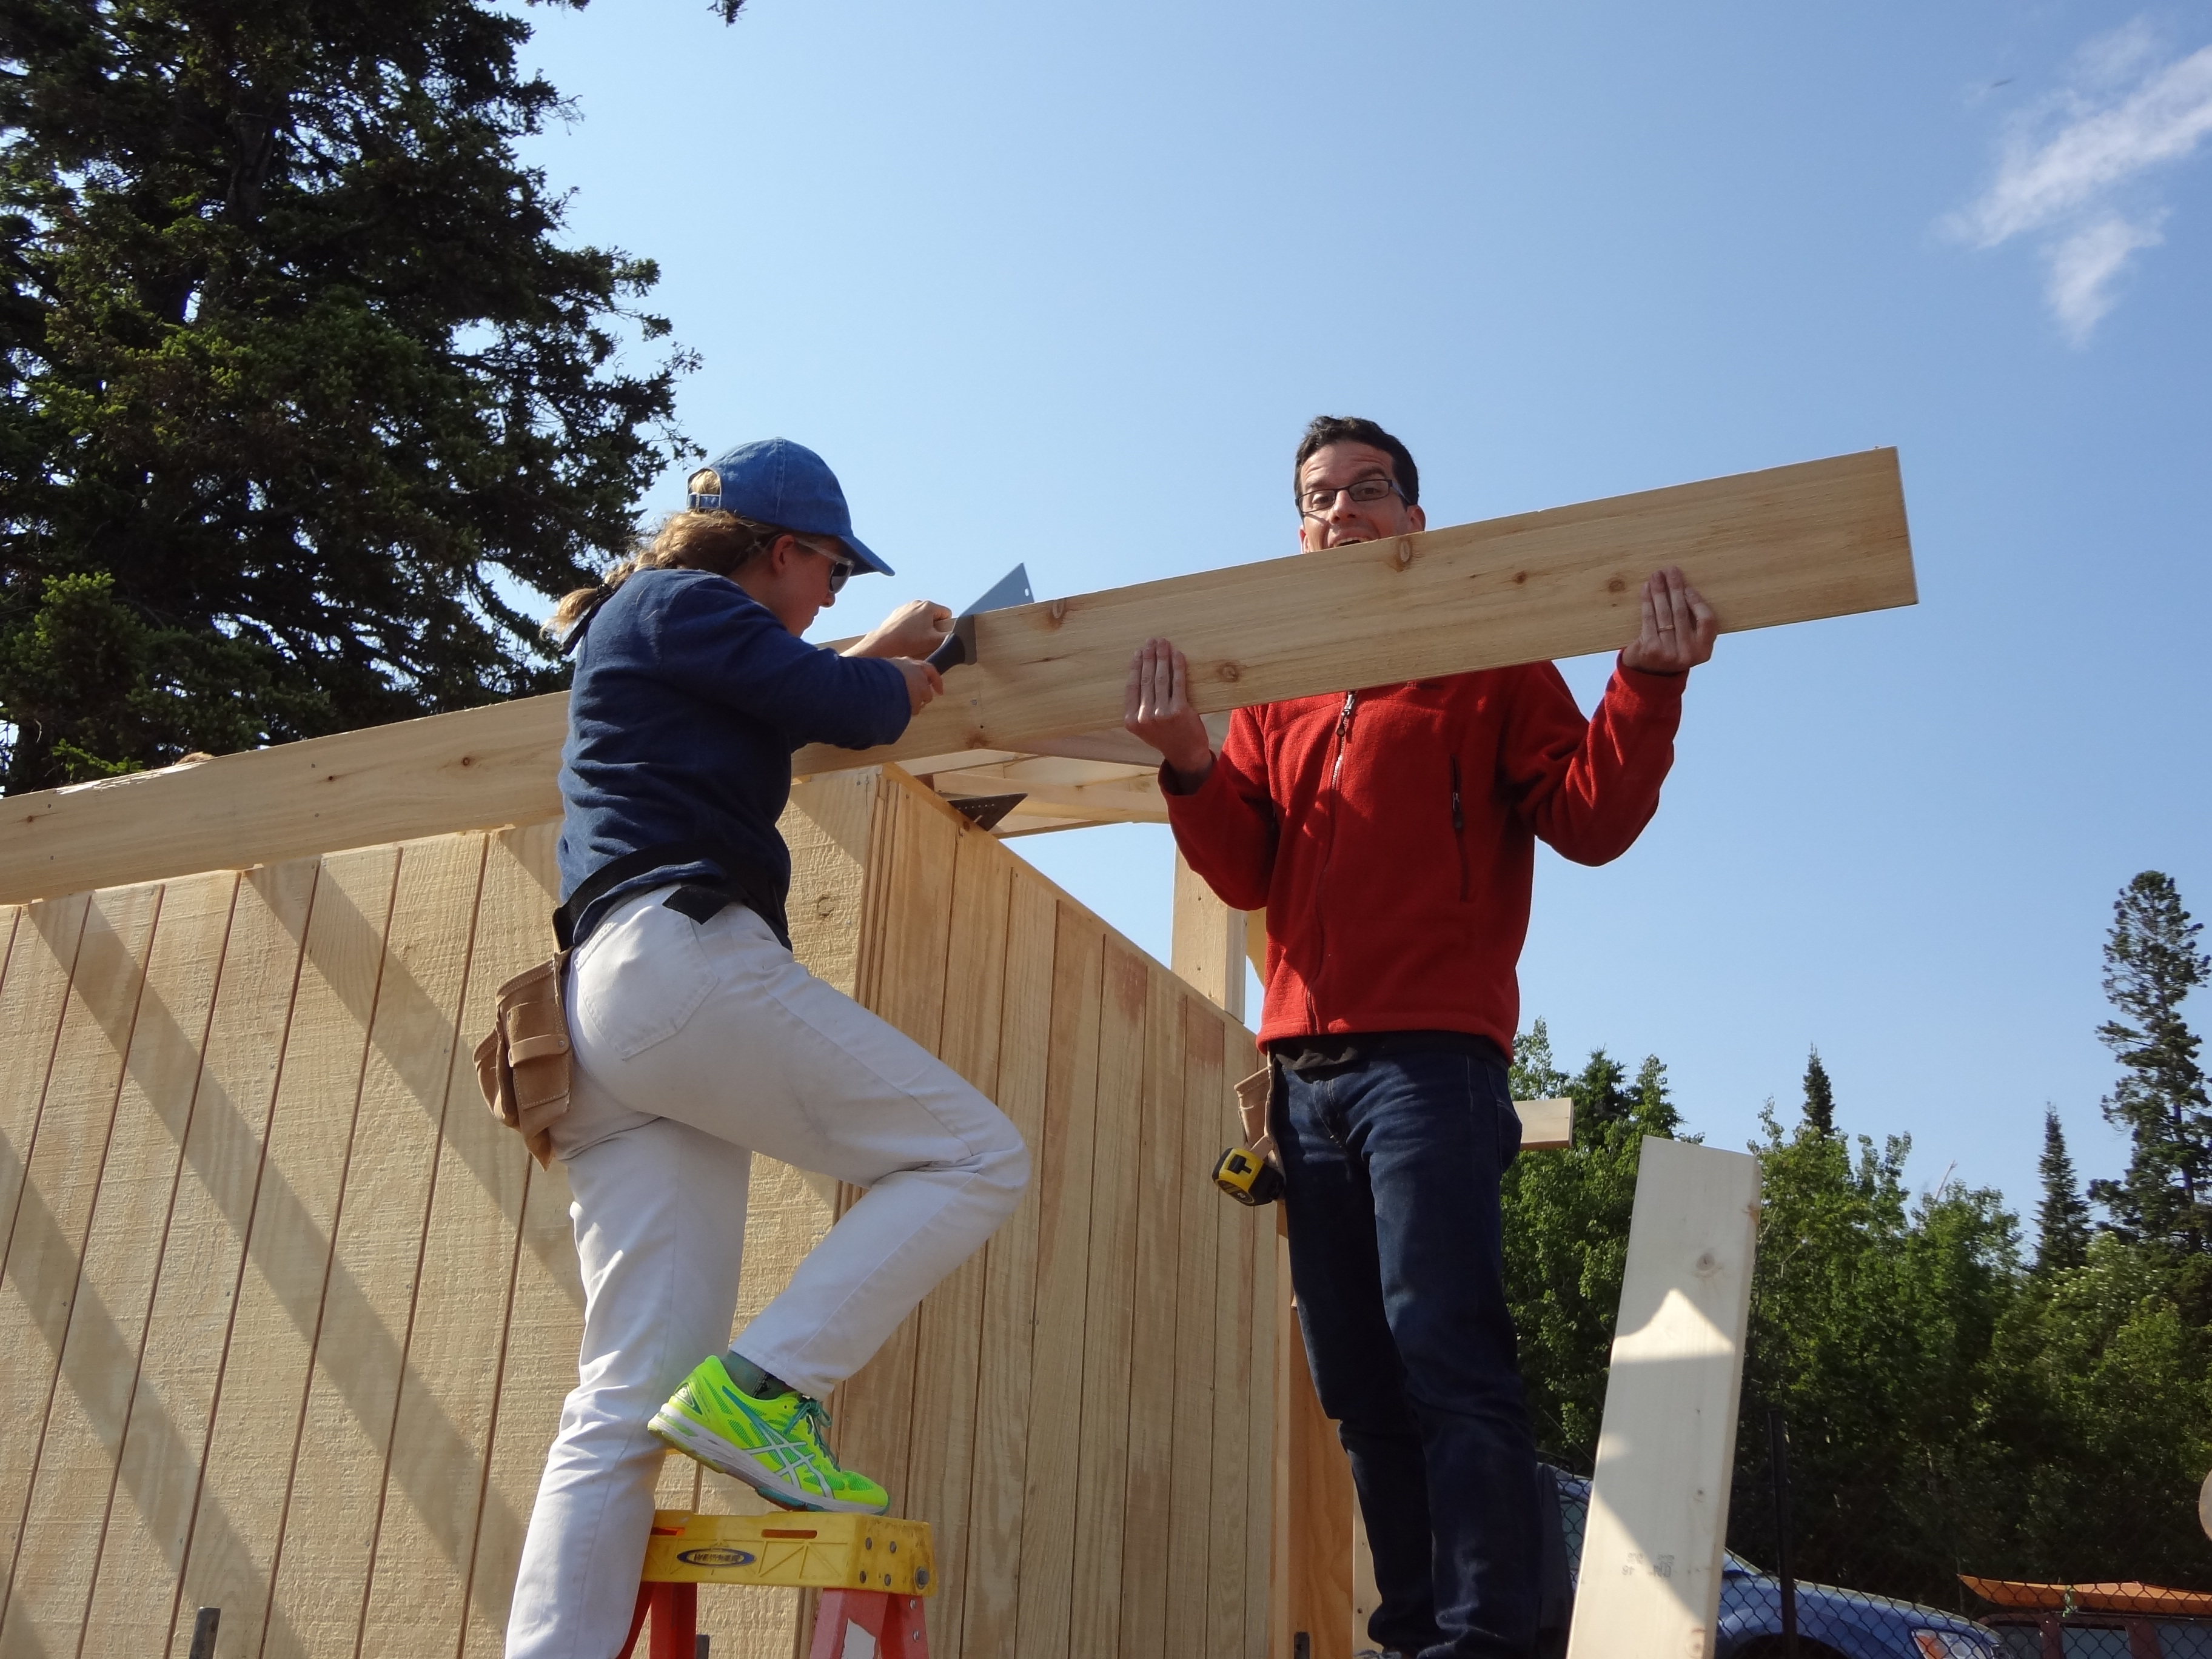
Cutting the fascia to size. Use something sharp – a hand saw, your teeth, whatever you got.
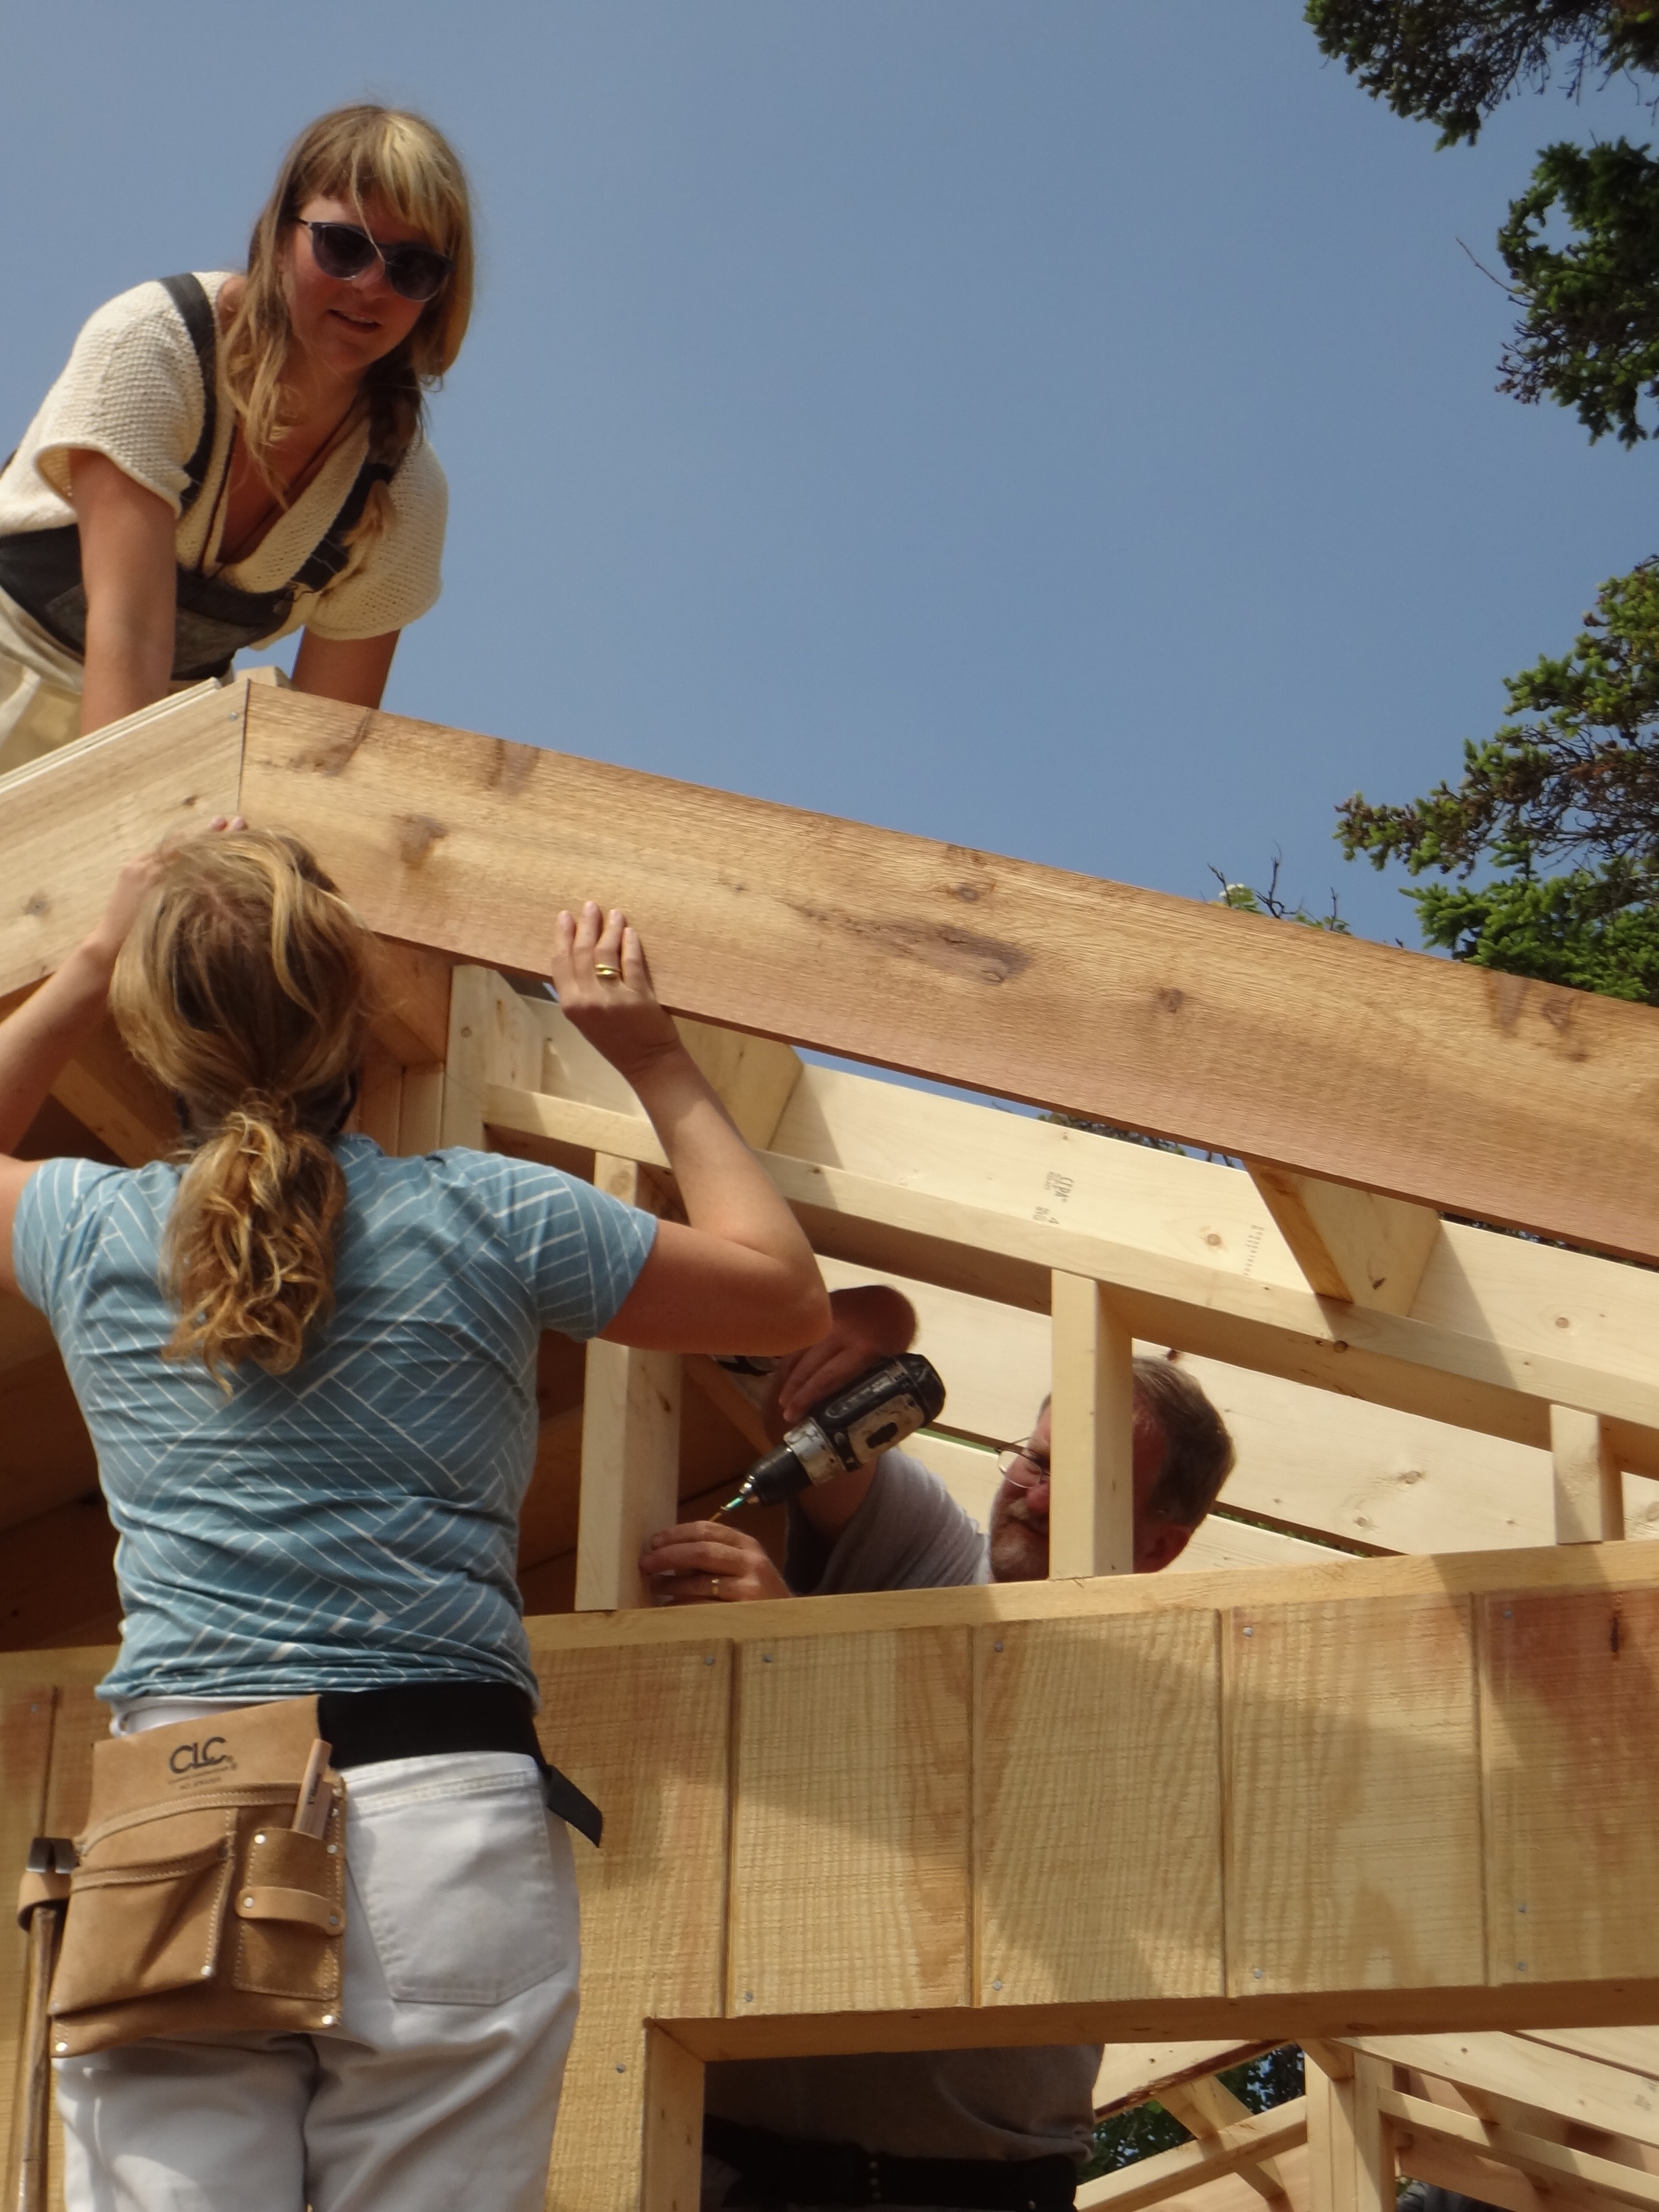
Joining fascia (you can also see the gable frame studs being installed)
It’s good to know that you can easily construct a roof with pre-fabricated trusses. I’d like to build a house or cabin on some land I have up in the mountains. It’d be a nice place to retreat to.