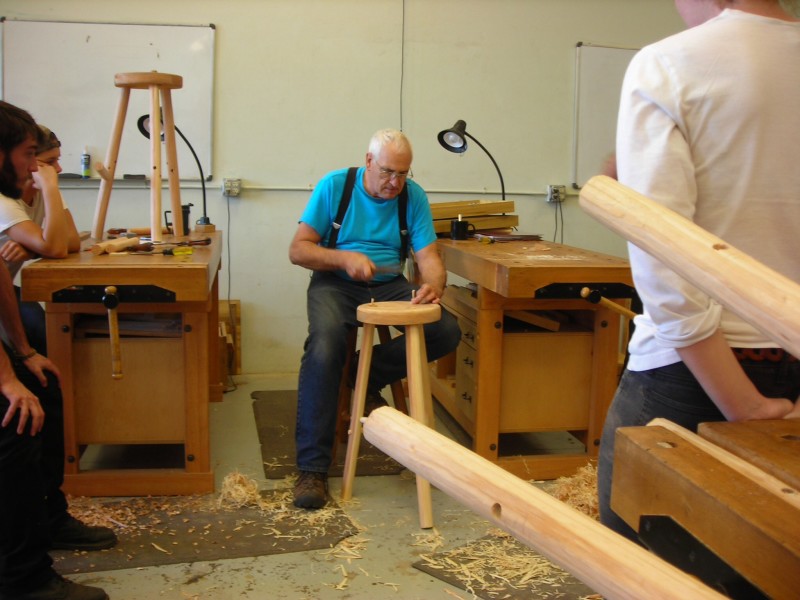
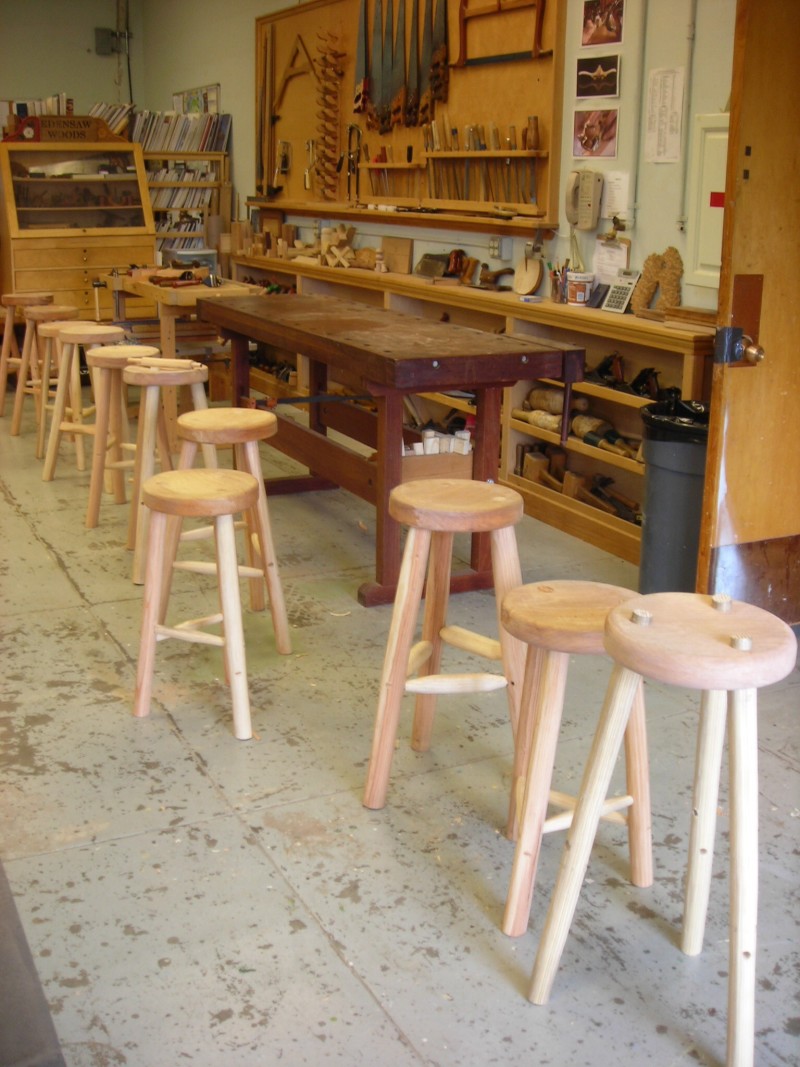
First week at the Port Townsend School of Woodworking. This is the beginning of the Foundations of Woodworking course, which focuses on traditional hand tool skills. We began by riving green wood – splitting logs from a recently felled Douglas Fir – and made three-legged stools. In the process, we got familiar with basic tools for shaping wood, including the shaving horse, drawknife, spokeshave, and pullshave. We learned how to cut tenons by hand and to fasten the tenons with wedges.
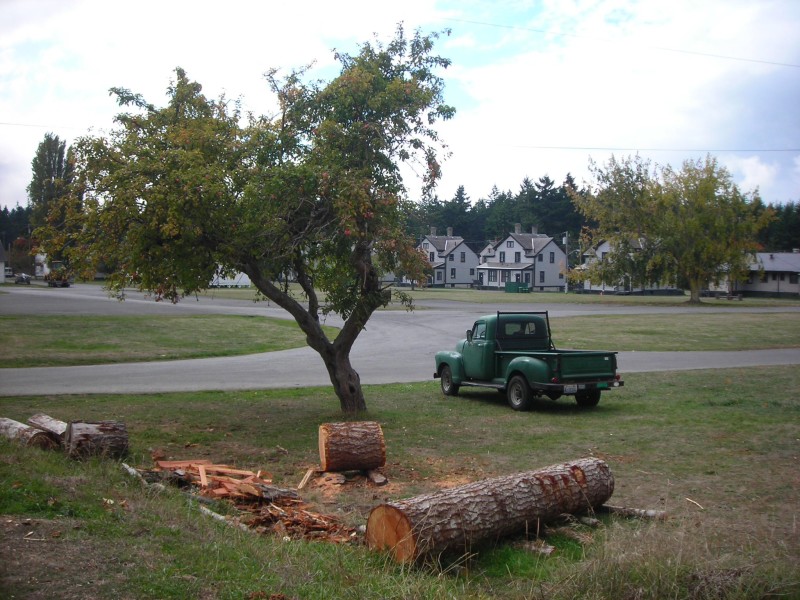
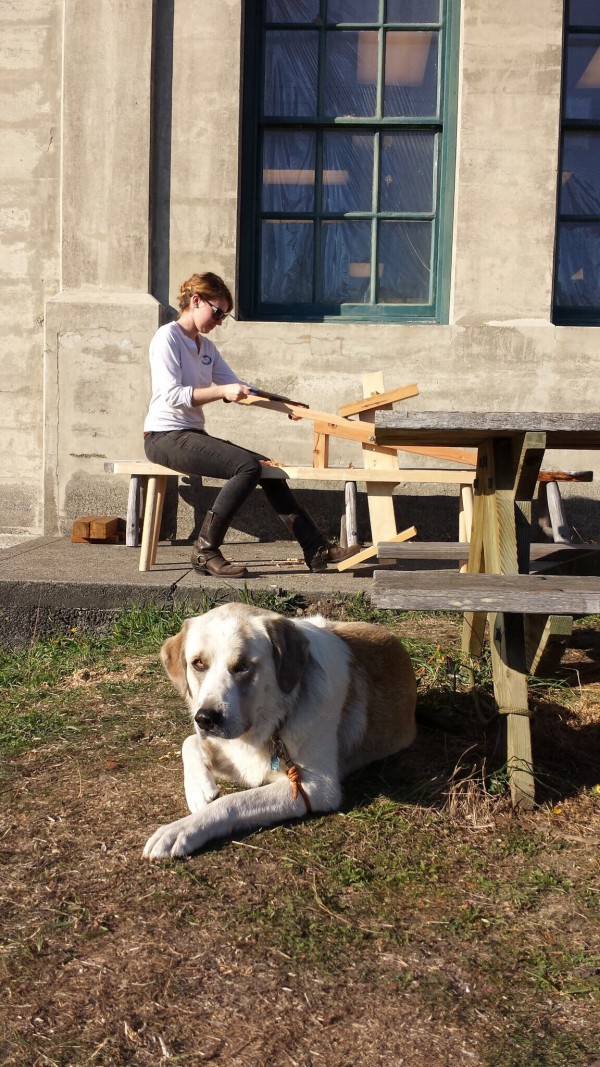
the scene outside the woodshop
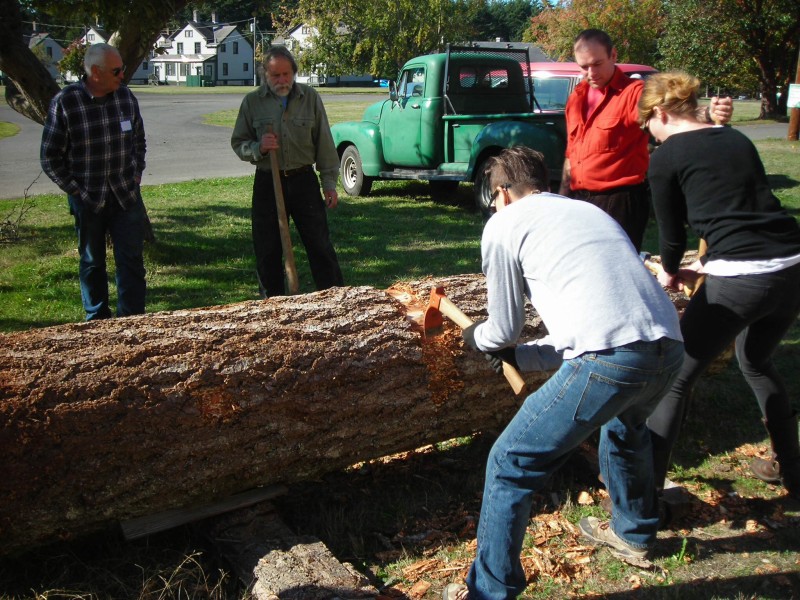
Removing bark before sawing the log
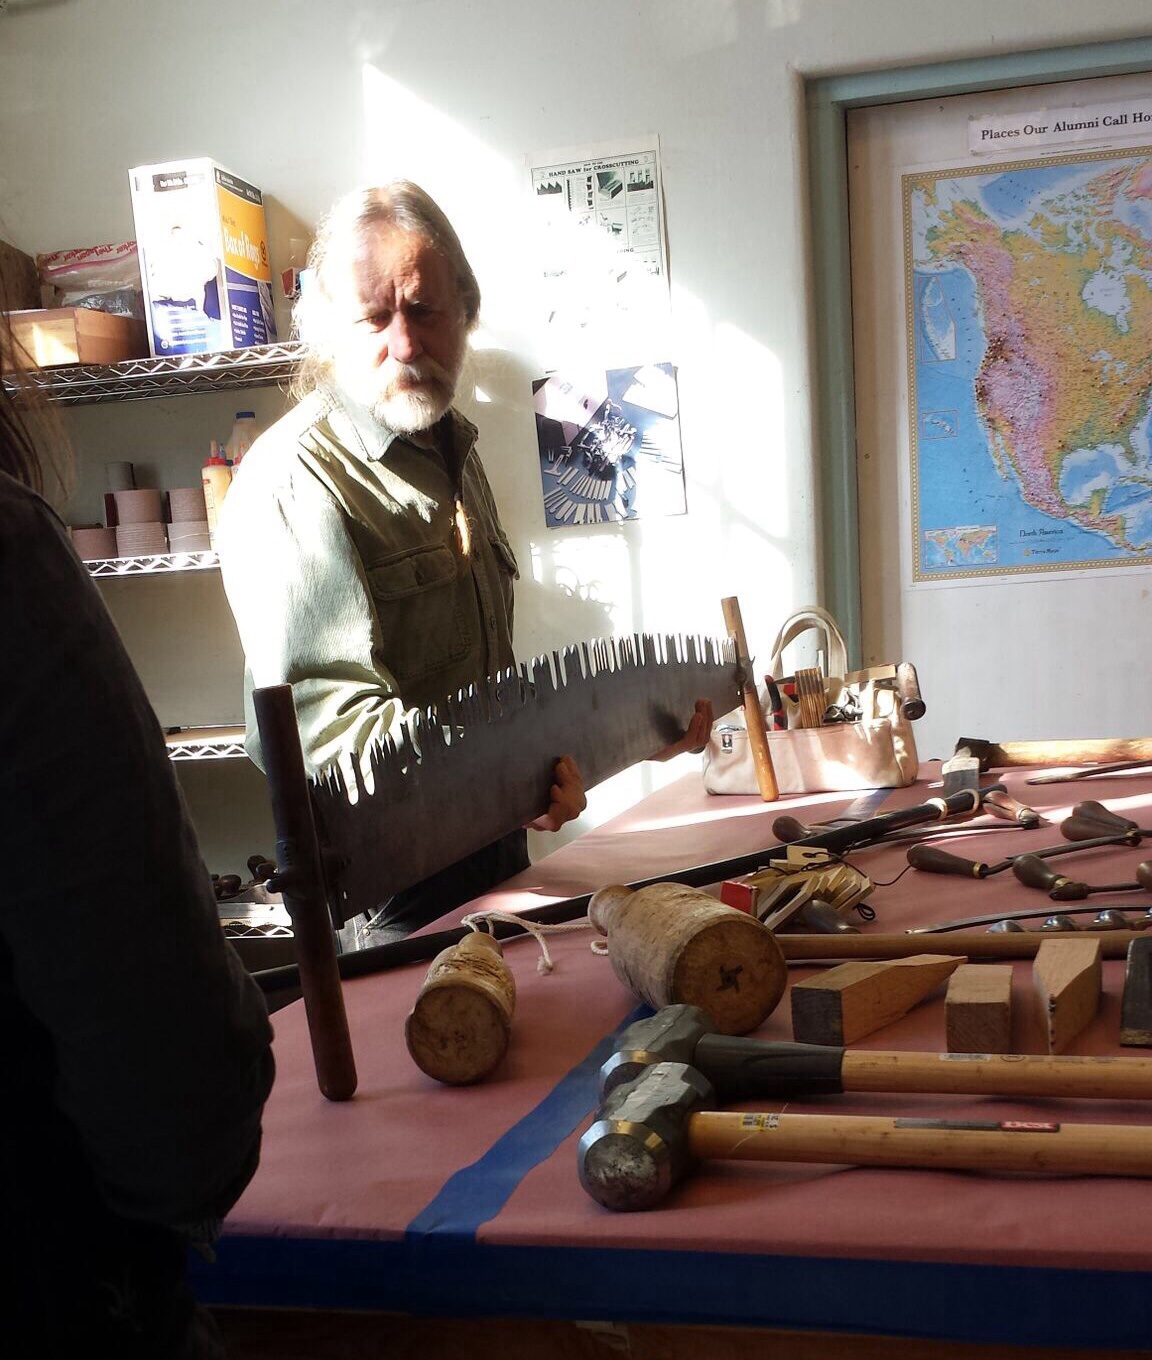
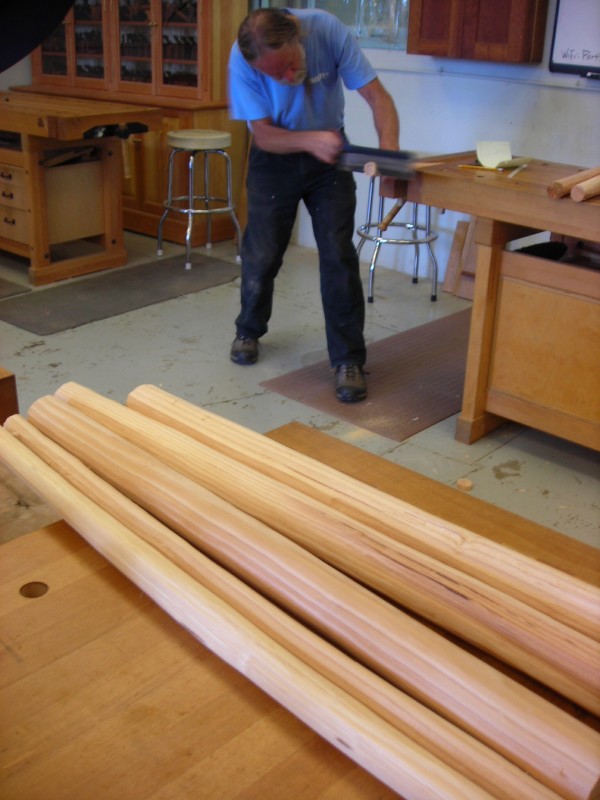
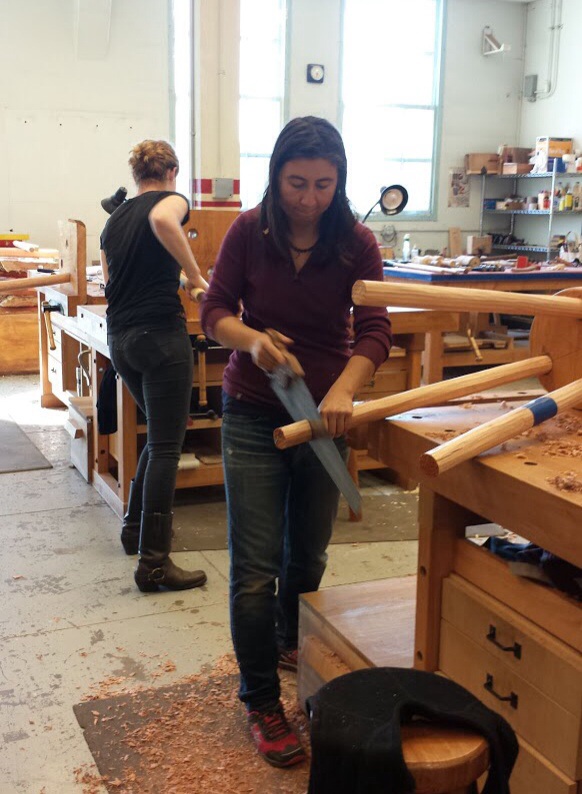
6-foot saw
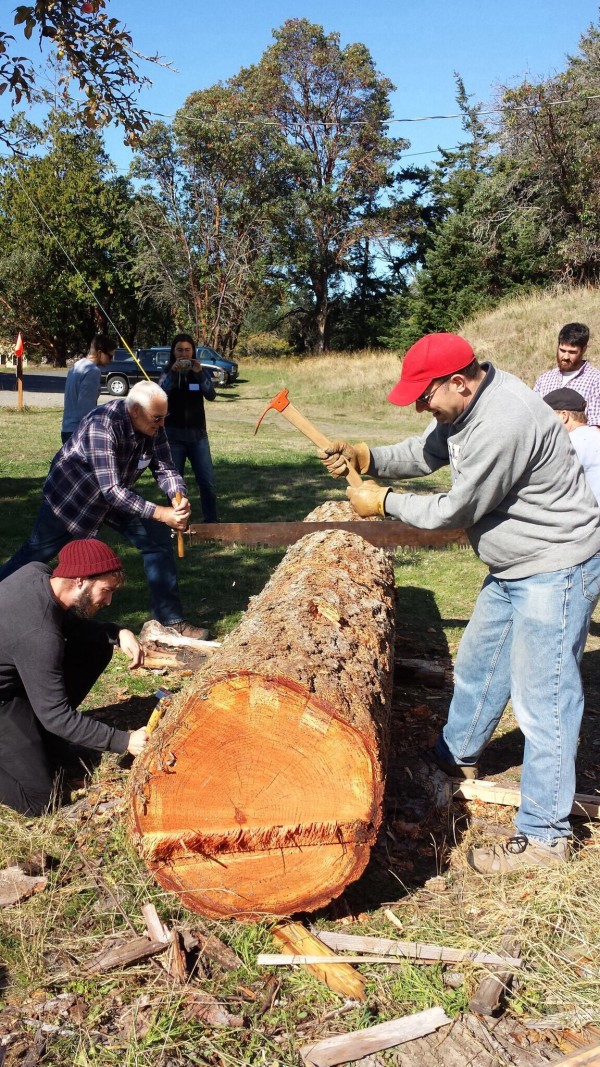
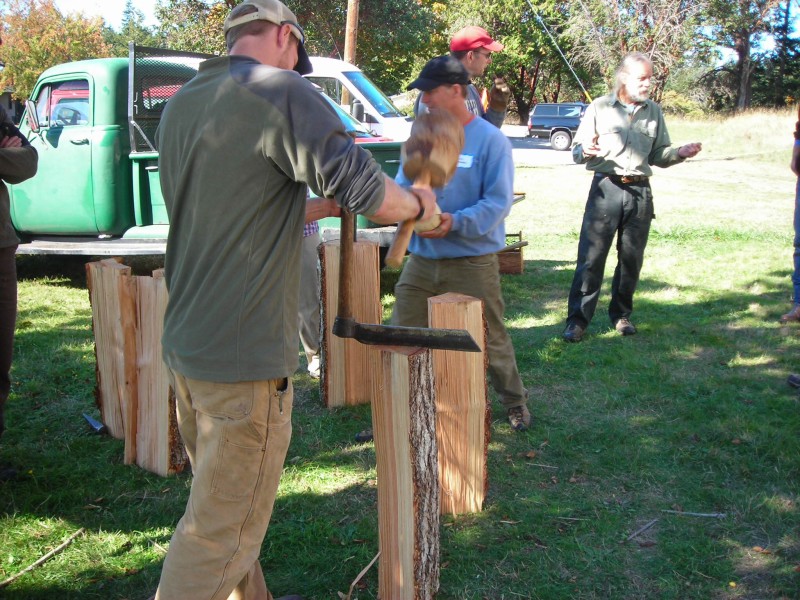
using wedges to split the log
As the metal wedges begin to split the log, you can add wooden wedges along the side of the split to help it along
nice split!
We continued to split the pieces into halves, to make pieces about 2″ in diameter for stool leg stock.
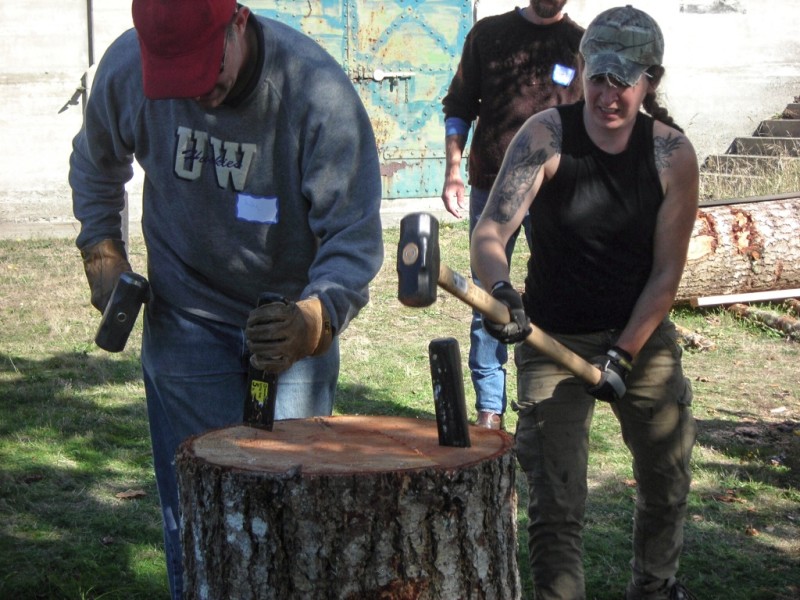
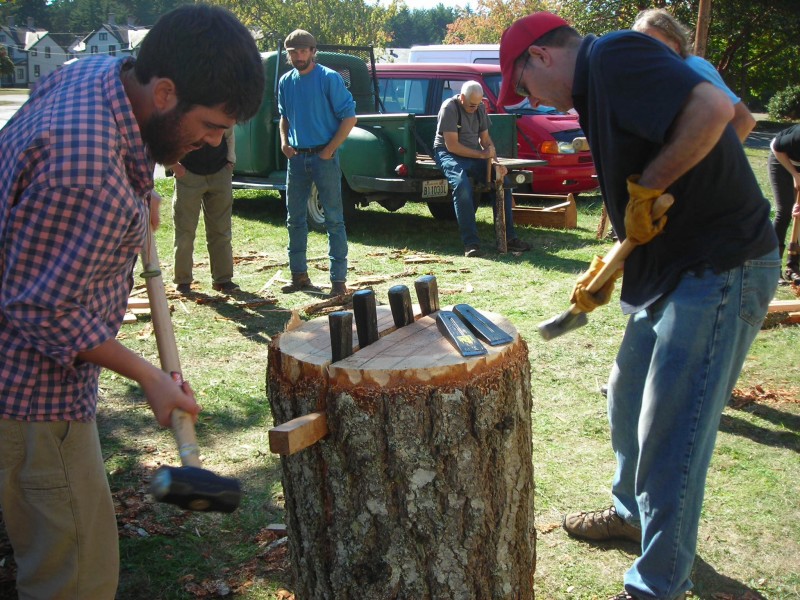
Using the froe with a wooden mallet to split the wood into smaller pieces
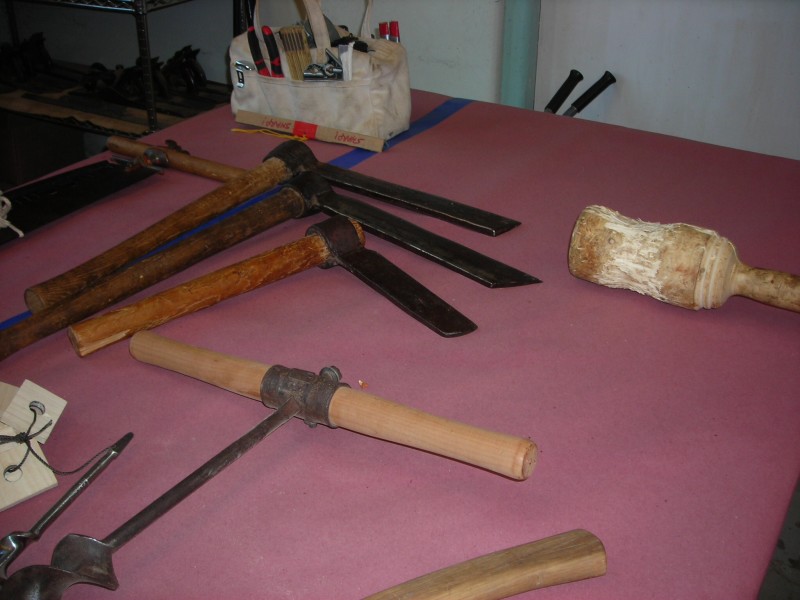
Froes and wooden mallet
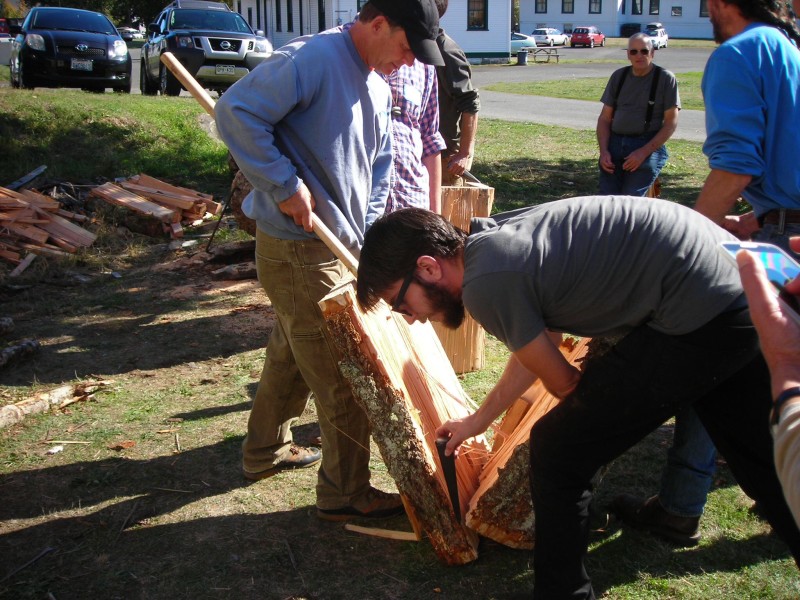
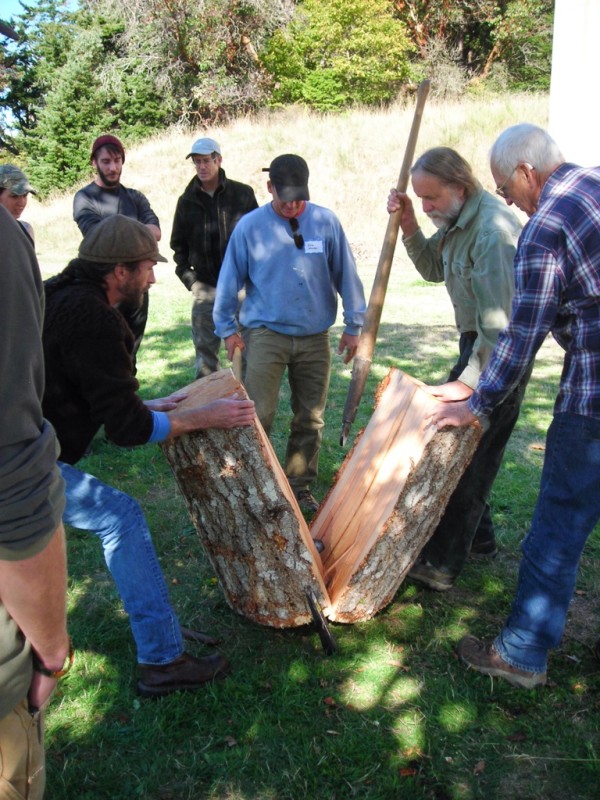
Splitting the log into slabs
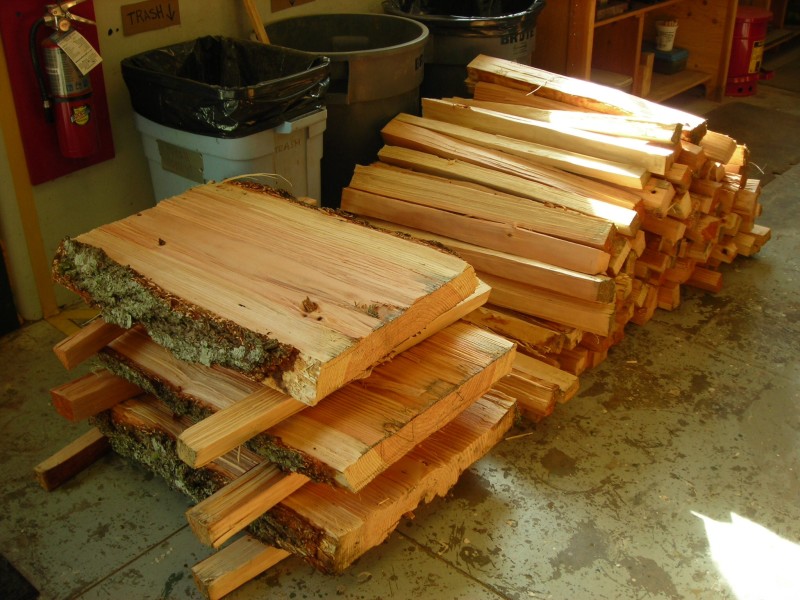
The end result was a nice pile of pieces for stool legs and stretchers, as well as few slabs that could potentially be used for seats.
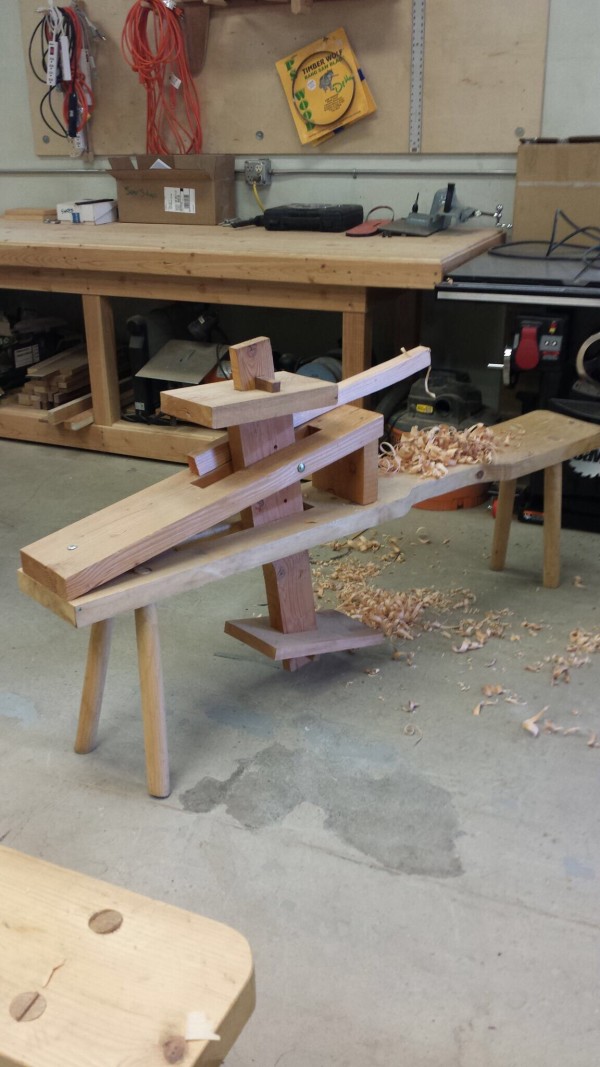
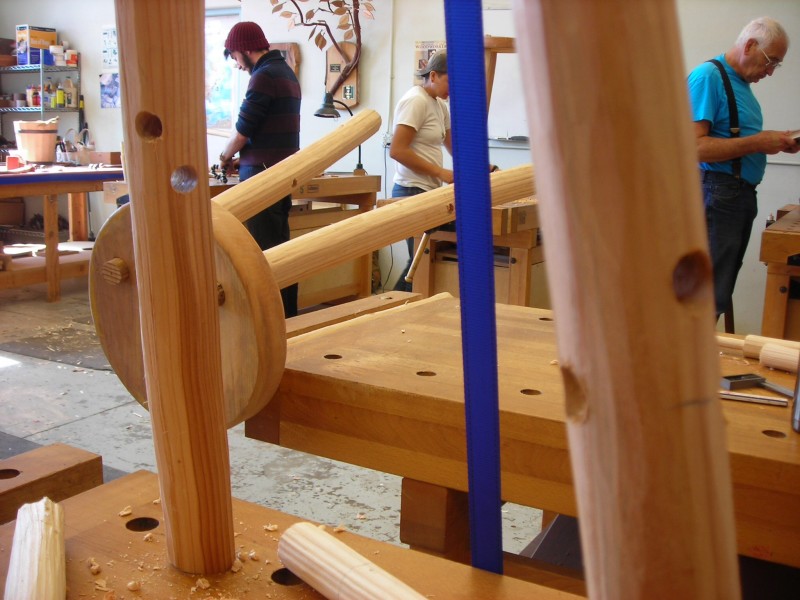
shaving horse
Using a drawknife at the shaving horse to round the pieces for legs and stretchers
Rounded pieces for legs and stretchers
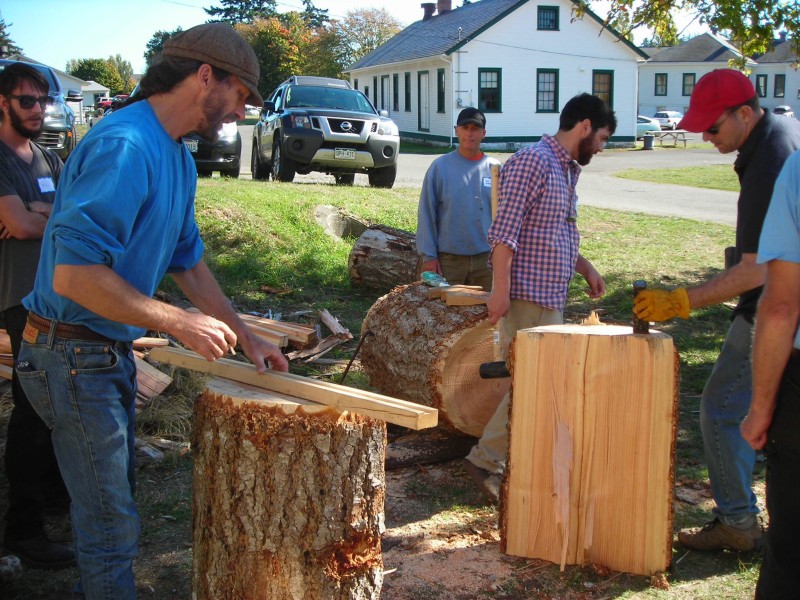
Alder boards for seats
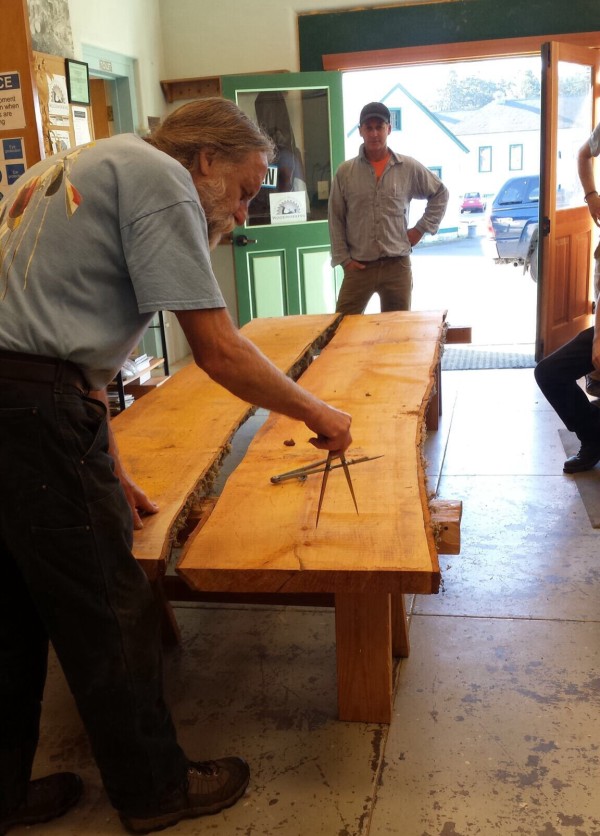
Using a marking gauge to draw the circle for the seat.
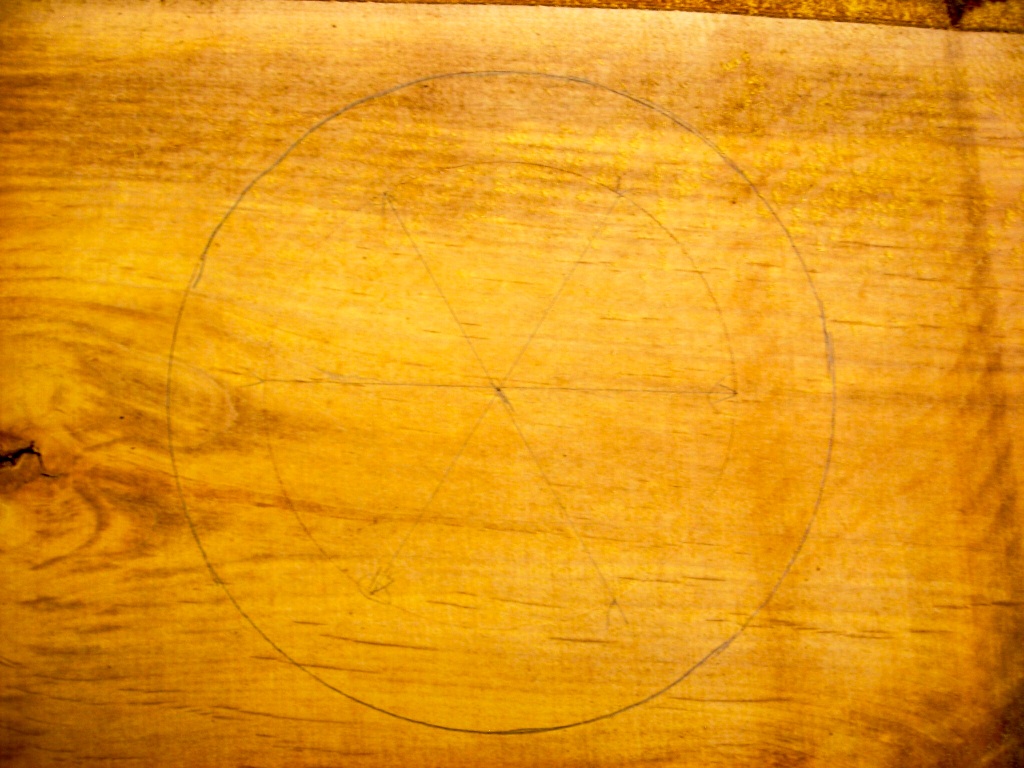
12″ diameter seat. 10″ diameter inner circle marks the placement of the three holes for legs. Note: the radius of the inner circle = the distance between each of the six points along the circumference.
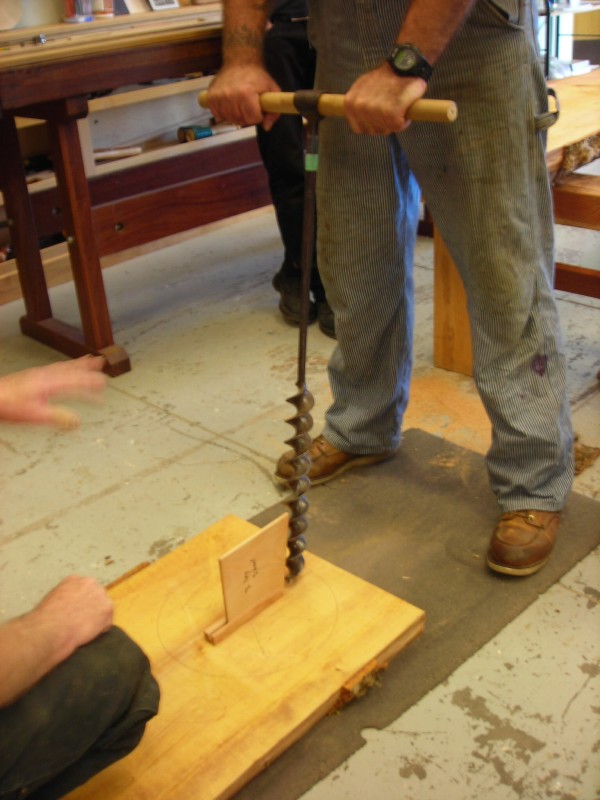
Using a jig to set the angle for drilling the hole. Start the hole the counterbore.
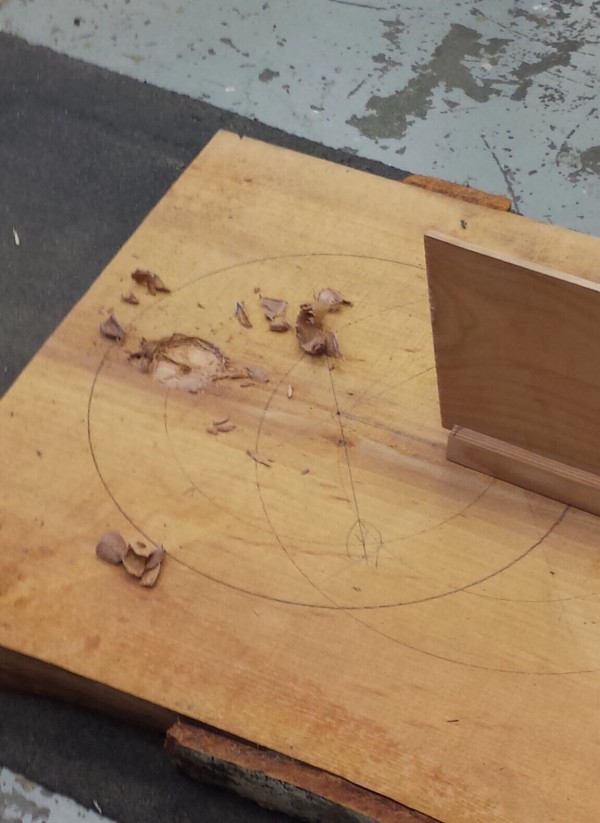
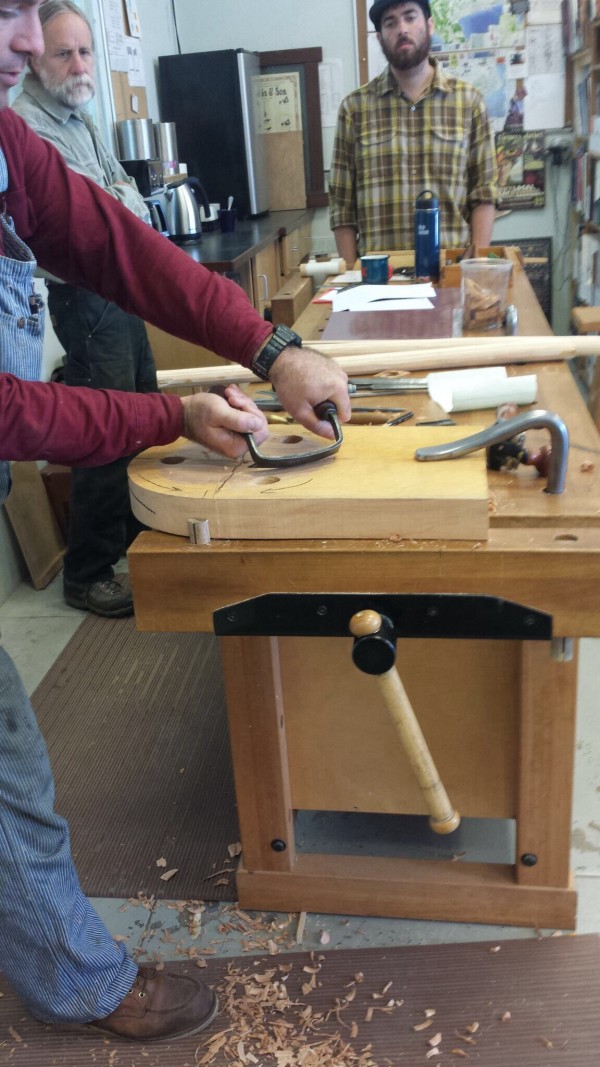
Drive the counterbore just until a flat surface is created in the hole to create the shoulder for the stool leg
We then drilled the hole through with a hand drill, 1 1/4″ diameter (smaller than the counterbore hole).
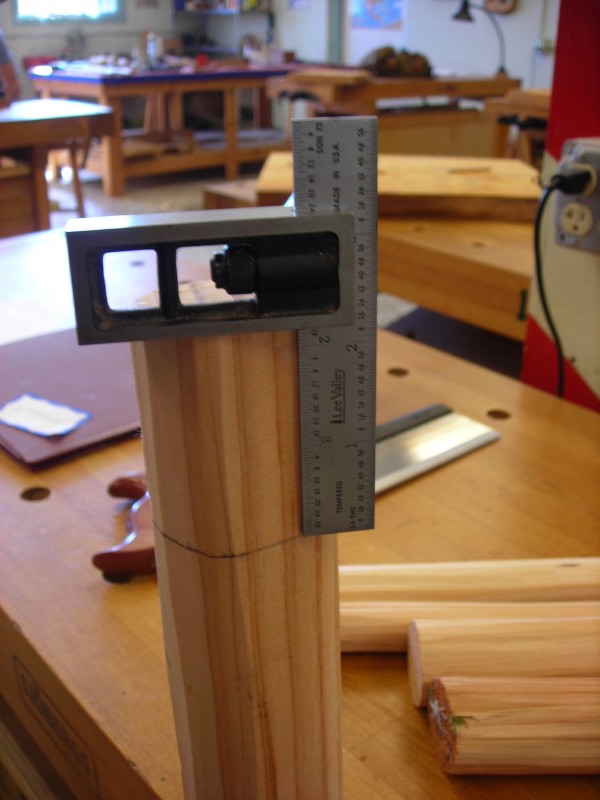
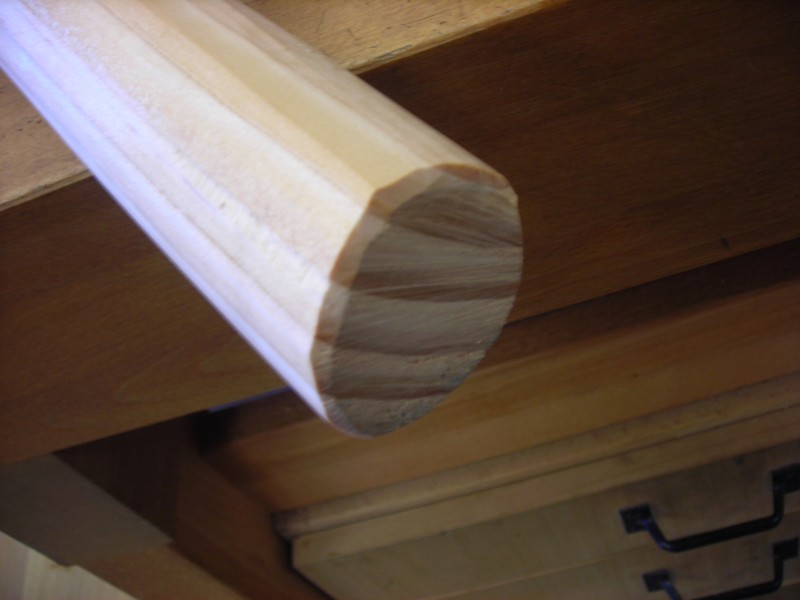
Marking out the length of the tenon
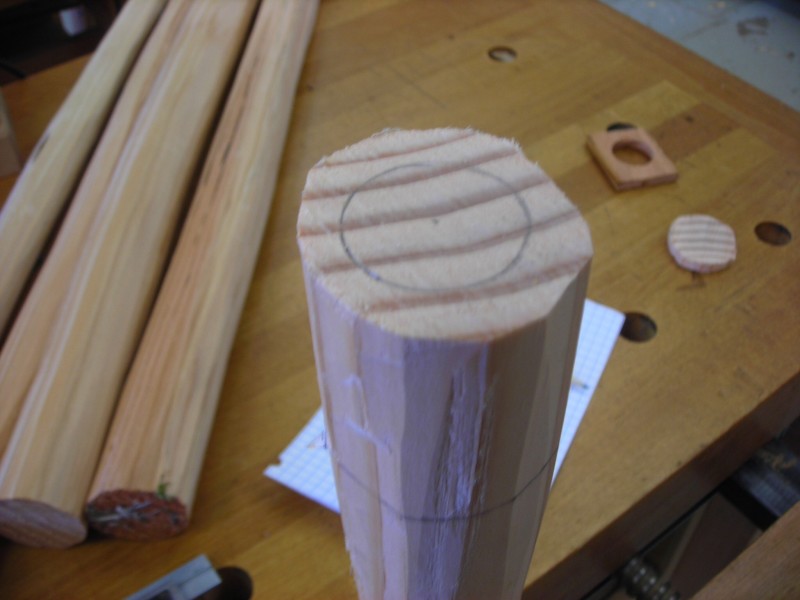
Diameter of tenon marked out on the end of the leg
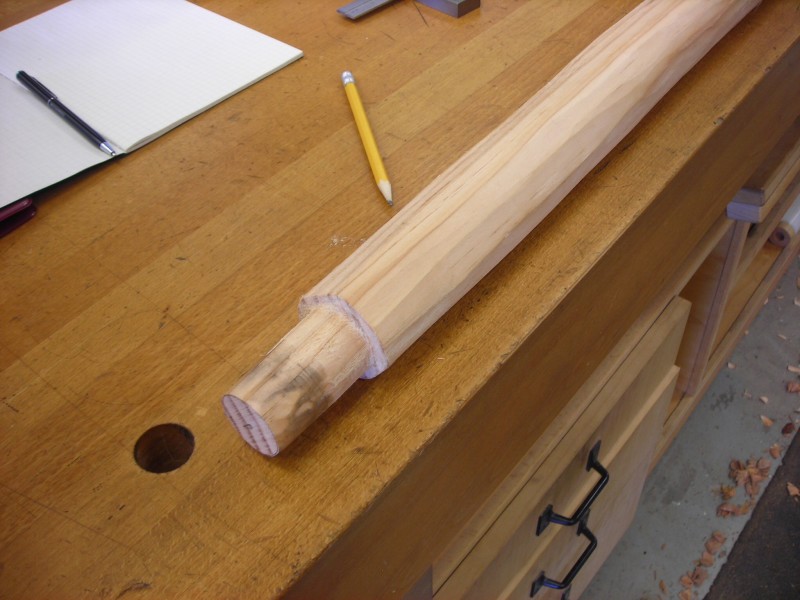
Tenon is shaped with a drawknife and chisel
Checking the fit of the legs in the seat
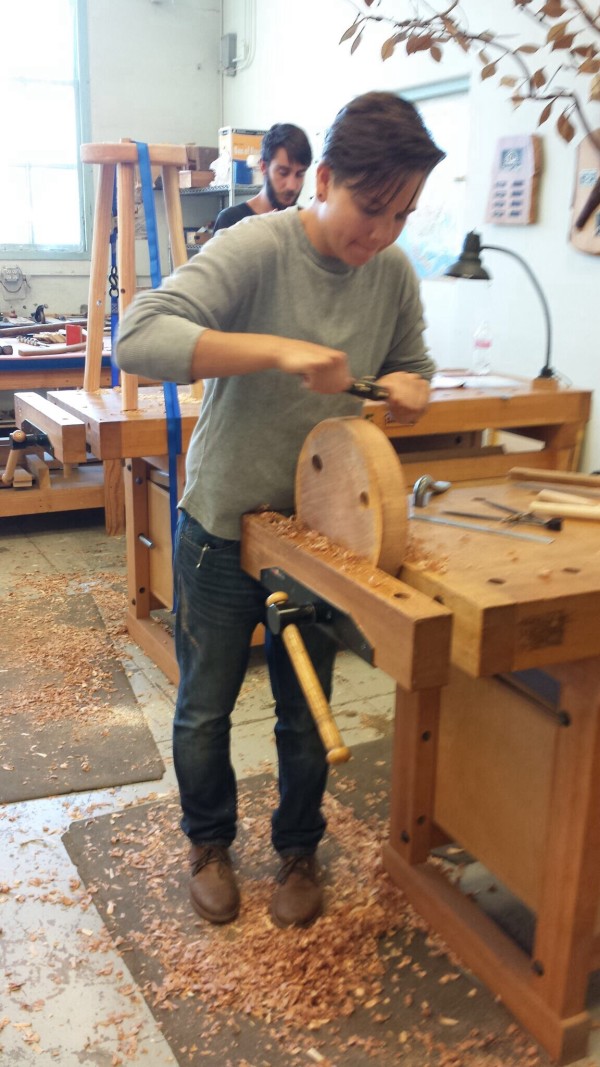
Carving the seat with an inshave
Smoothing out the edge of the seat with a spokeshave

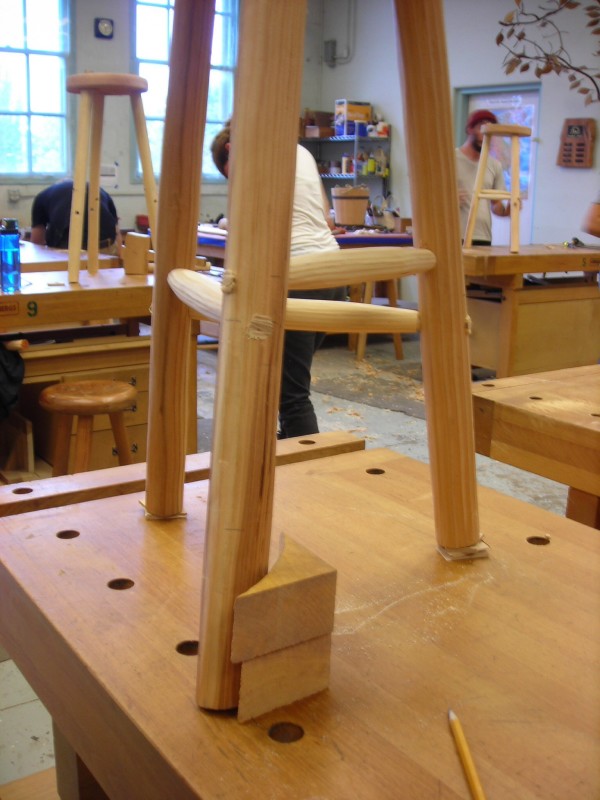
Drilling holes for stretchers
Holes in legs drilled for stretchers
Measuring approximate length of stretchers and tenons

After cutting the stretchers to approximate length (leaving a little bit to stick out on both ends of the stool legs), we cut the tenons on them
Using a ripsaw, “kerfs” are cut into all the tenons (up to one thumb distance from the shoulder) to receive wedges.
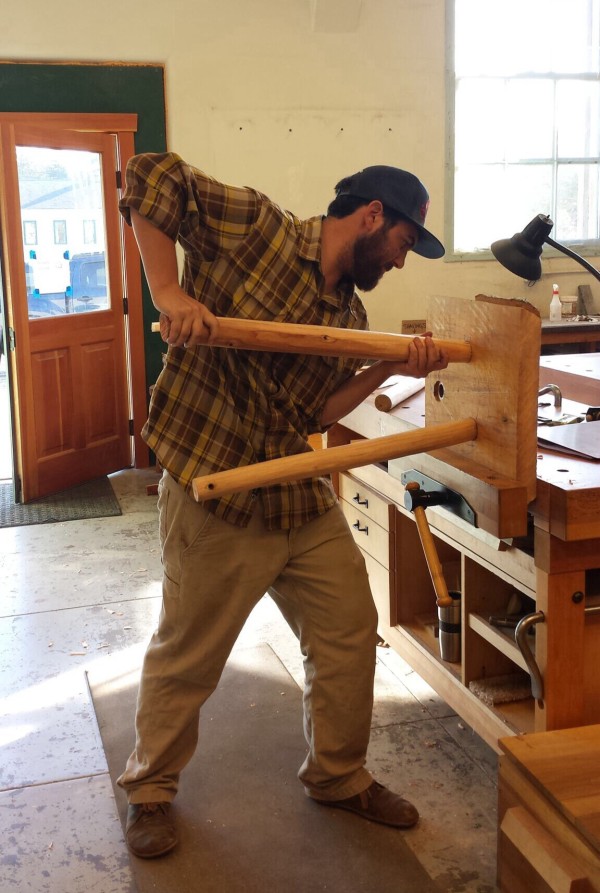
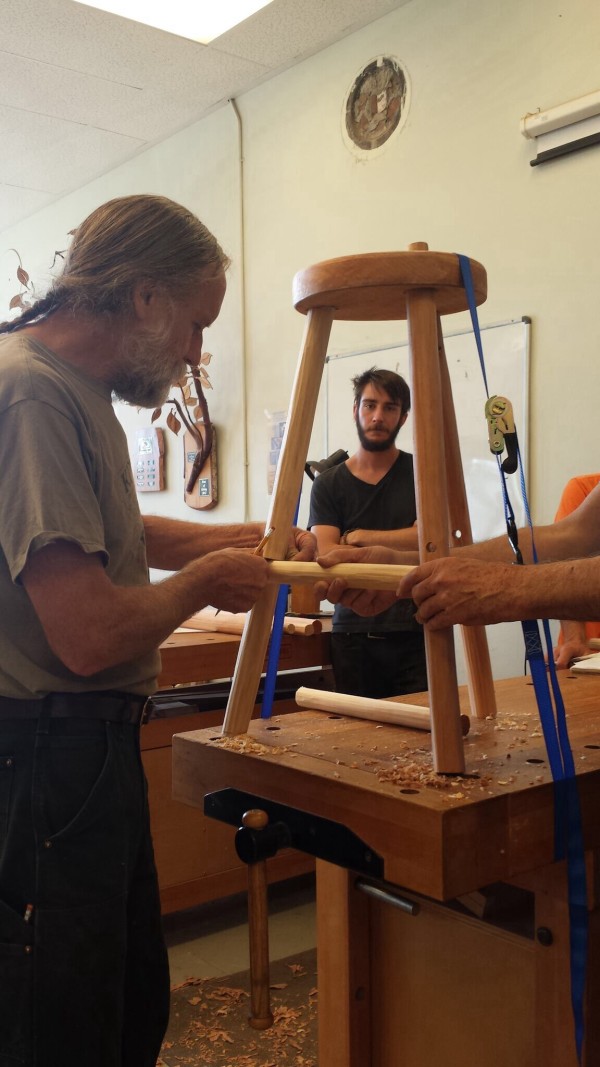
Fit-up: Legs are slightly removed from seat while all stretchers are fitted into place. Then all pieces are gradually pushed together.
Then seat wedges are driven into place, followed by stretcher tenons. The protruding tenons and wedges are shaved off.
Driving wedges into the tenons
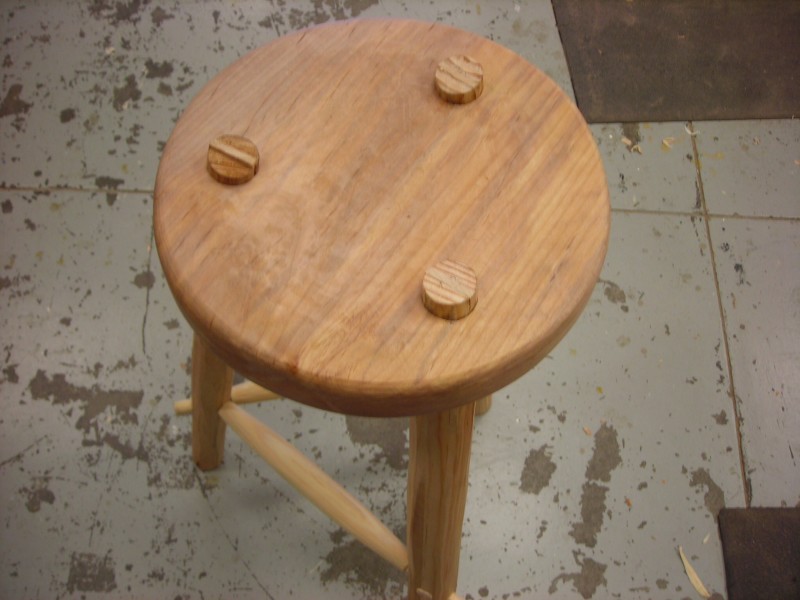
Wedges in the tenons
Leveling the stool: legs are shimmed til stool is level on the table. Then blocks (sitting here by the front leg) are used to draw a line around the legs at the desired height, and then the legs are sawn at the drawn lines.
how to level the stool
In a couple months, we’ll come back to the stools and likely re-wedge the tenons to firm up the loosening that will occur over time as the wood dries.
Leave a Reply