Roofing continues:
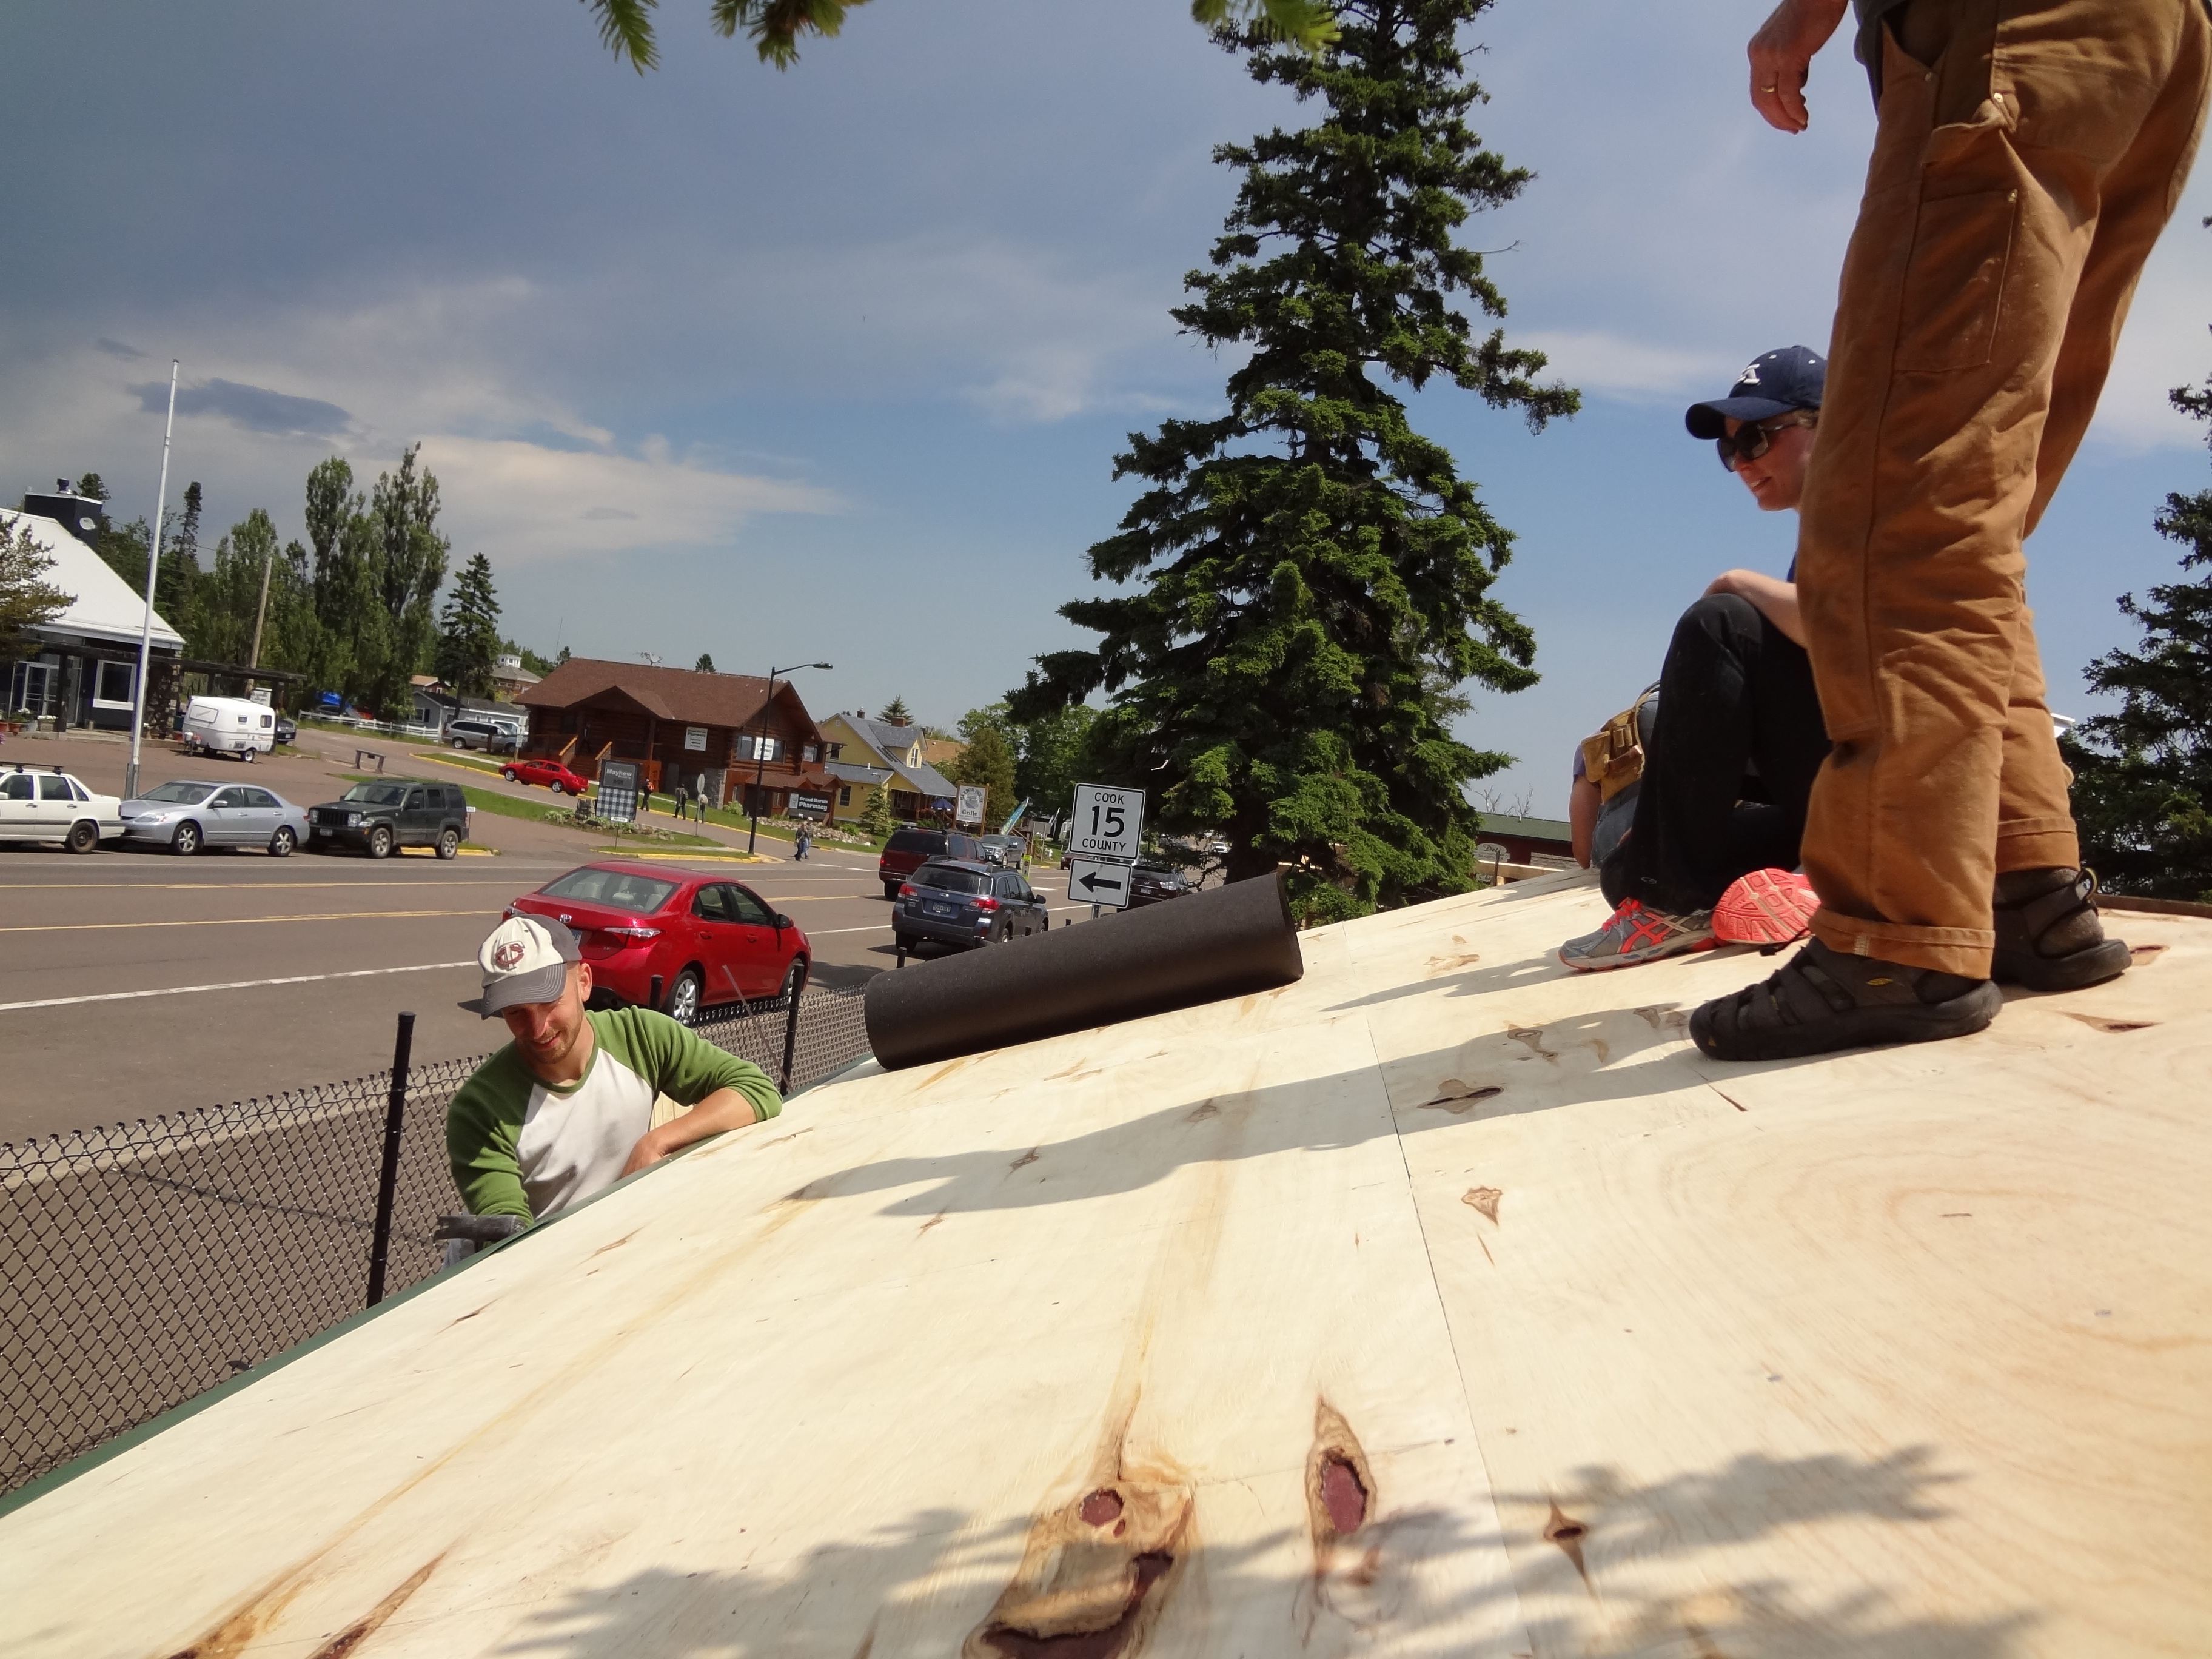
Next we will be covering the roof frame with 5/8″ plywood sheets. First, snap lines on the rafters where you will attach the ply sheets. Attach the sheets using 8-penny nails. Remember to stagger the joints of the sheets.

Covering roof with plywood sheets

Inside view

To protect the fascia from water damage, attach “Style D drip-edge” onto the edge of the roof, over the fascia, using titanium nails with large heads:
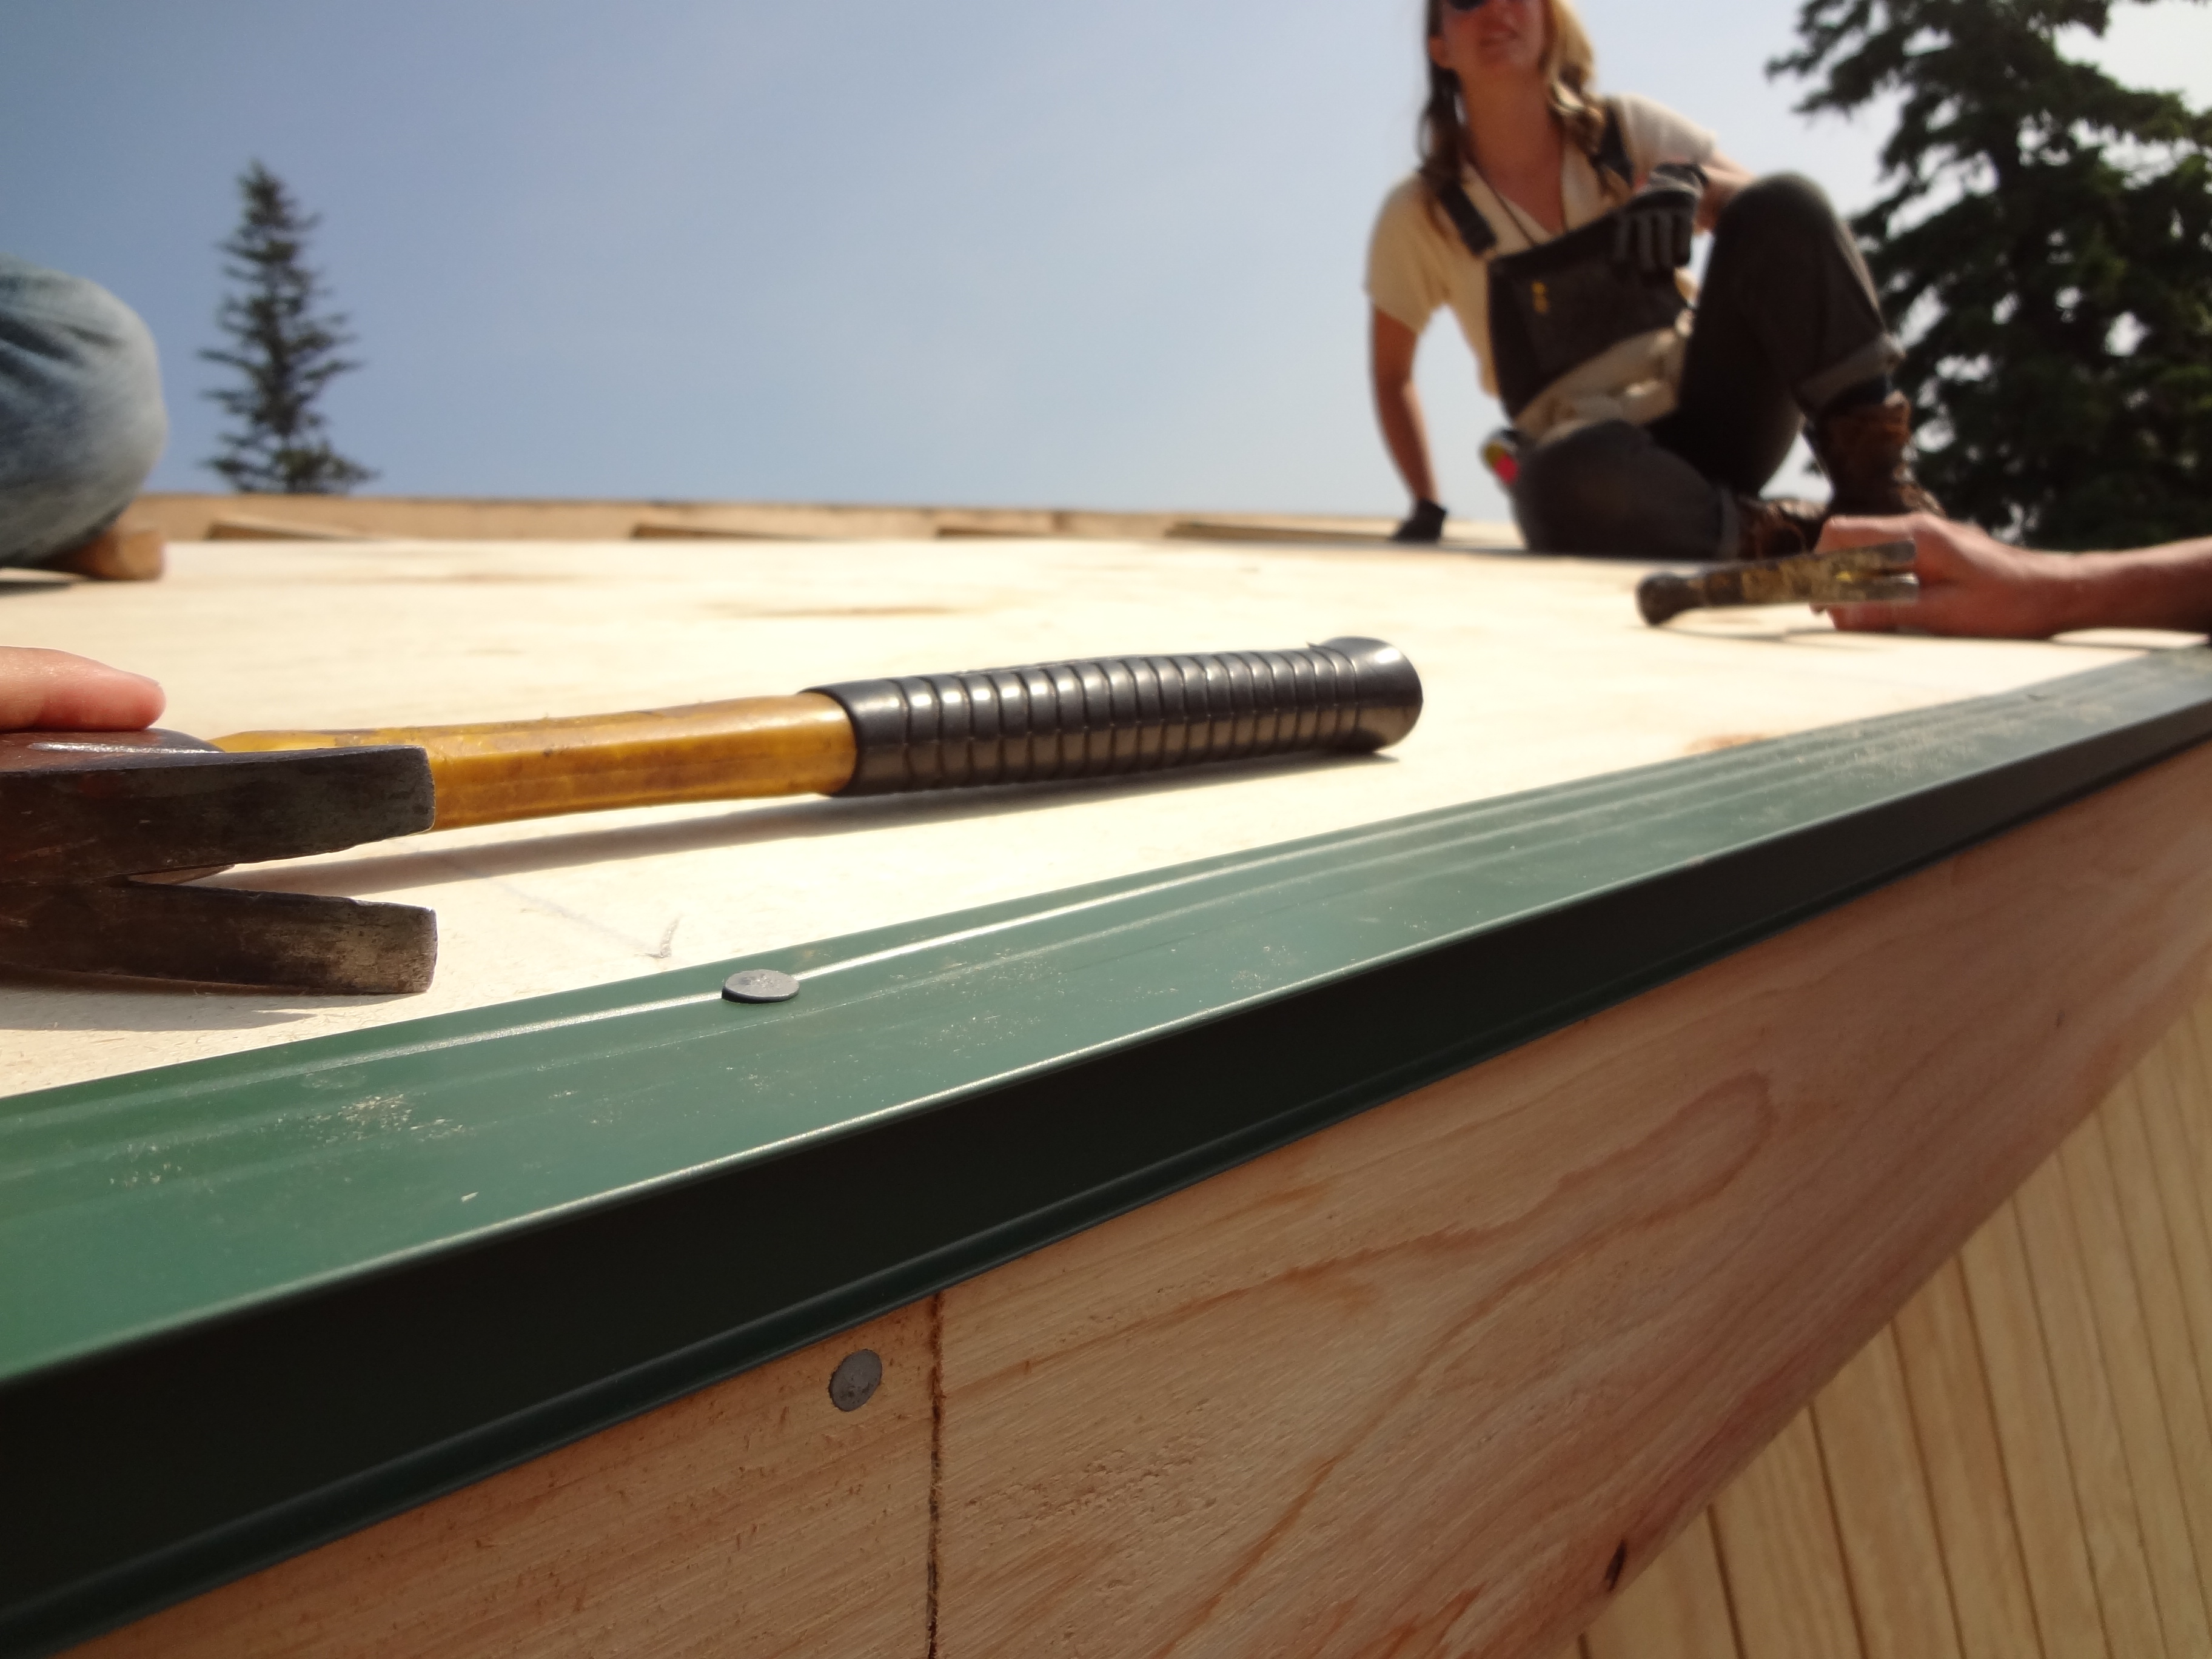
Style D drip edge
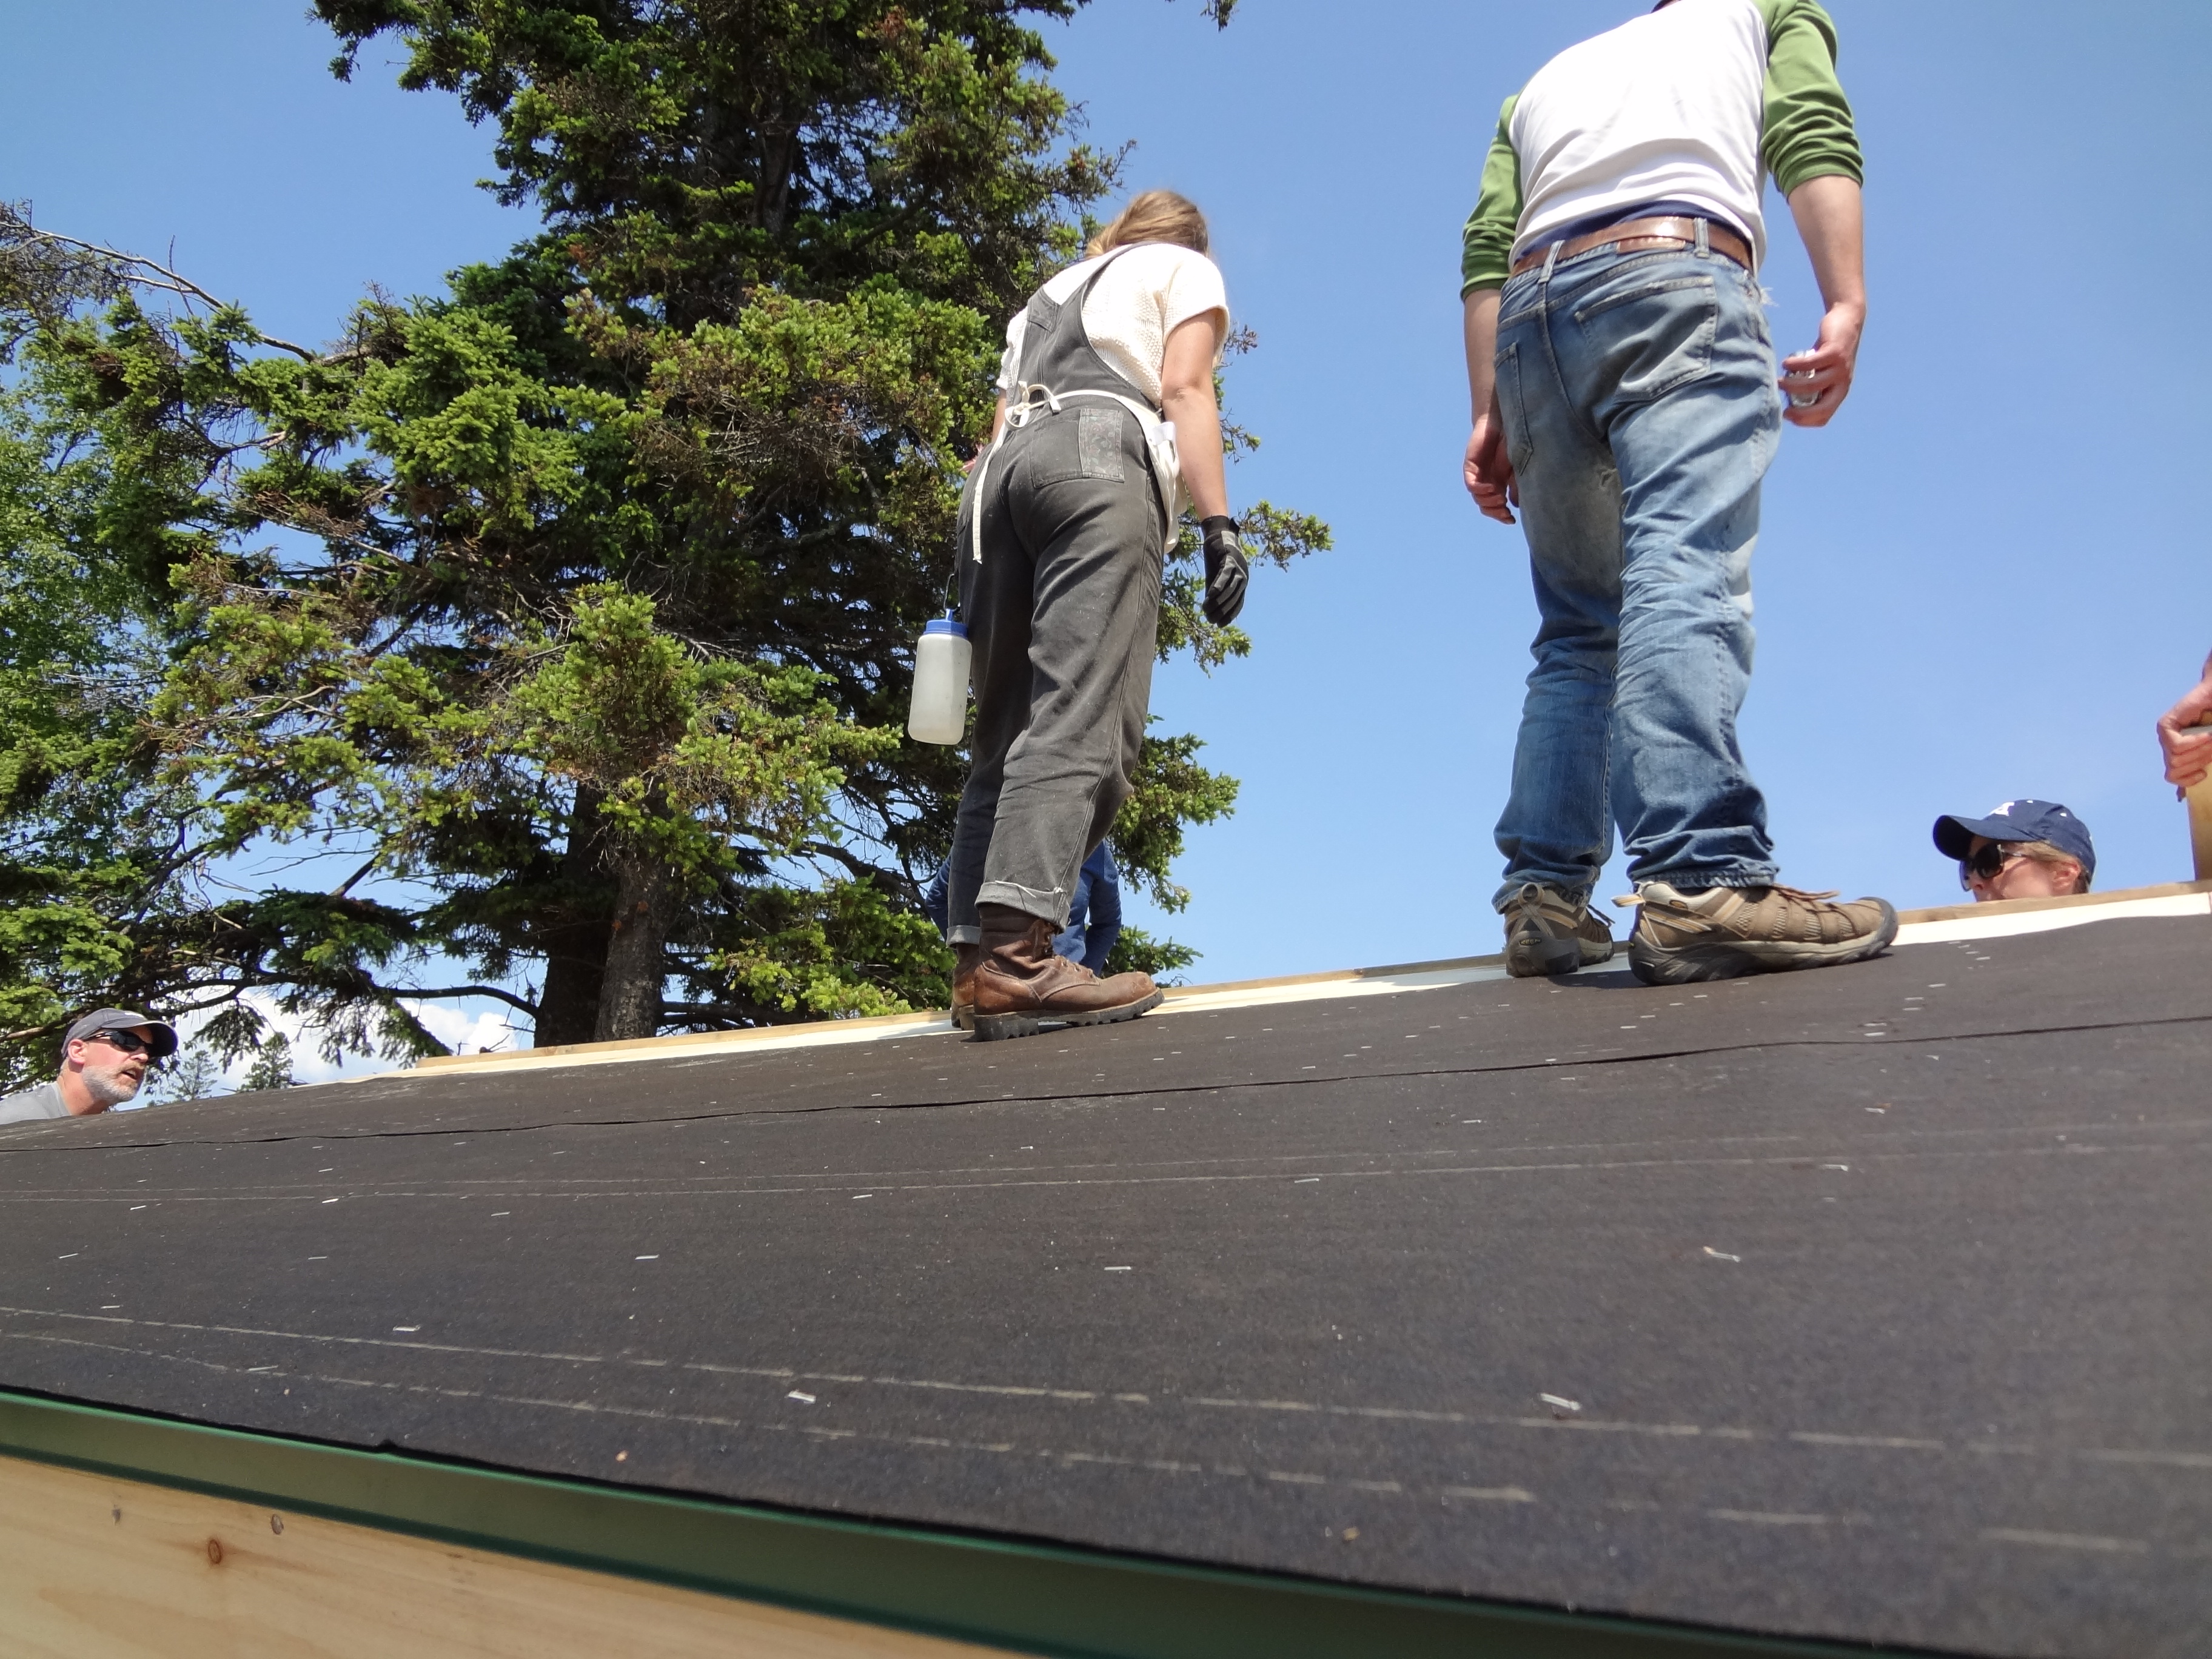
Roll out pieces of tar paper and cut to roof length. Lay the tar paper sheets onto the roof, overlapping the layers by about 2 inches. Staple the tar paper to the roof.
Rolling out tar paper onto the roof
Make sure the tar paper covers the top of the drip-edge on the eave sides of the building. On the gable ends, the drip edge goes over the tar paper.
Tar paper covers drip edge on eave sides
On the gable ends, above the siding, you also want to install “Z-flashing” flush with the top plate.
Z flashing on the gable ends sits atop the siding and flush with the top plate.
Laying out roof shingles:
Begin by laying a strip of starters along the roof edge.
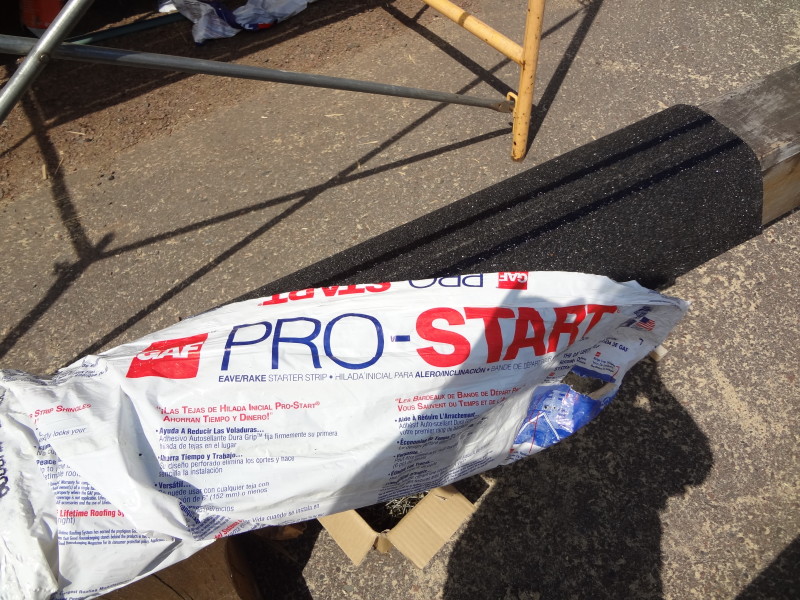
Starter strips
Then begin laying the shingles over that.
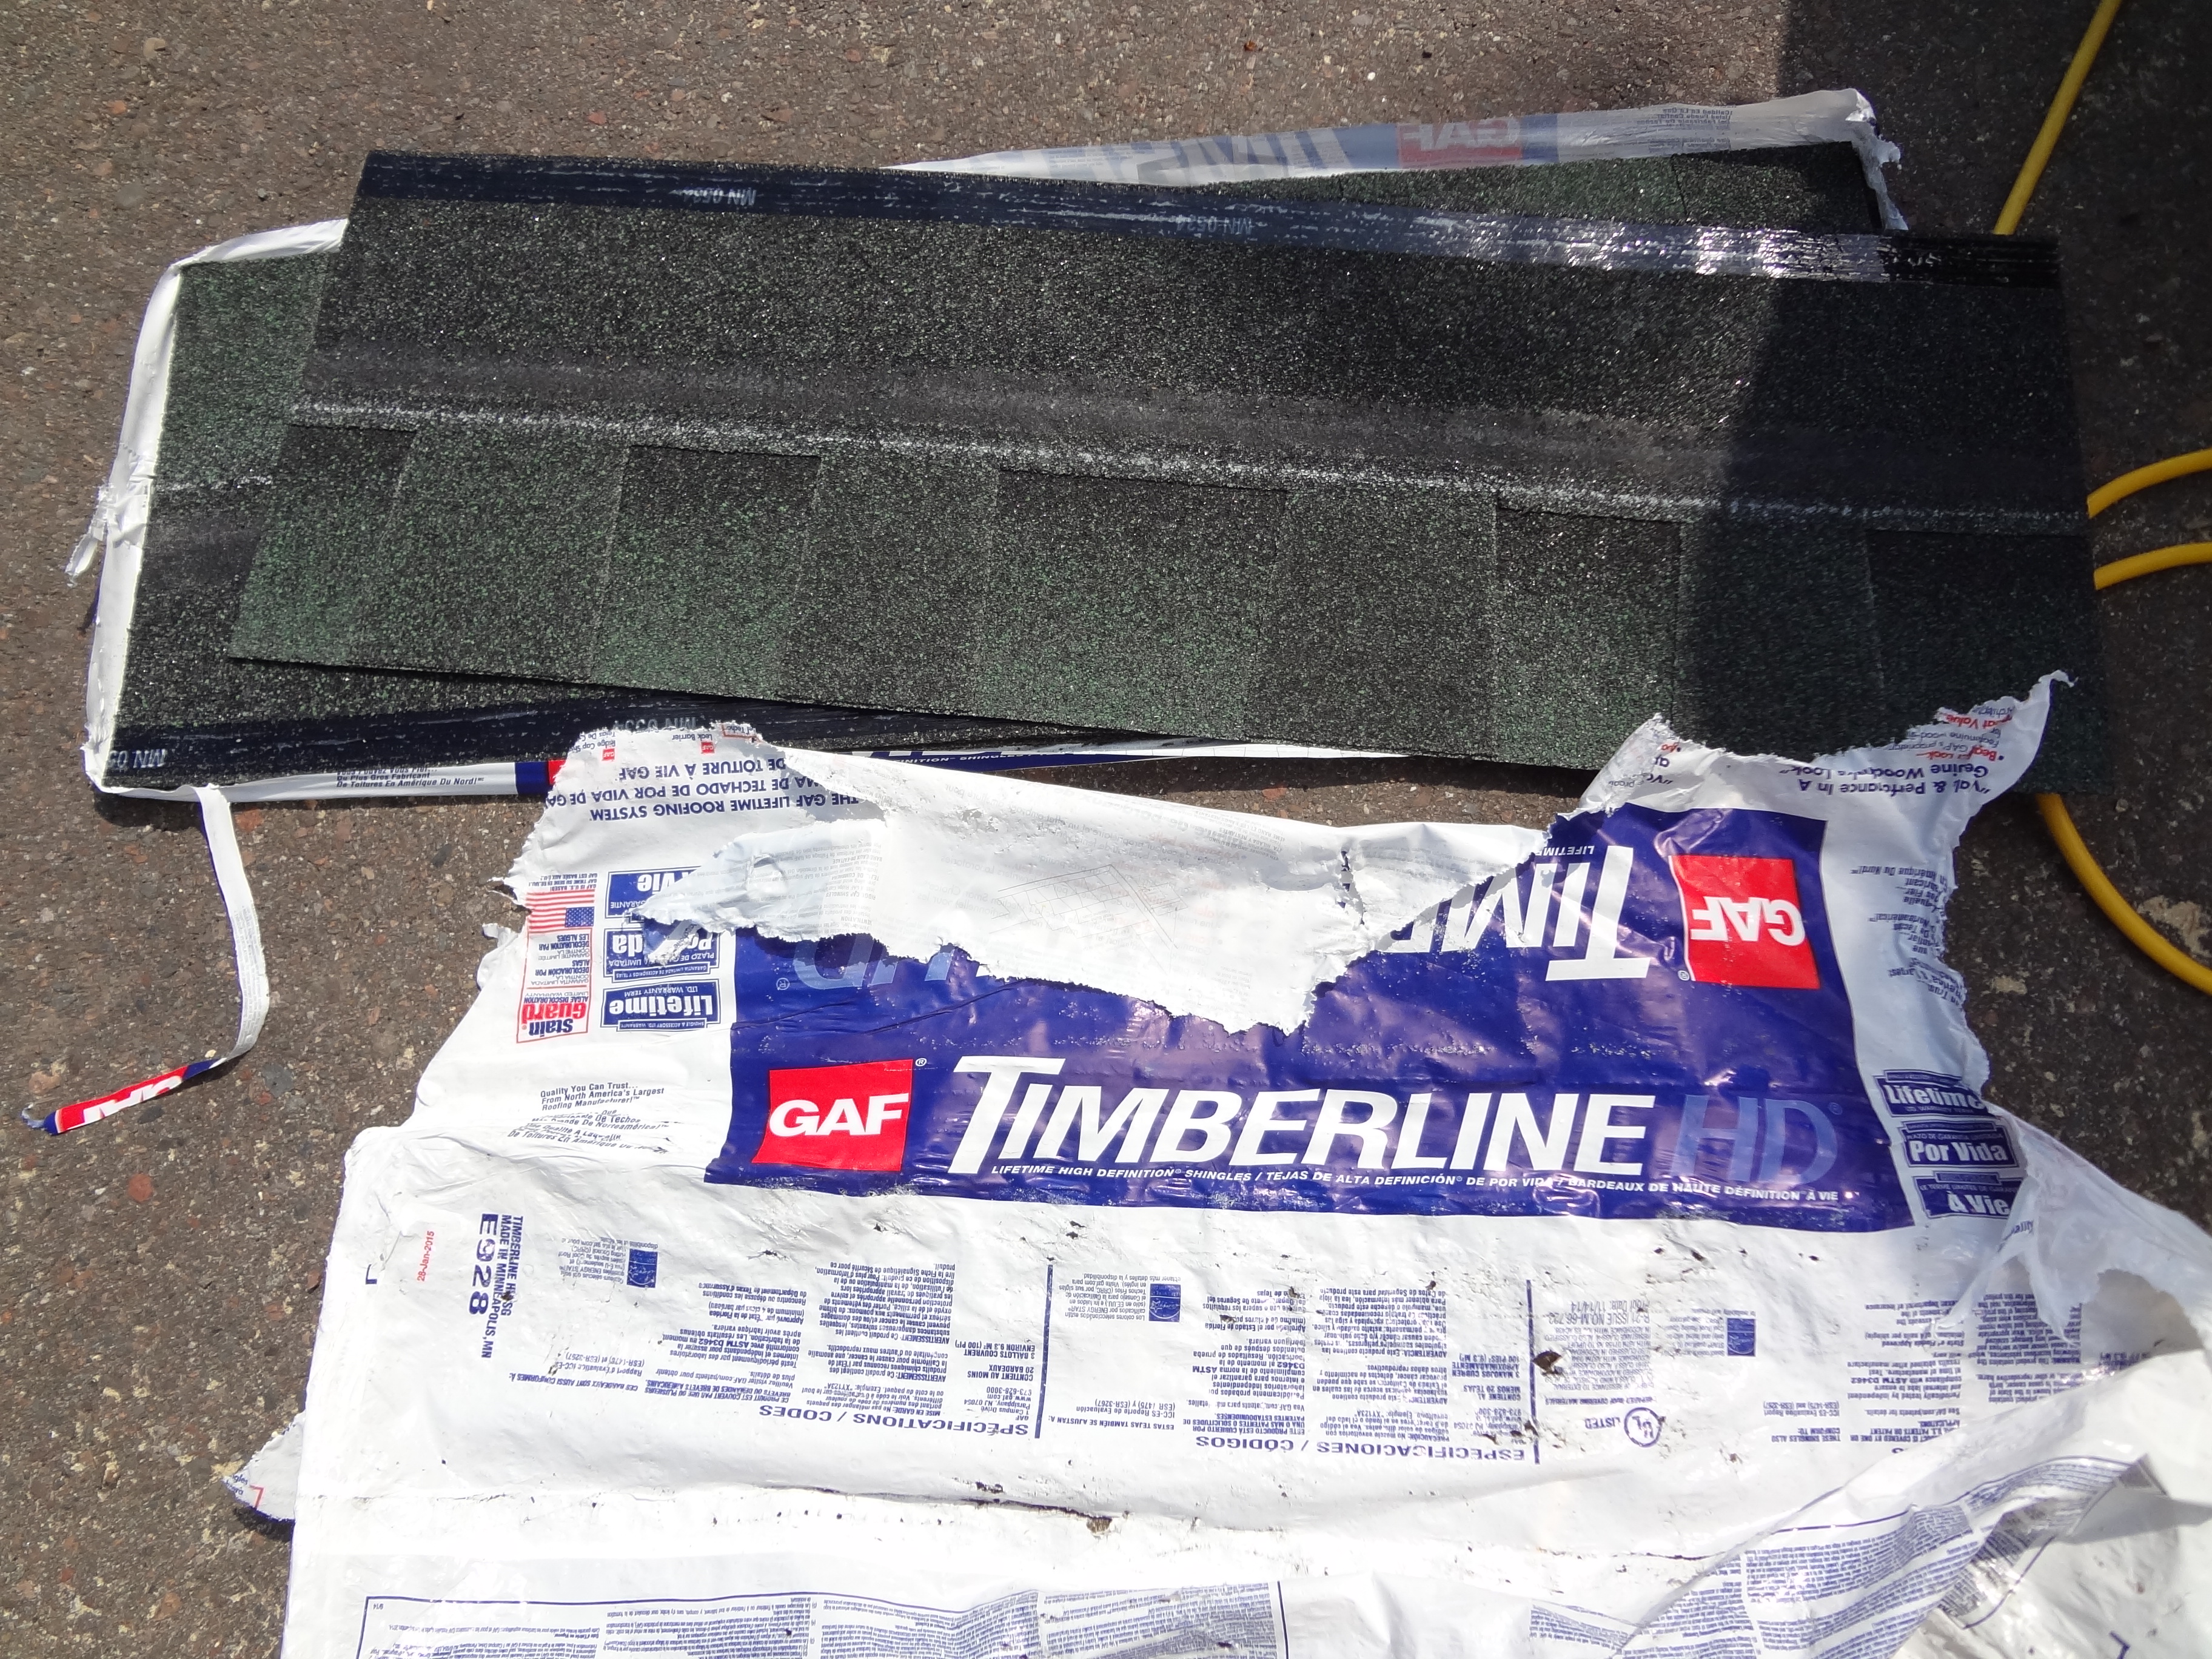
GAF Timberline HD shingles
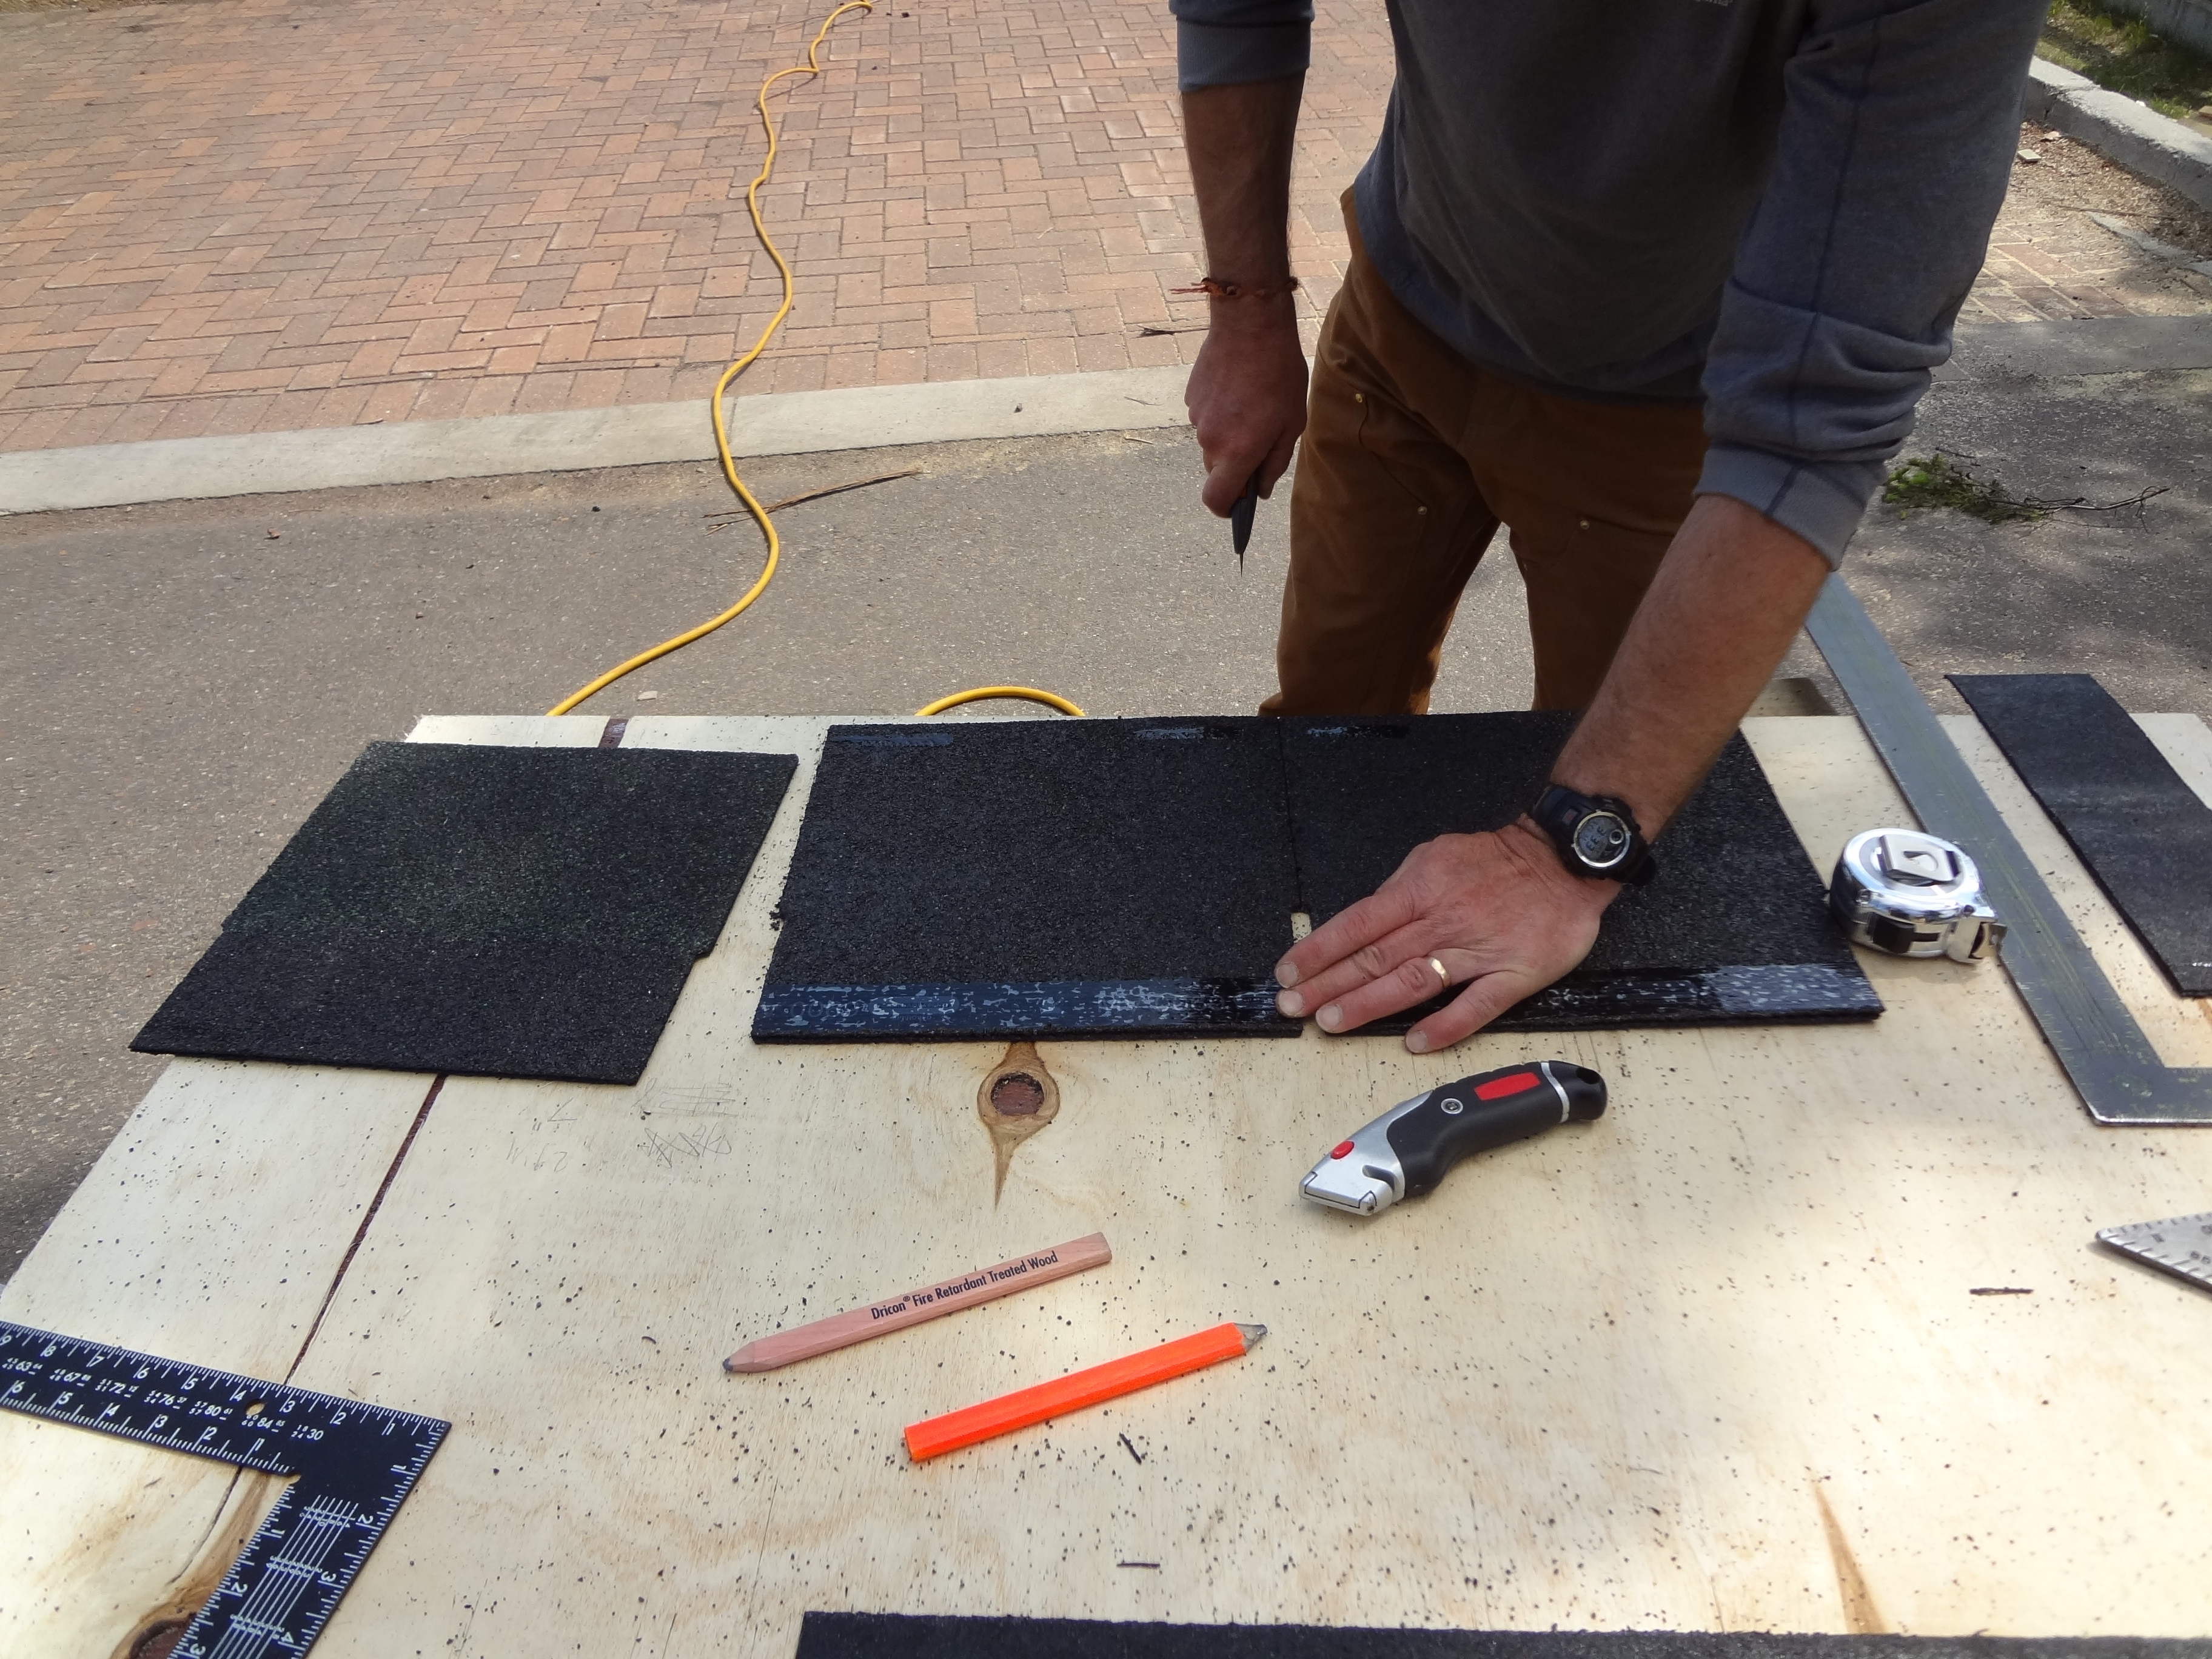
You will want to stagger them, beginning each row with a different length, so you’ll need to cut some to various sizes– for example, you could begin the 1st line with a 17″ strip, the 2nd line with 11″, the 3rd with a full-length strip, and then repeat. Overlap each strip of shingles with the the one beneath it, making sure to keep your lines straight! Attach the shingles to the roof with roofing nails.
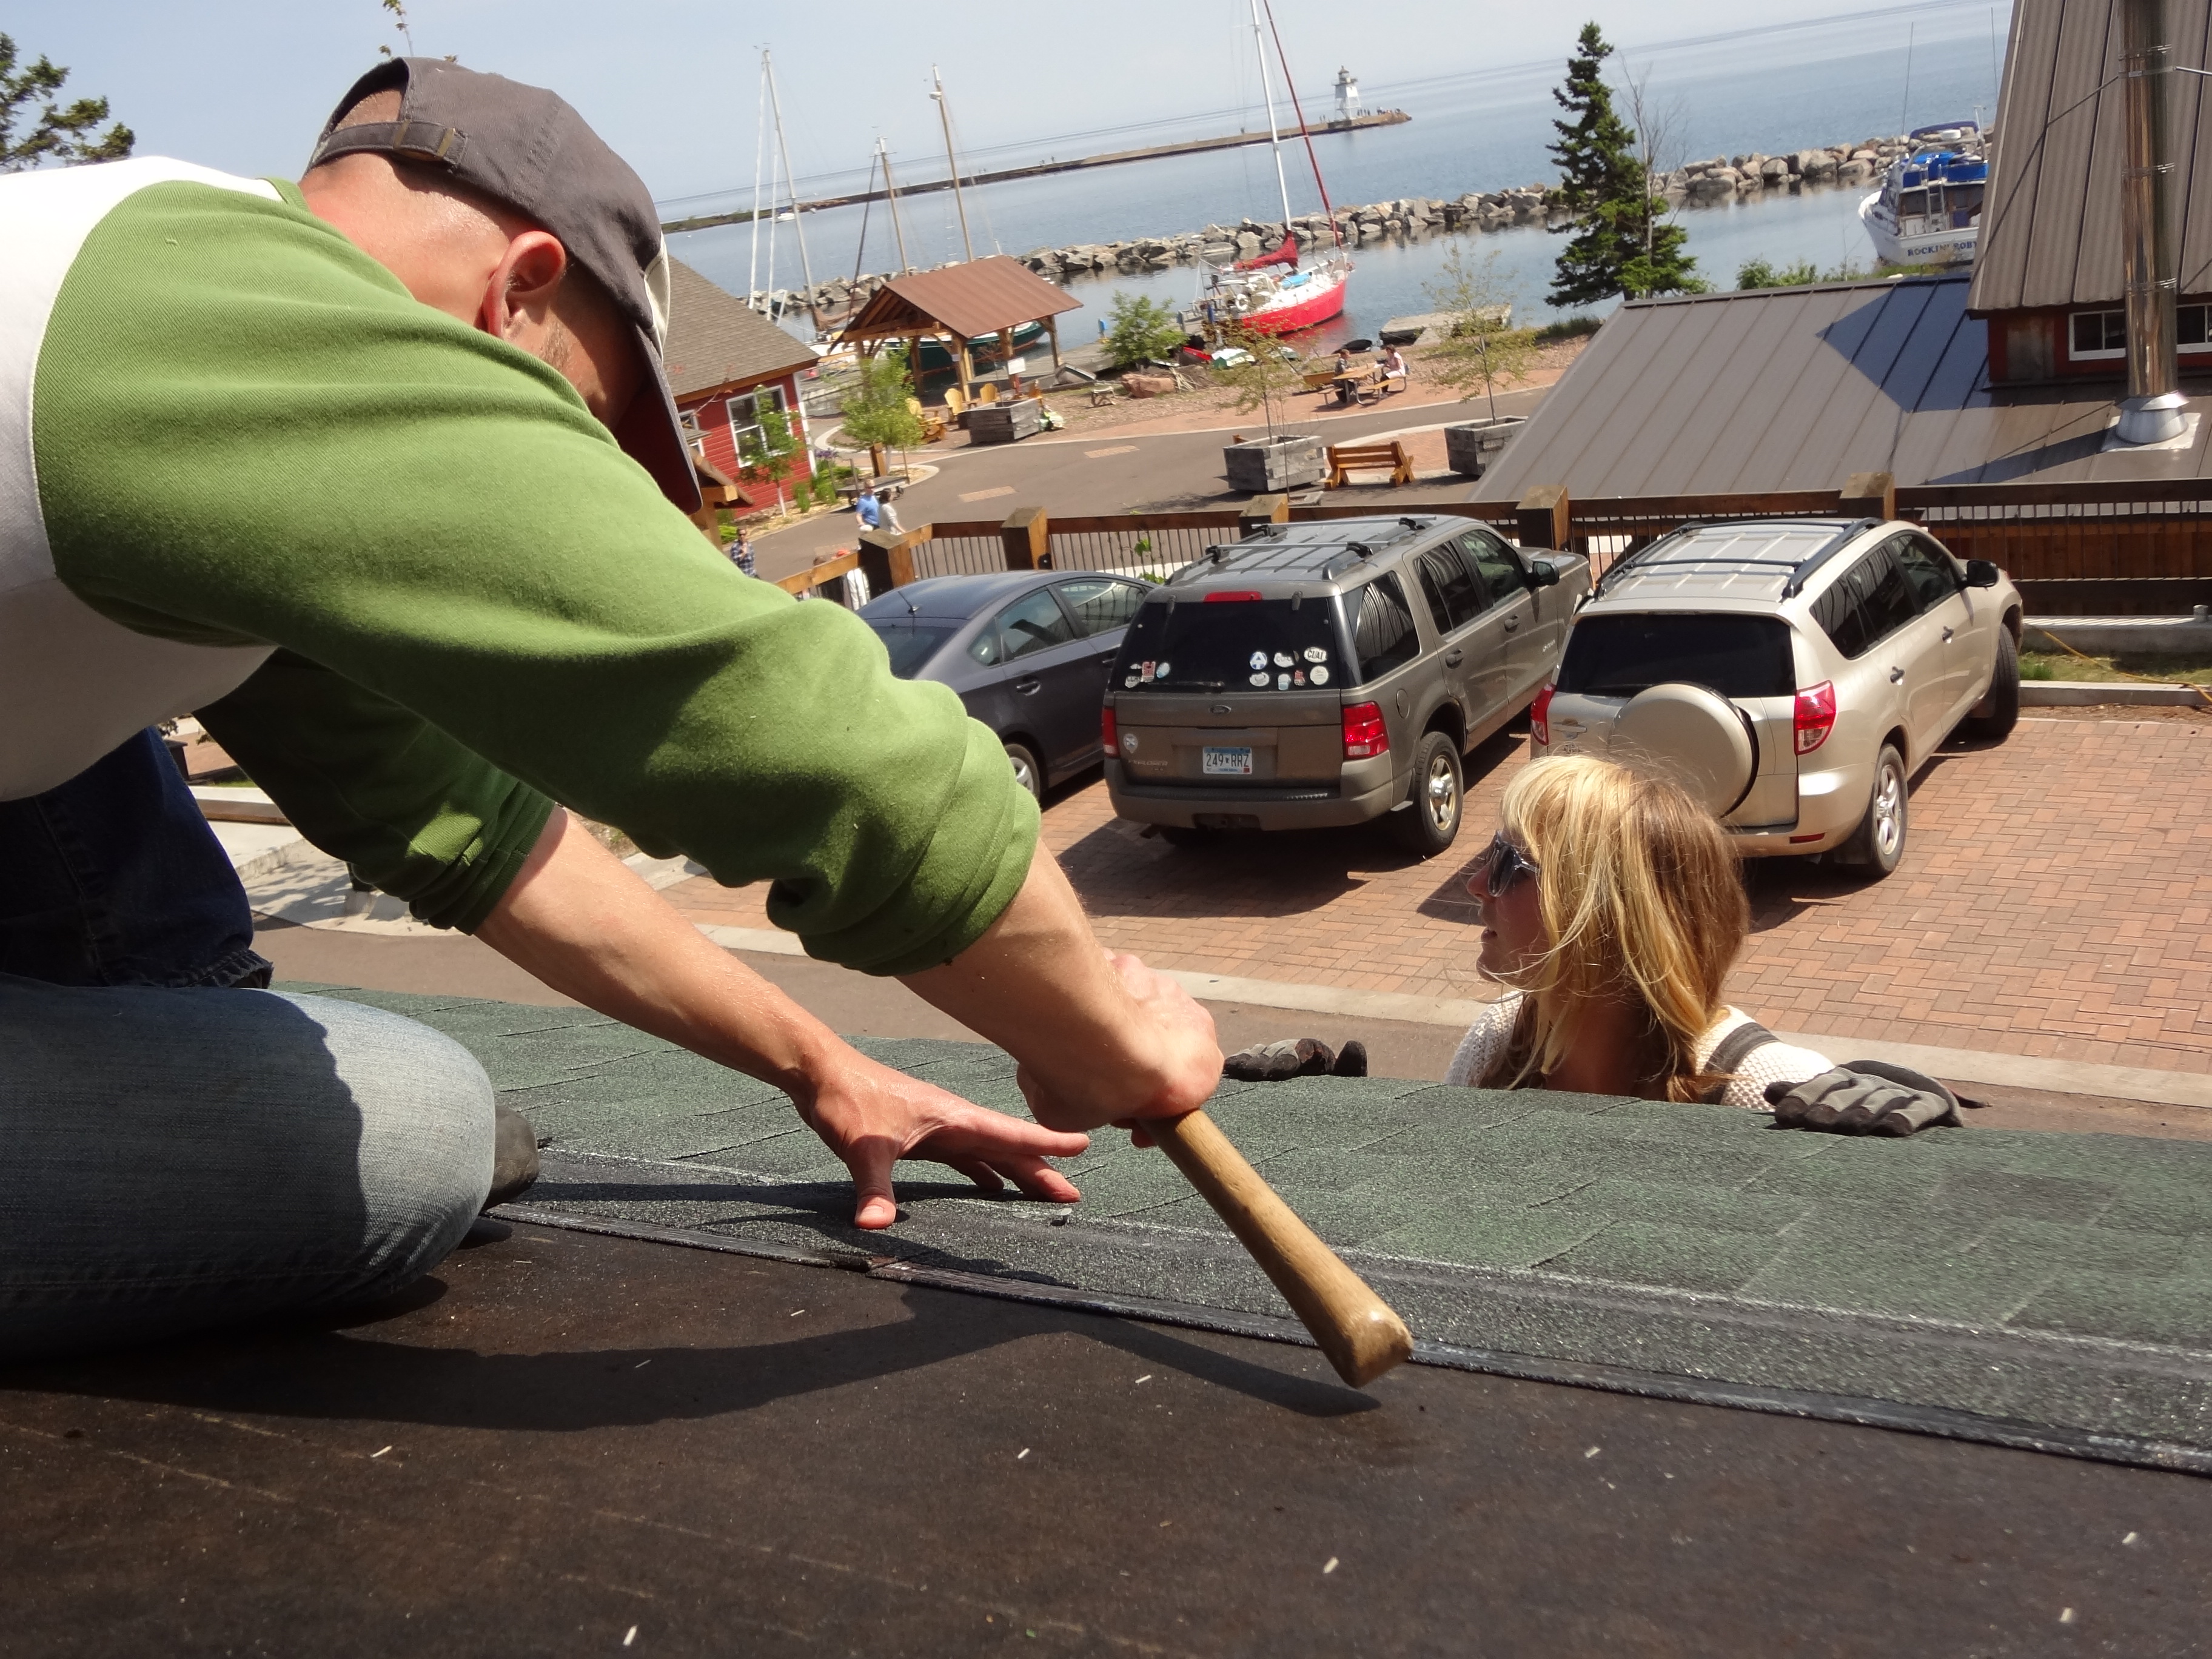
Laying out shingles
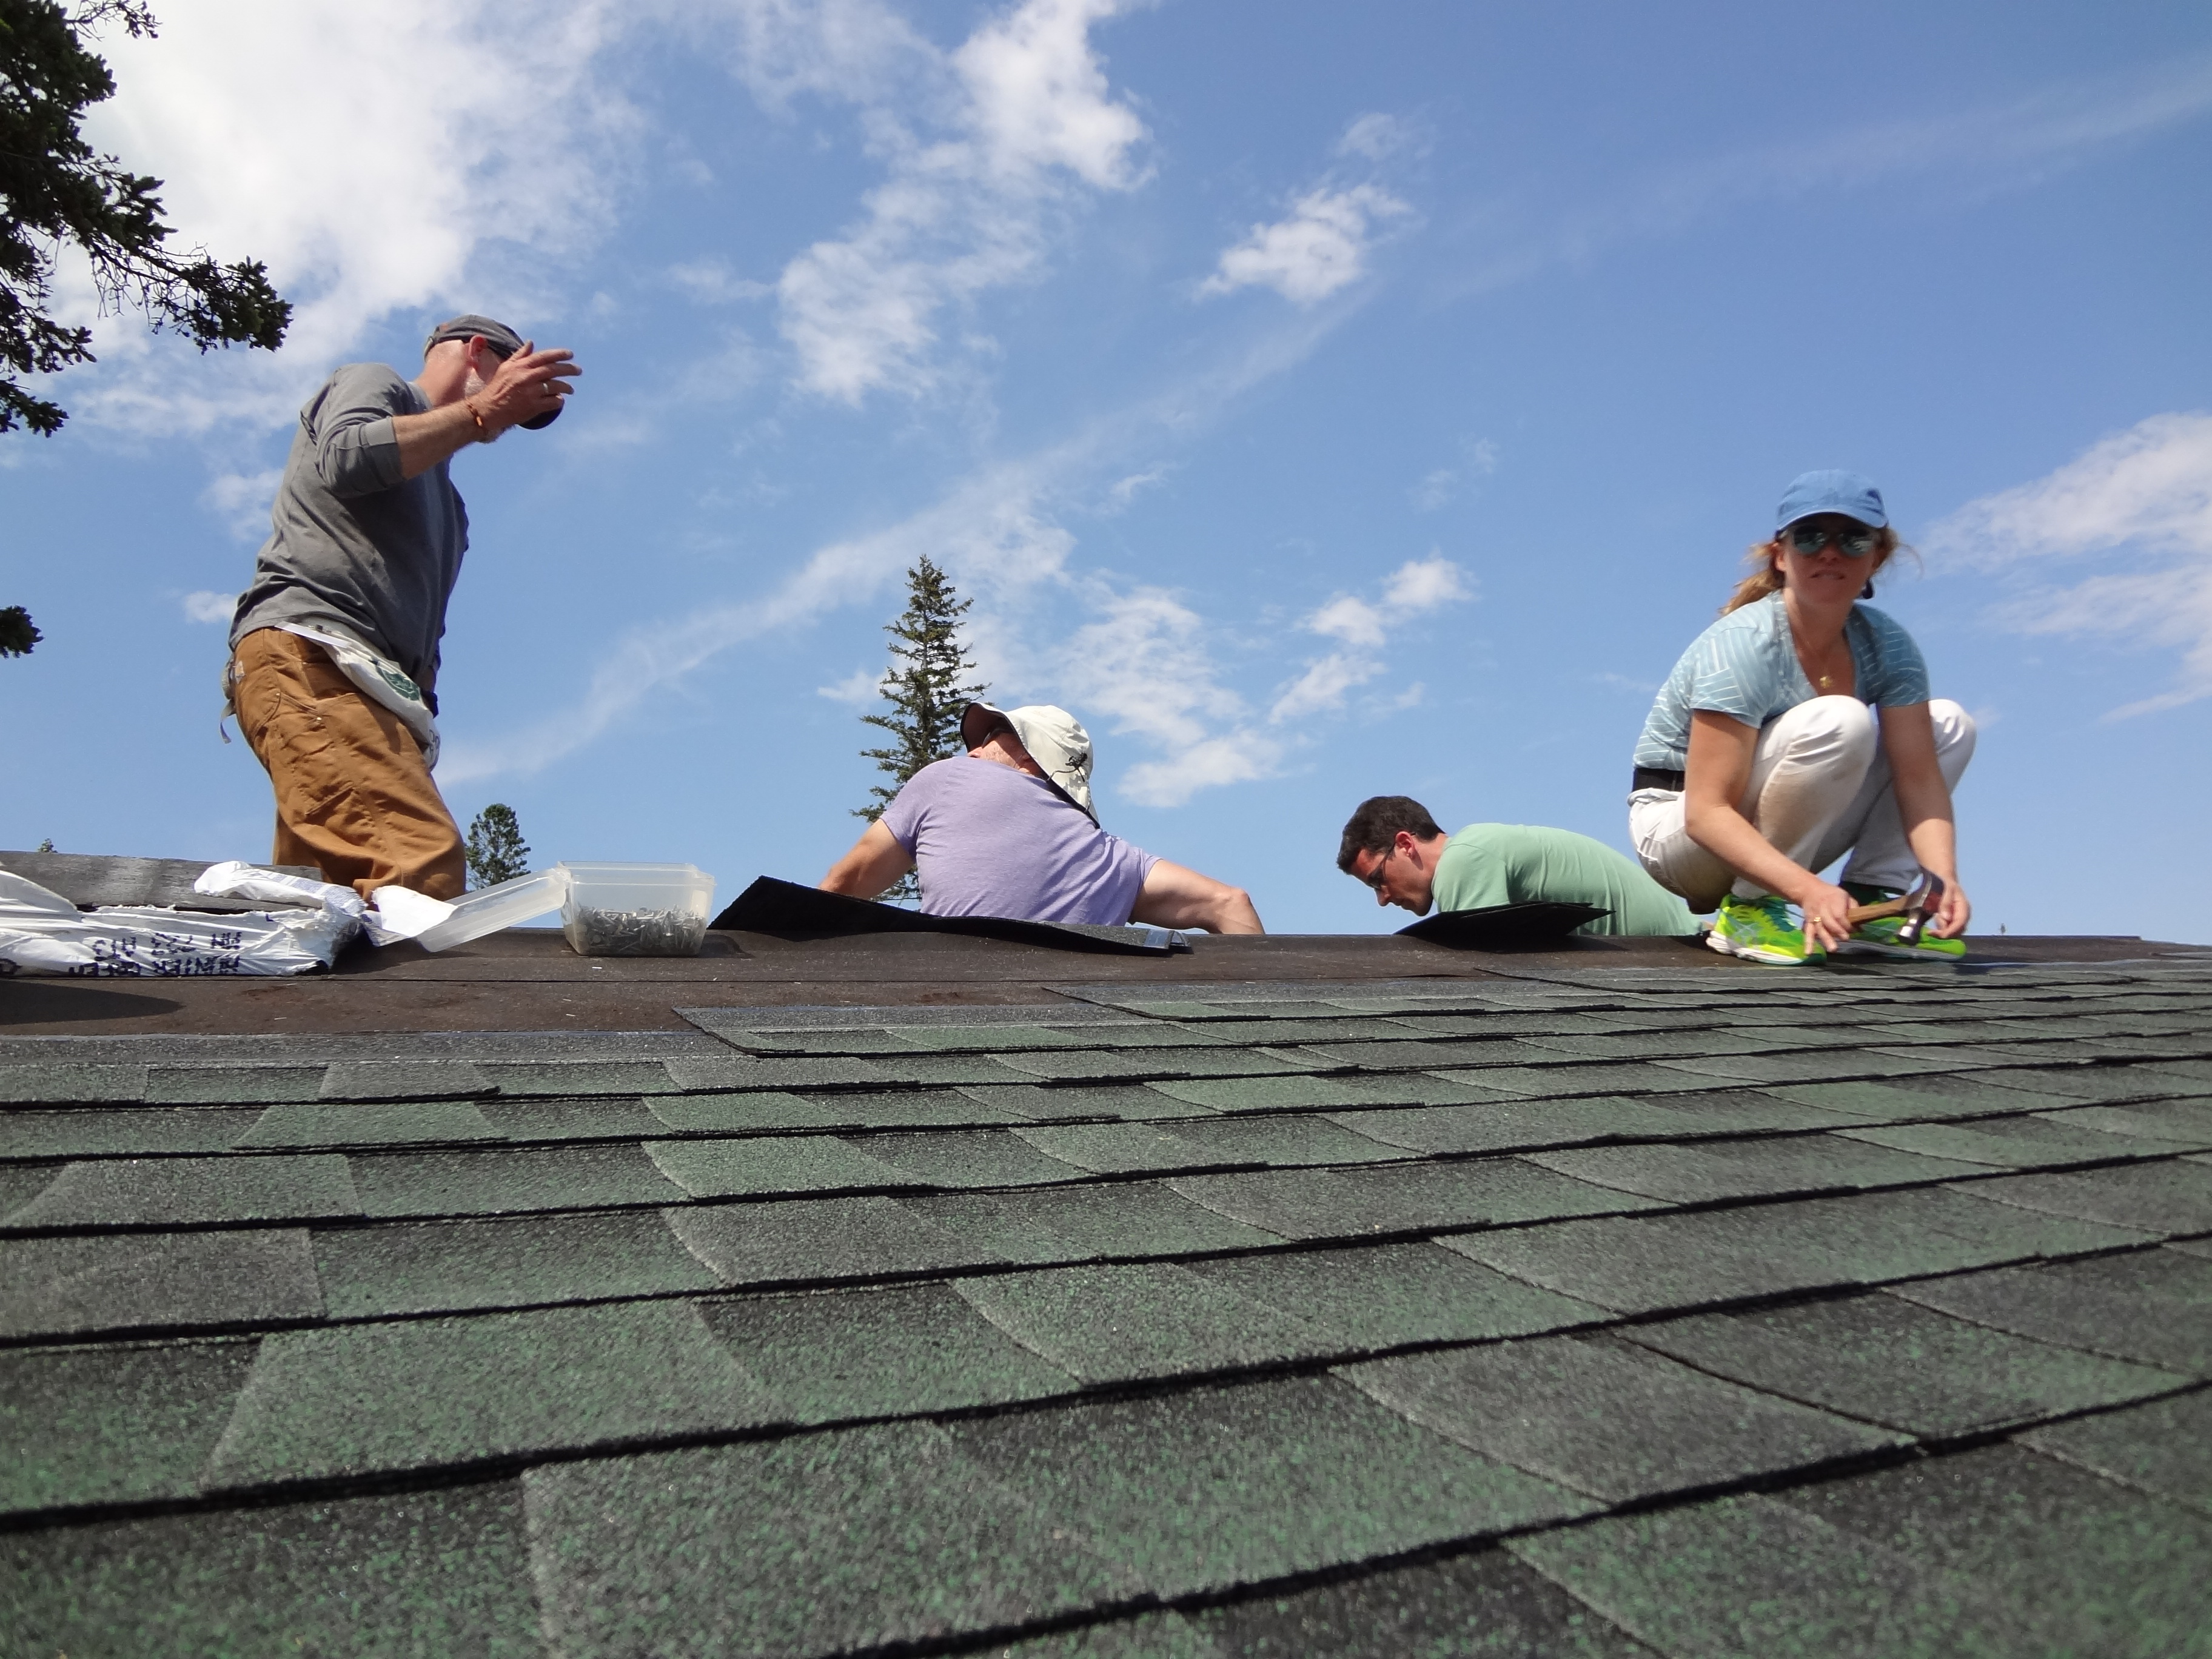
Work your way up
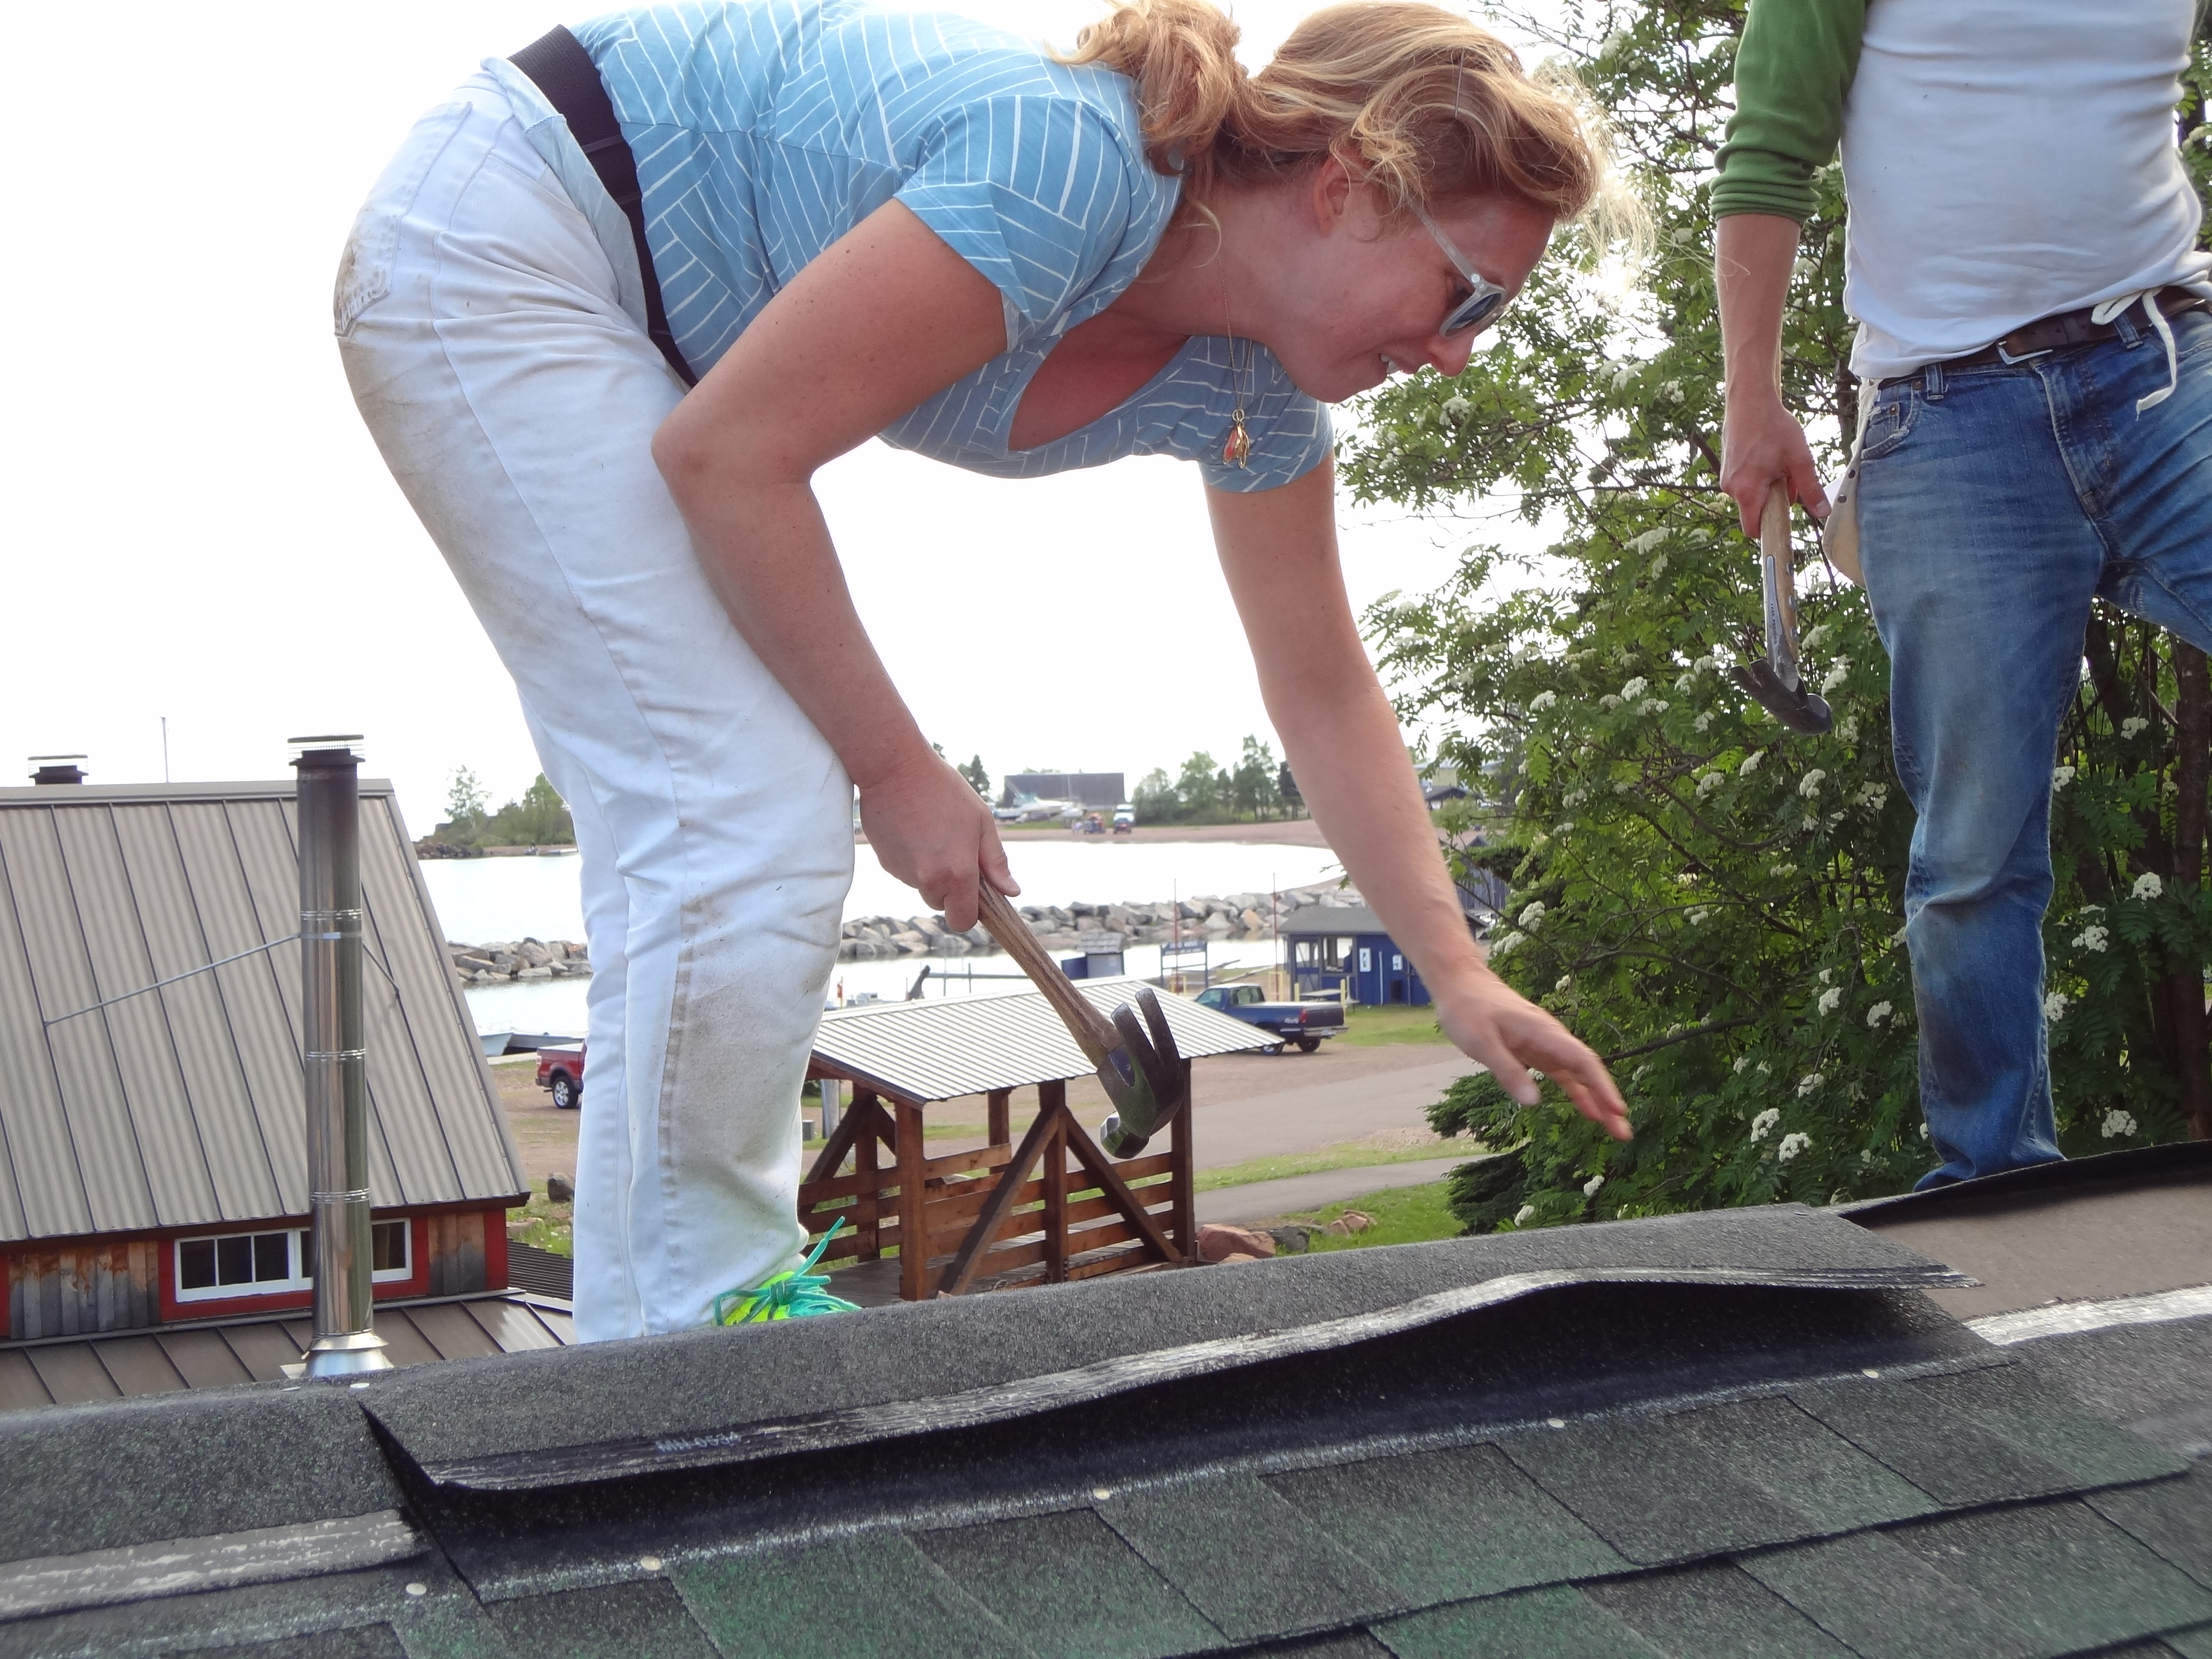
A layer of shingles goes over the ridge line
After the strip of shingles is attached over the ridge line, a line of “ridge cap” shingles is laid over that.
Cutting the ridge cap shingles
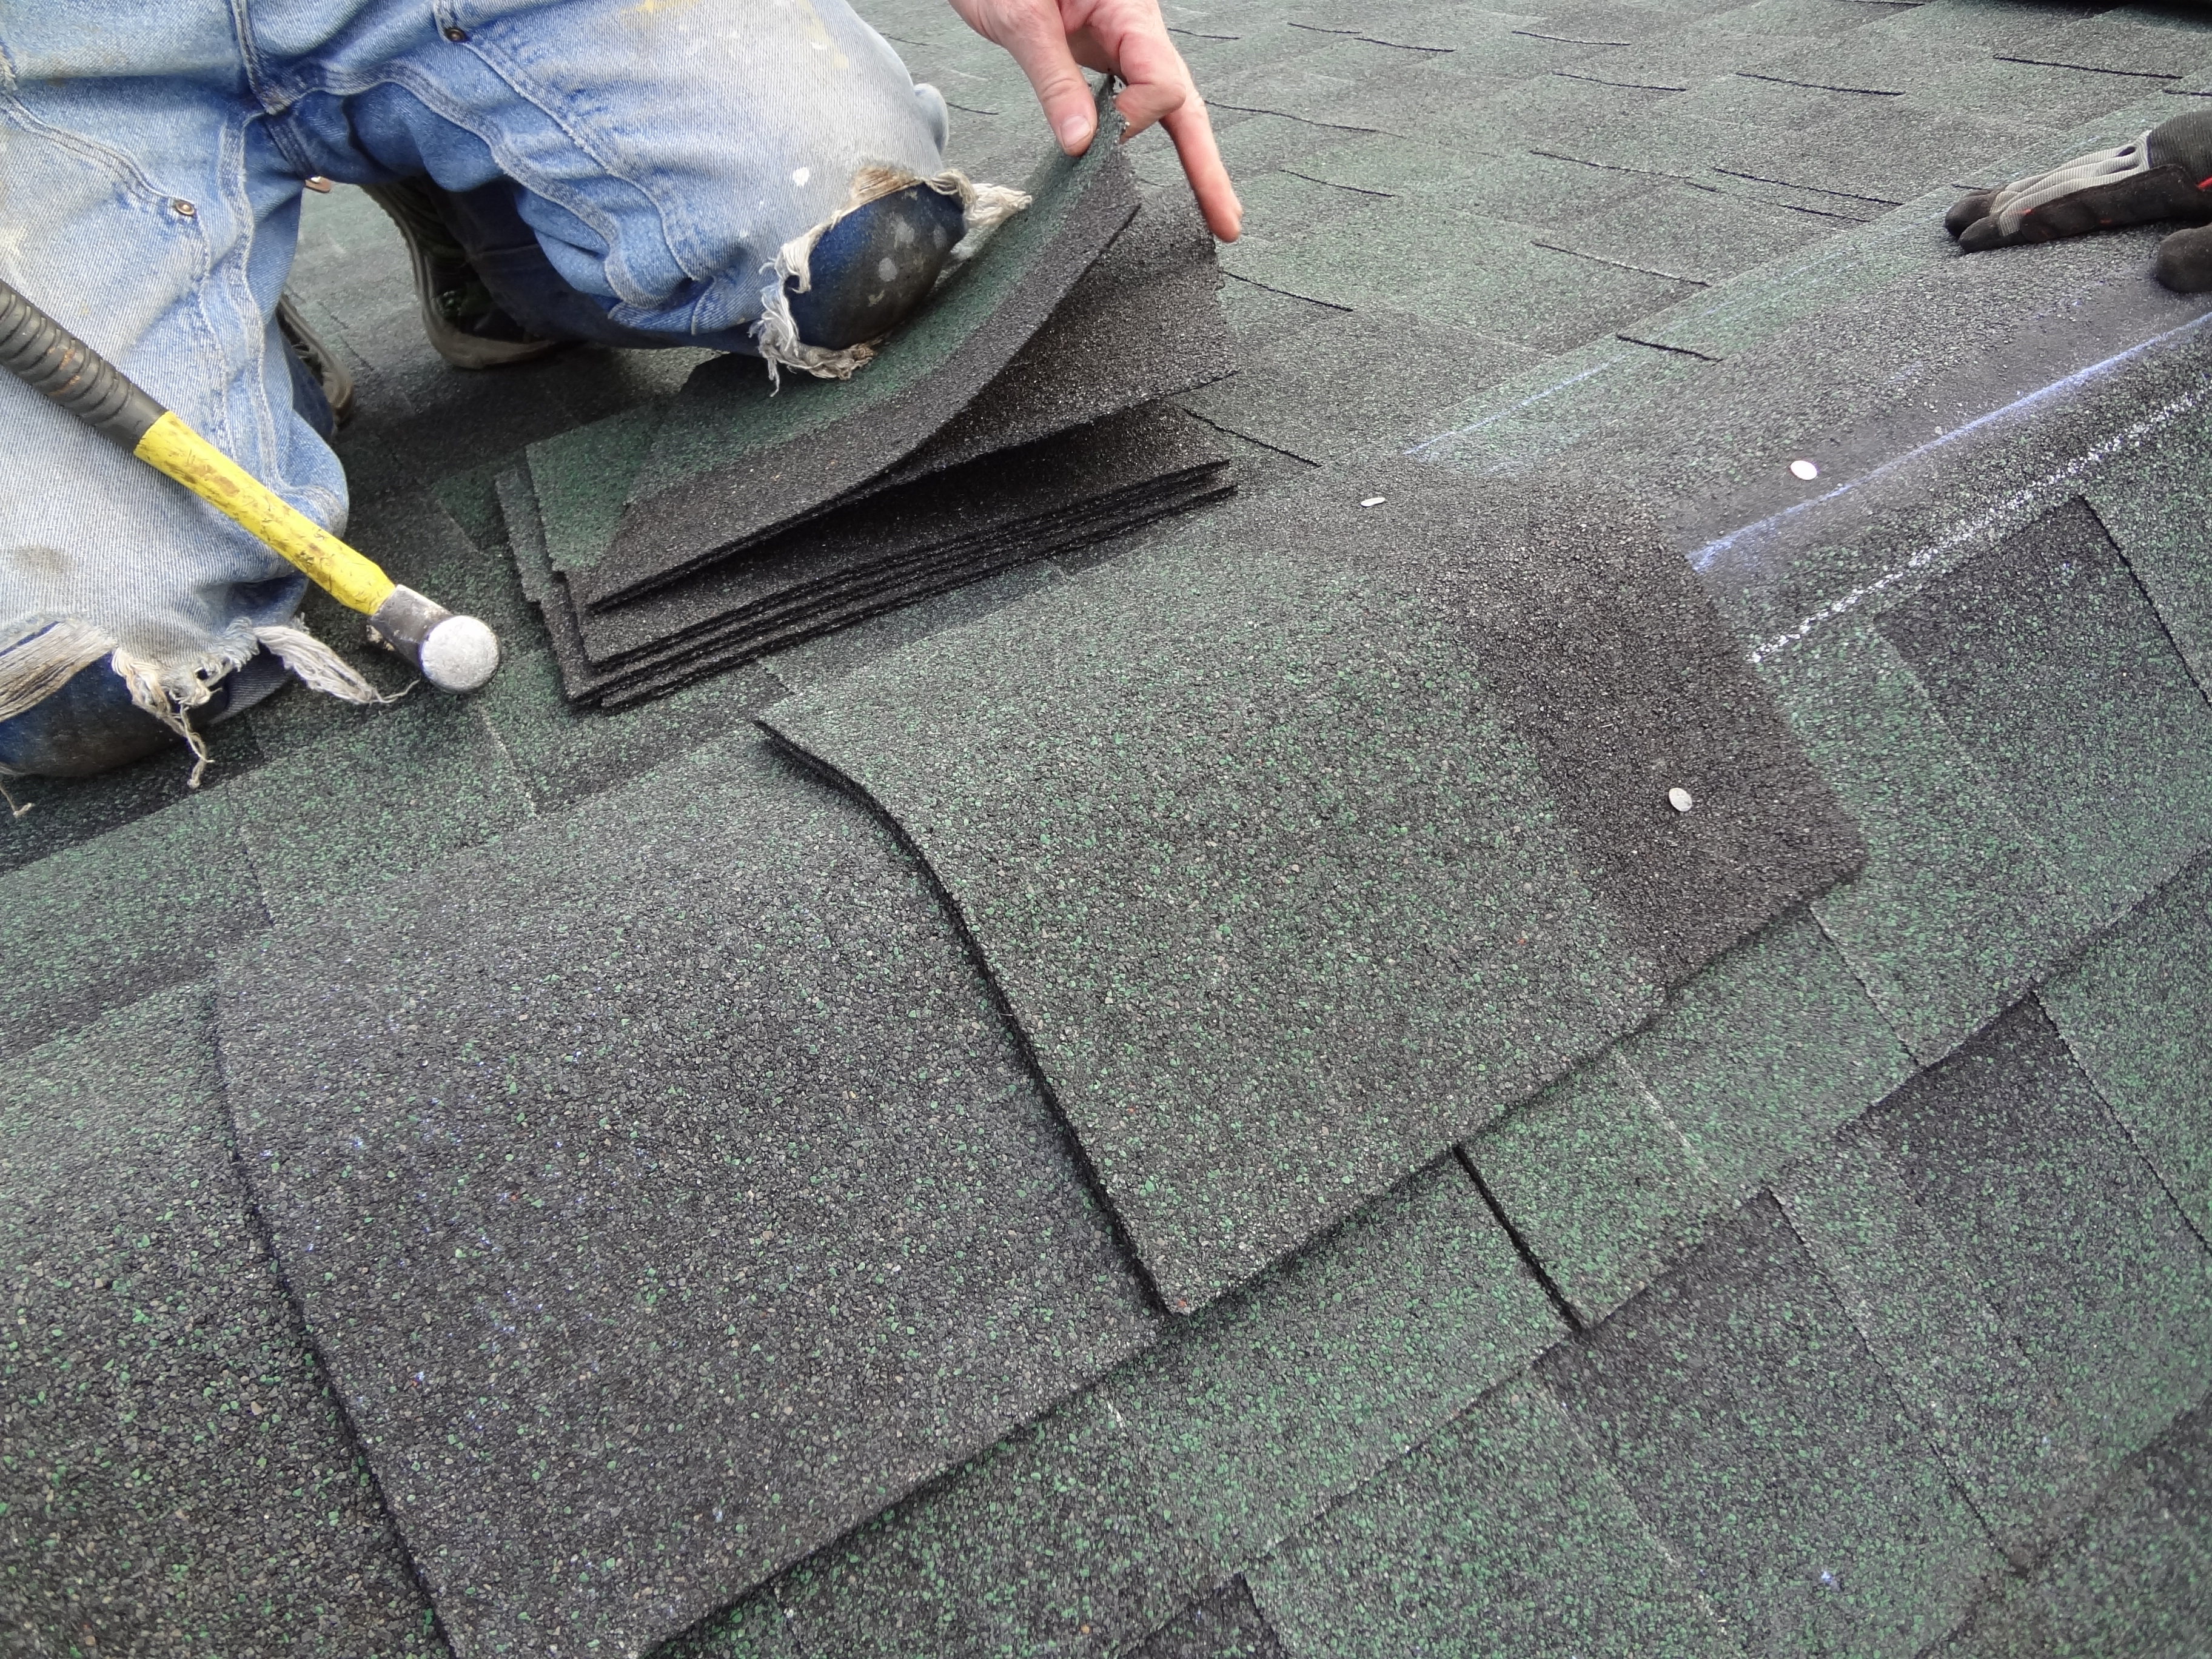
Installing the ridge cap shingles
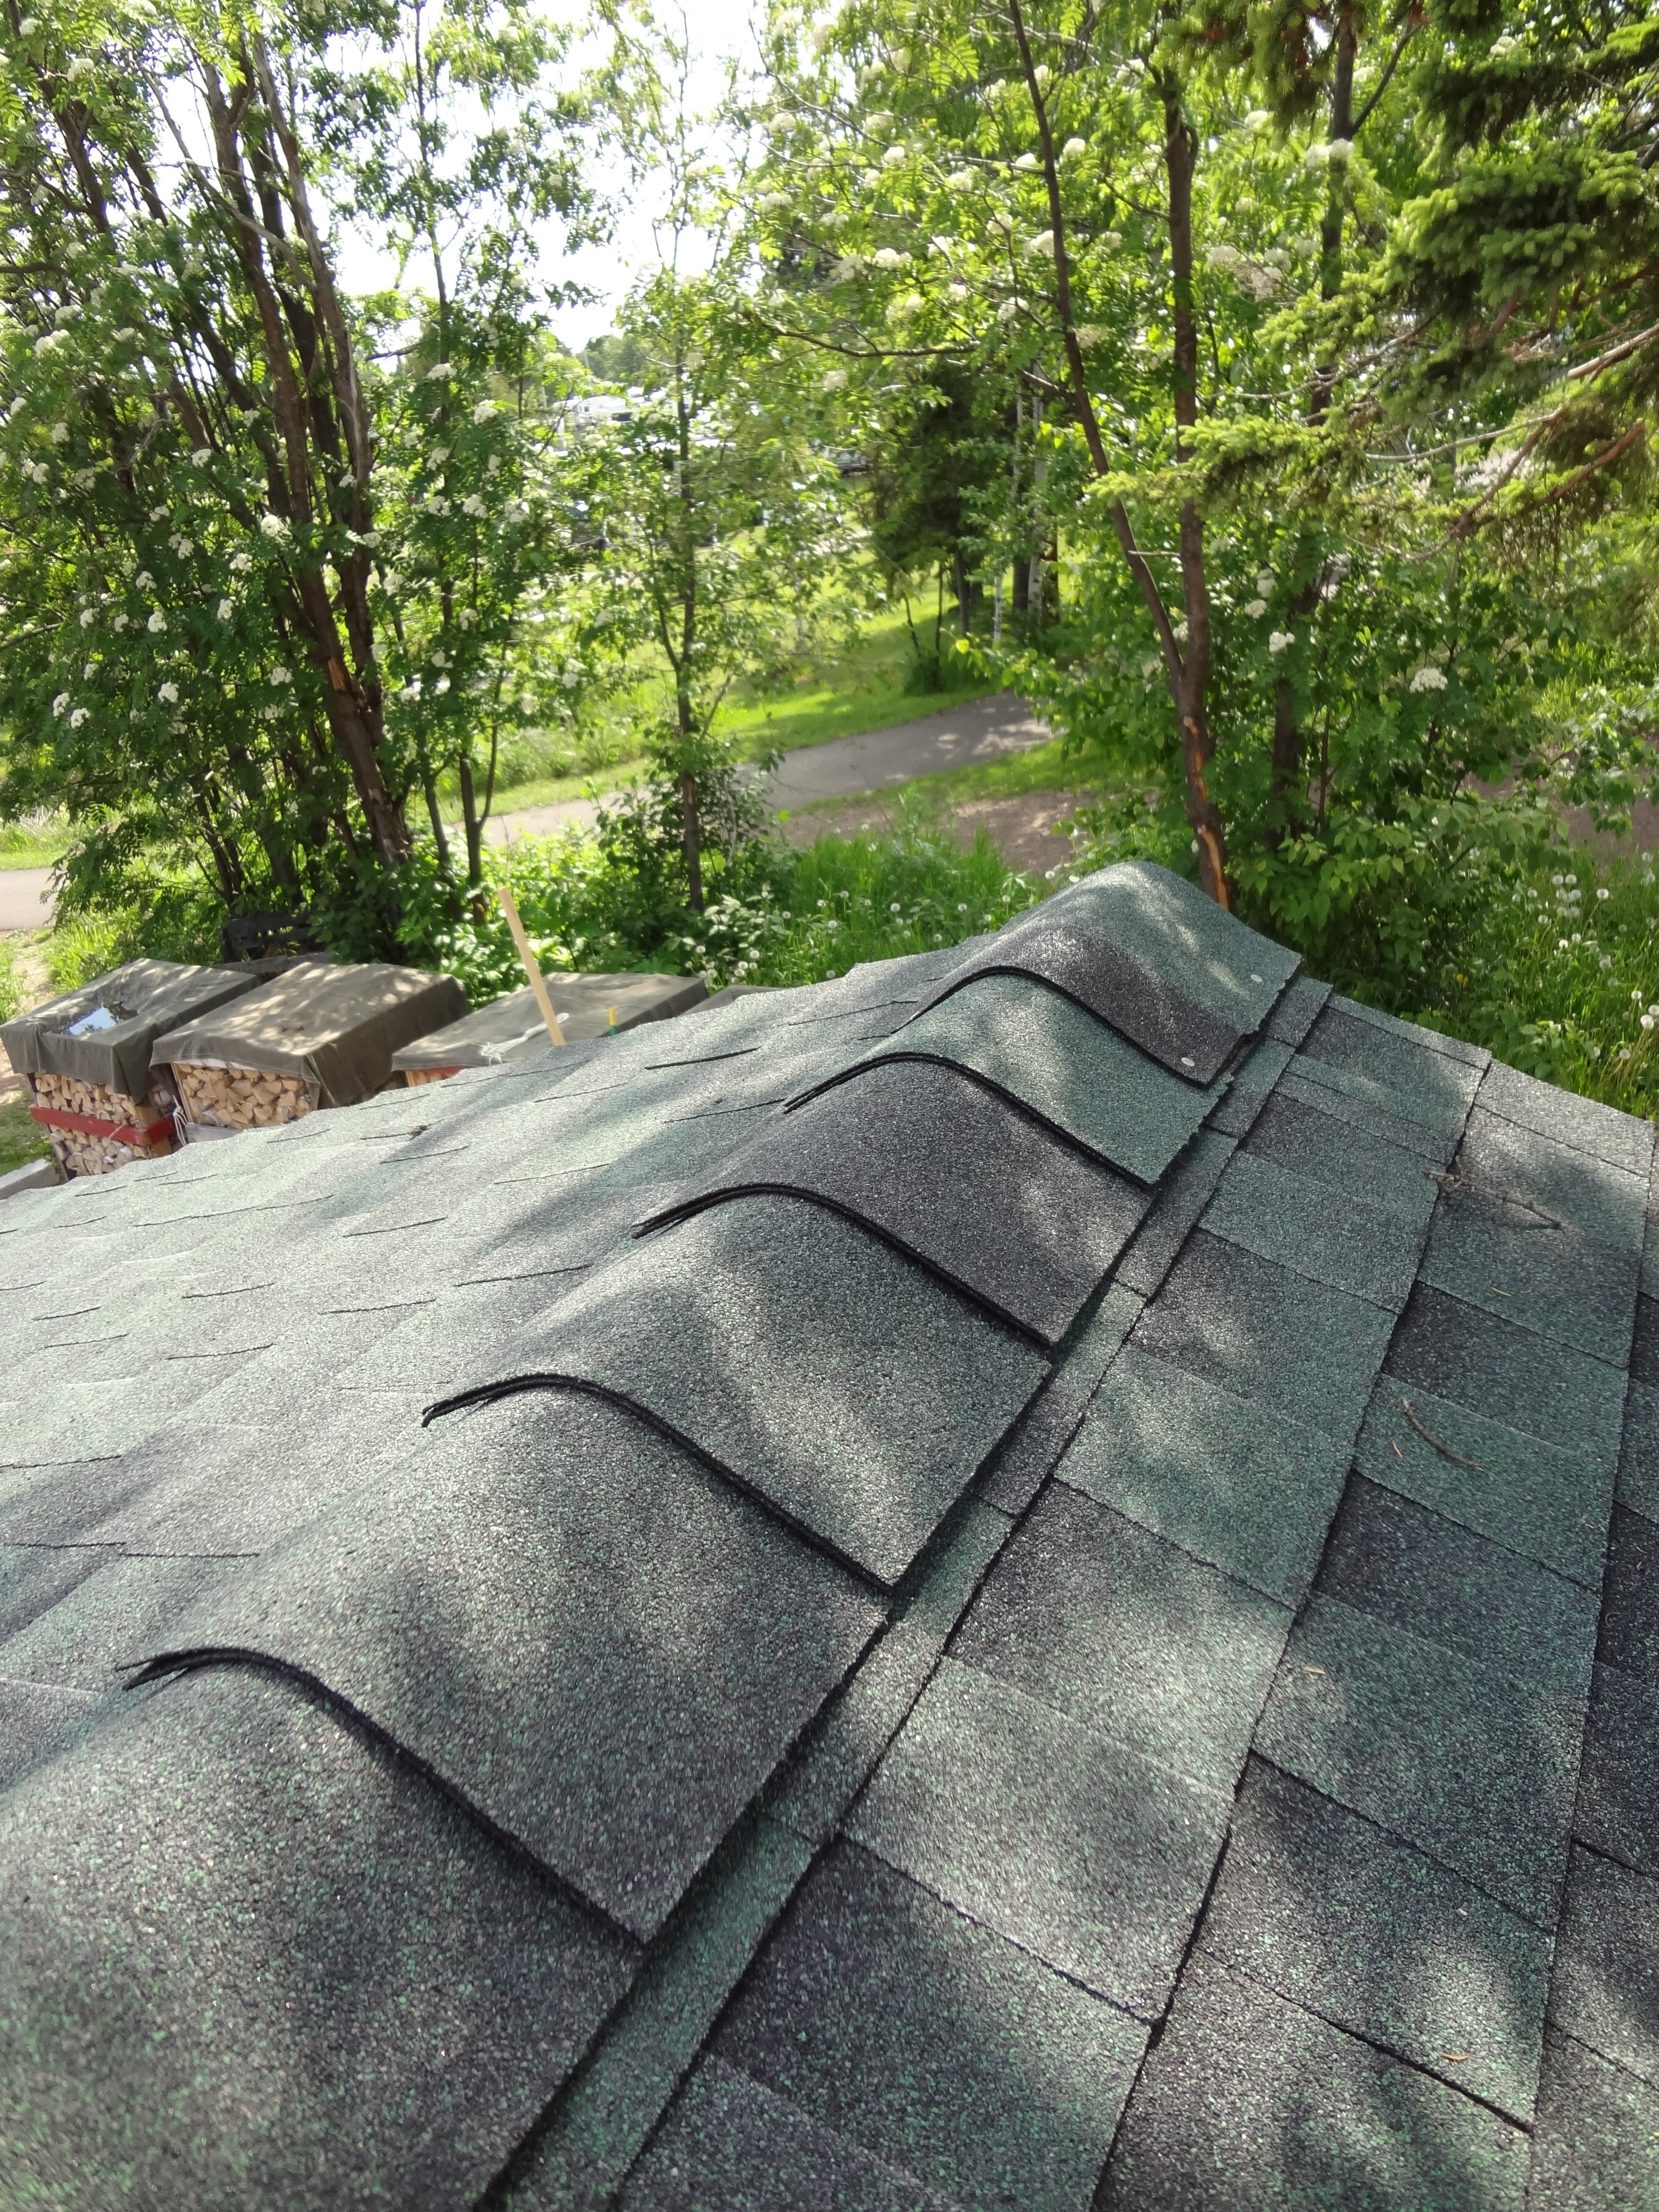
The final ridge cap in the line is laid in the opposite direction
Leave a Reply