This week we learned about clay plasters, lime plasters, and clay-based paint. Clay plasters can be used on indoor or outdoor walls. Like earthen walls, clay plasters “breathe” – absorbing and releasing moisture. So, they are good for maintaining a pleasant and healthy indoor environment, but they aren’t best suited for use in high moisture areas, such as kitchens and the lower parts of outer walls. Lime plasters would be a better choice in such places.
Erica Ann Bush from Day One Design joined us for another week of teaching. The three types of clay plastering we did were: base plastering, finish plastering, and painting with aliz (a mix of clay, wheat paste, silica sand and pigment). We also did a lime-based plaster, a lime wash, and experimented with Tadelakt, a Moroccan tradition of rubbing olive oil soap into lime plaster with a stone to create a highly polished, water resistant finish.
Clay plasters
To plaster the walls, first a base plaster is applied. When that is completely dry, a finish plaster is applied.
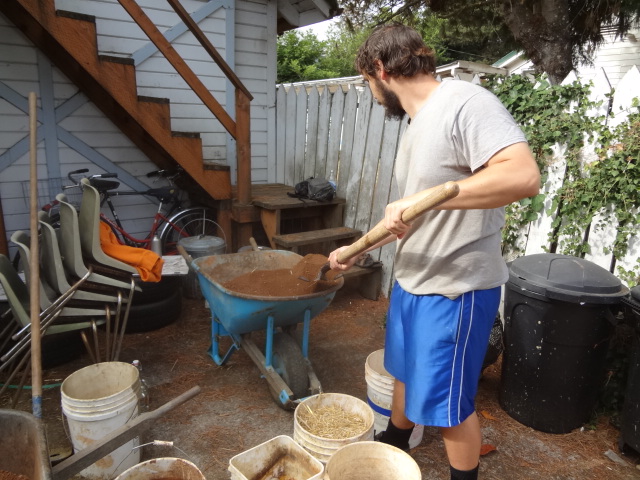
To make the base plaster, we used a ratio of 1 part clay to 3 parts sand to 0.5 parts chopped straw. We mixed the clay with water in the mortar mixer, then added sand, and then the straw.
Clay soil
Sand
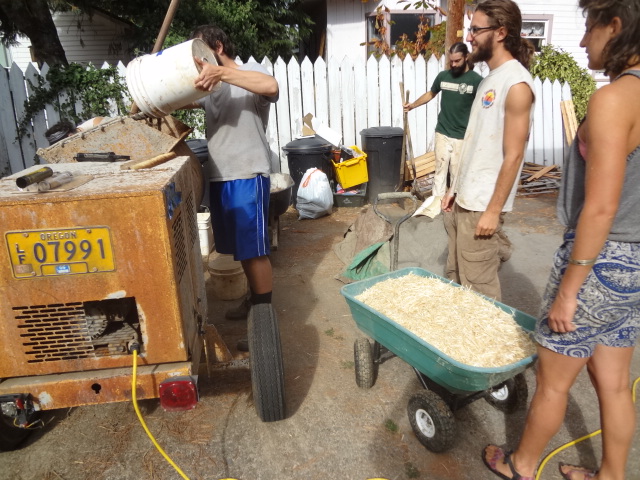
Straw
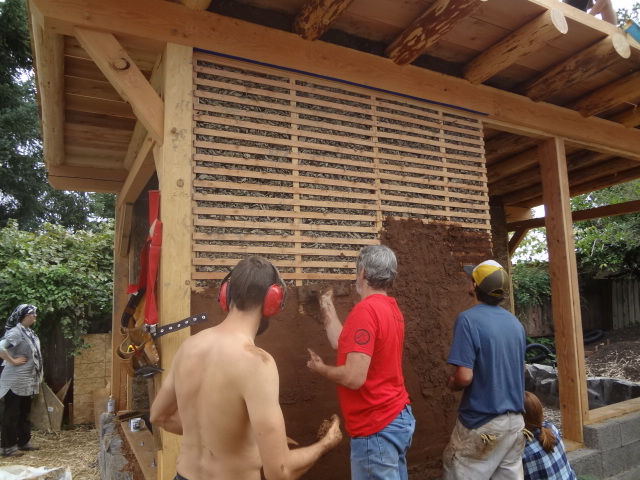
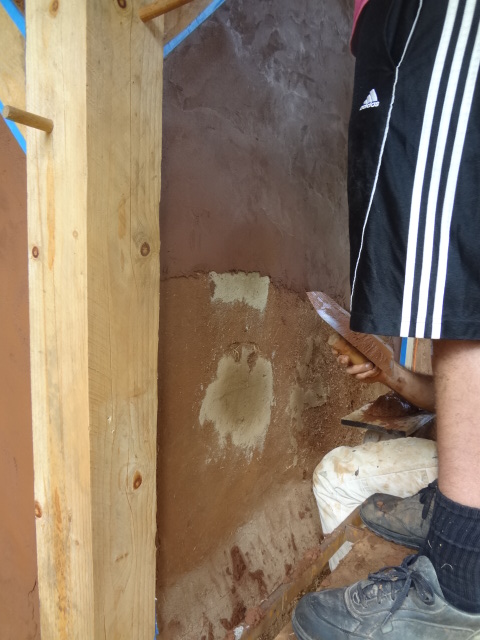
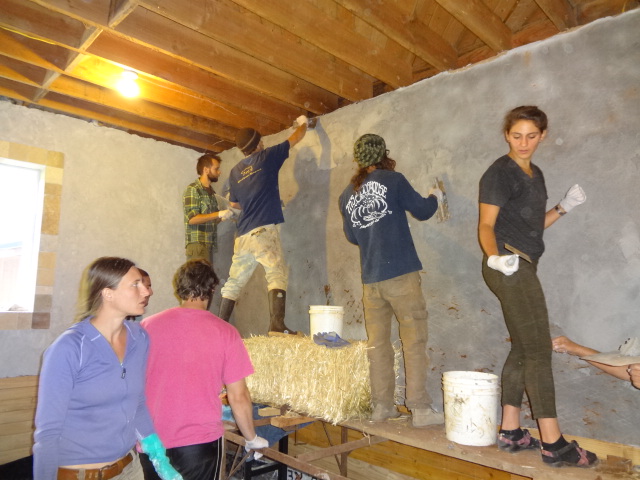
We taped the edges of the wall and spritzed the wall with water to moisten and activate it to adhere with the plaster. We began by first applying a layer of plaster by hand and smearing that into the straw wall, and then continued building and smoothing the plaster layer with wooden floats.
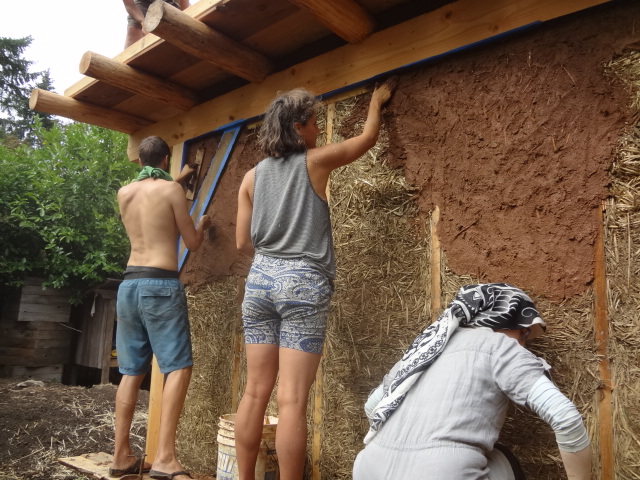
Applying plaster with wooden float

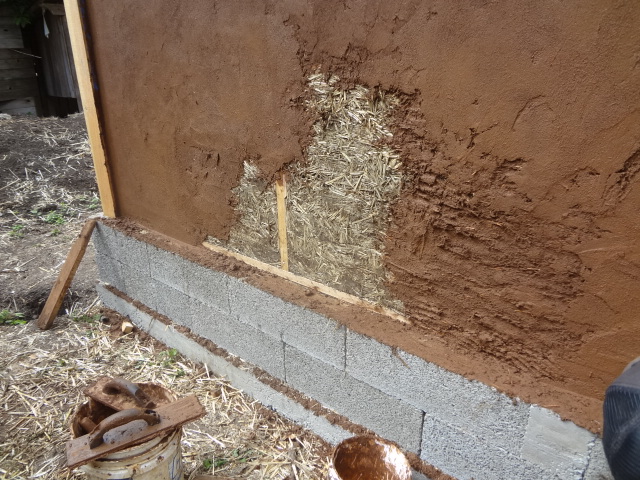
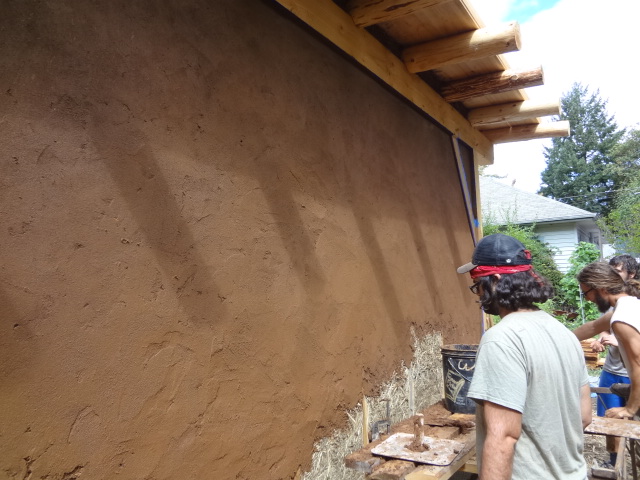
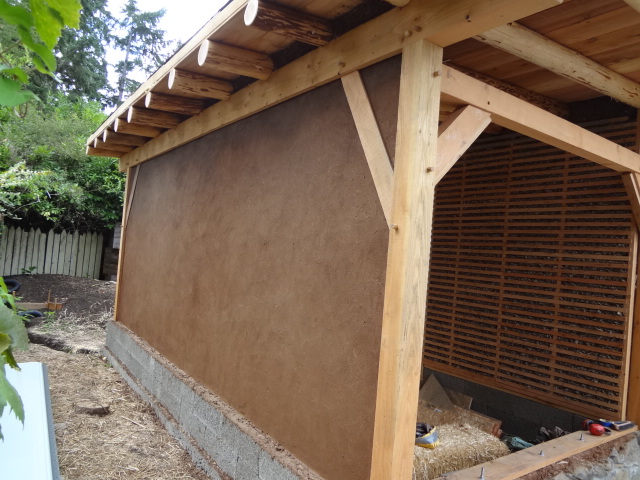
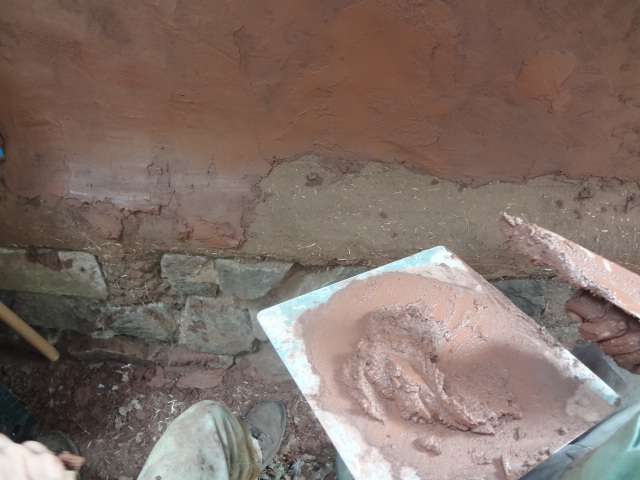
Base plaster completed on light clay straw wall
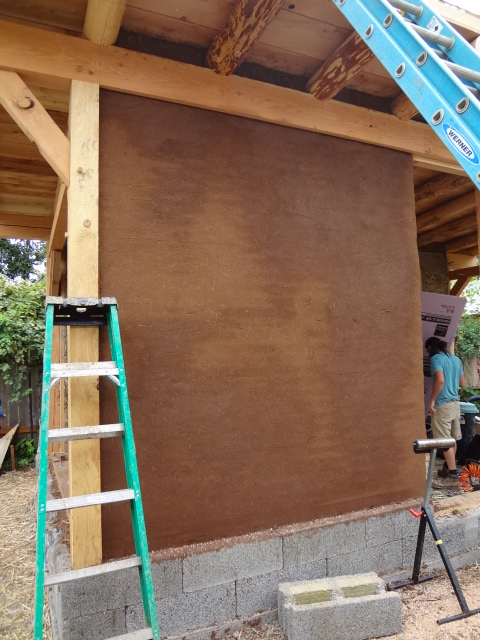
We applied the same base plaster to the chip-slip wall.
Plastering the chip-slip wall
As we didn’t have time to let that dry long enough in order to apply the finish plaster, we got some experience finish plastering on an earthen wall of a neighbor’s building. Our finish plaster was a mix of 1 part clay to 3 parts mason sand to 0.5 parts “fines” (120 or 200 mesh sand, or you could use silica from a ceramics supply store). If you like the look of it, you could also add finely sifted cut straw to the mix. We used Japanese stainless steel trowels to create a smooth finish.
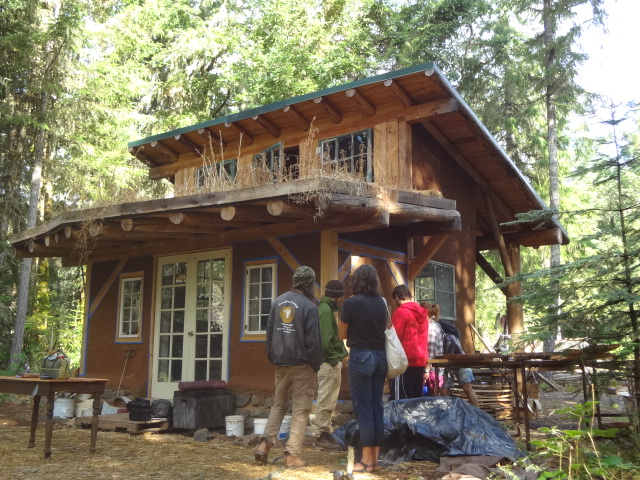
Neighbor’s farm office that needs a finish plaster
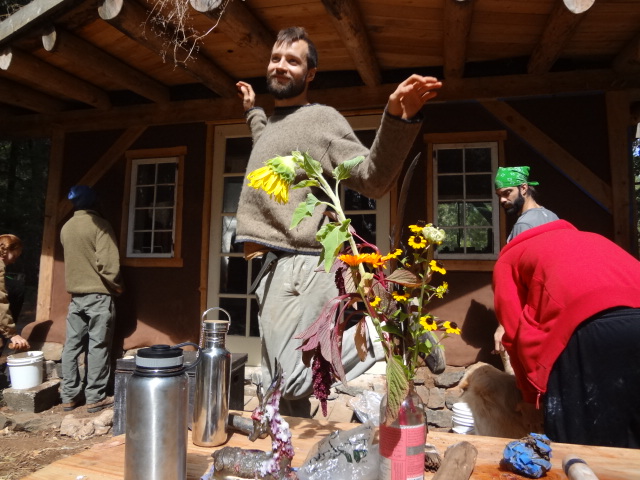
Woodland nymphs abound in the area

Test patches of various mixes for the finish plaster

Prepped and ready for the finish plaster
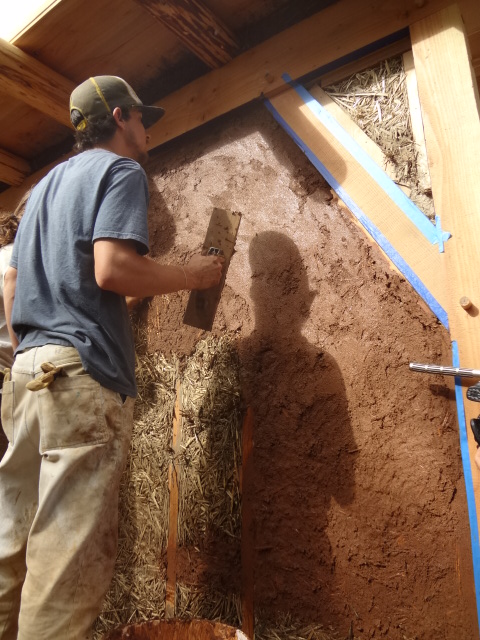
Applying the finish plaster
For maintenance of the finish on your exterior walls, you’ll likely have to reapply a finish plaster over time. Some people choose to seal the the plaster, for example with a technique of multiple coats of a linseed/ mineral spirit mixture. Personally, I think it sounds nicer and easier to care for the walls by reapplying and or repairing the plaster as needed.
Clay Paint (Aliz)
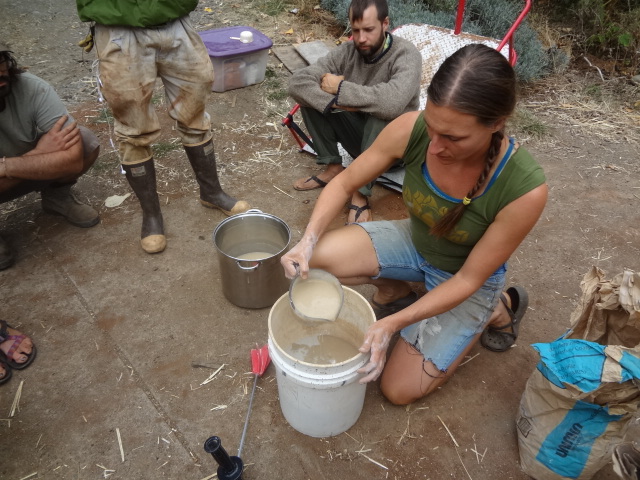
If you want a color for your wall that’s different than your finish plaster, you could apply a thin clay paint (also known as aliz). The aliz is made from clay, wheat paste and silica sand (we used 60 mesh) in a ratio of 1:1:1. You can add pigments such as iron oxide, or different colors purchased from a company like American Clay.
The wheat paste for the aliz is made in a ratio of 1:2:4 of flour to cold water to boiling water. To make it, mix the flour with cold water, then add that to the boiling water and whisk it. Don’t boil it.
You could apply an aliz directly over a base plaster if it’s pretty smoothly finished. Or you could put it over your existing finish plaster if you want a change of color.
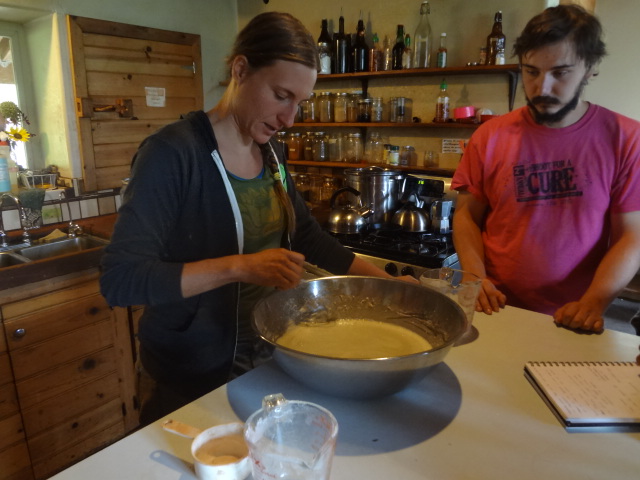
Making wheat paste for an aliz
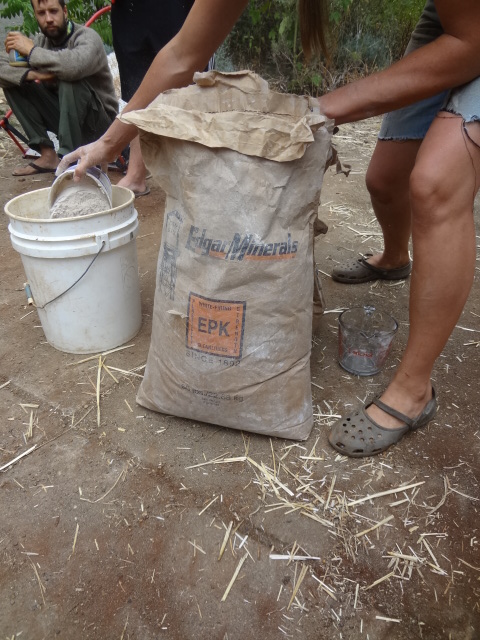
EPK kaolin clay
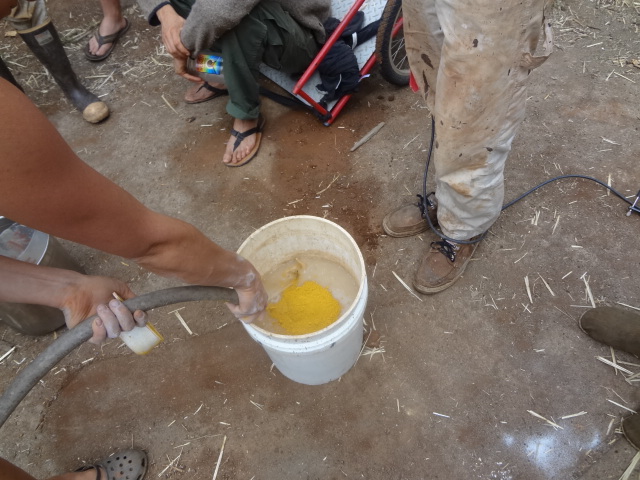
Added pigment
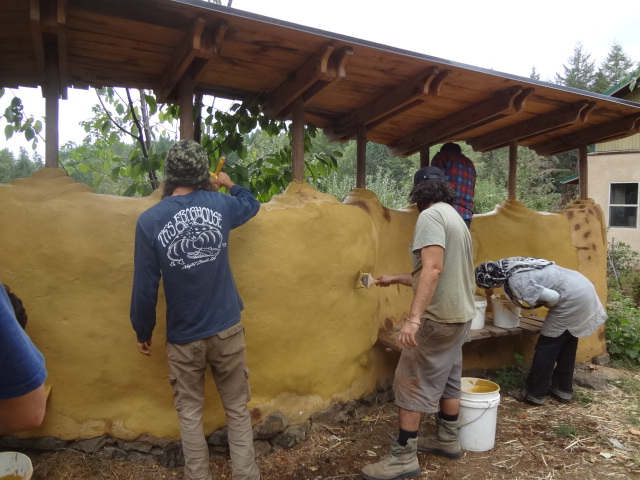
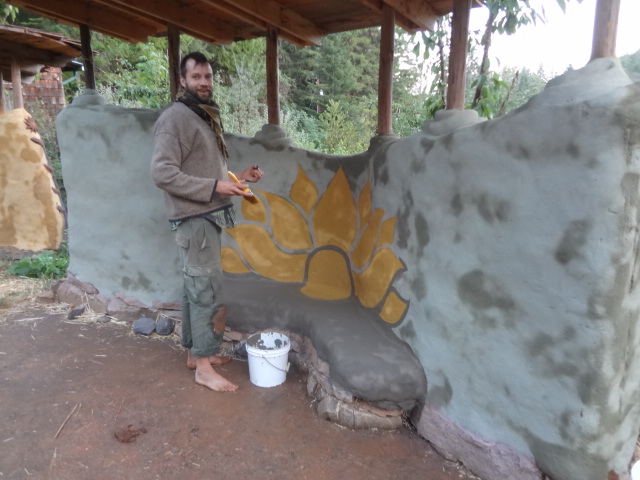
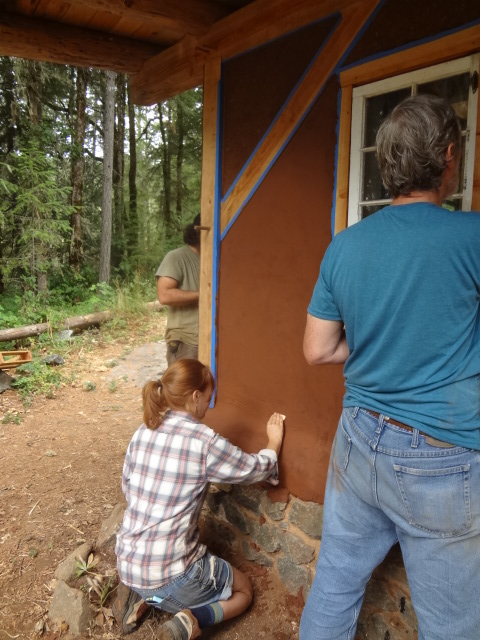
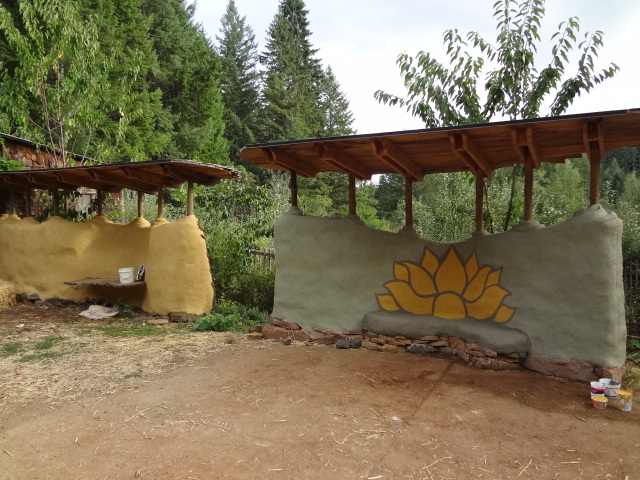
Painting an outdoor cob wall with the aliz
Earth plasters can be applied over conventional walls. You’d need to first prime the wall (using a primer mixed with 60 mesh fines would be ok). Aliz could also be applied over a conventional wall that is primed. Some folks have raised a question about whether the wheat paste in an aliz may be food for insects. Need to look into that further!
Lime Plasters
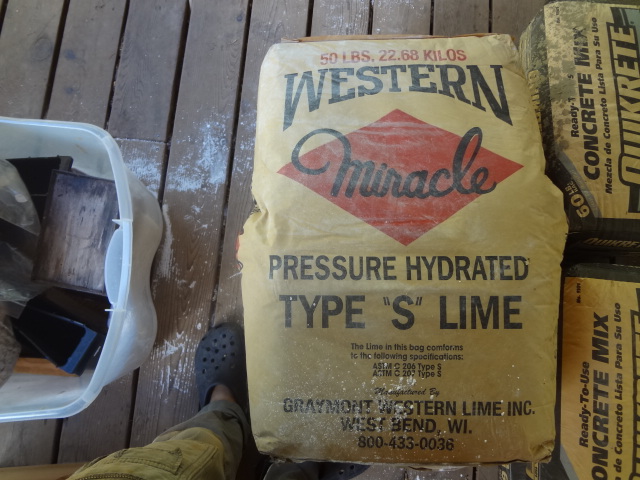
We applied a lime plaster to a wall on campus, in a room designated as a future kitchen area. The wall had received a prior layer of lime plaster several years ago but it was not in good shape, so we decided to put on another coat. We scarred the walls with a metal tool to create better mechanical connection between layers and then moistened the wall with water. The lime plaster was a mix of lime putty (50lb bag of pressure-hydrated type S lime mixed with 10 gallons of water) and sand and elk hair, in a ratio of 1:3:0.5. (the fiber portion can be up to 0.5 of a part. We used a bit less than that of the elk hair.) You could use other fiber; we used elk hair because we had a bunch of it on hand.
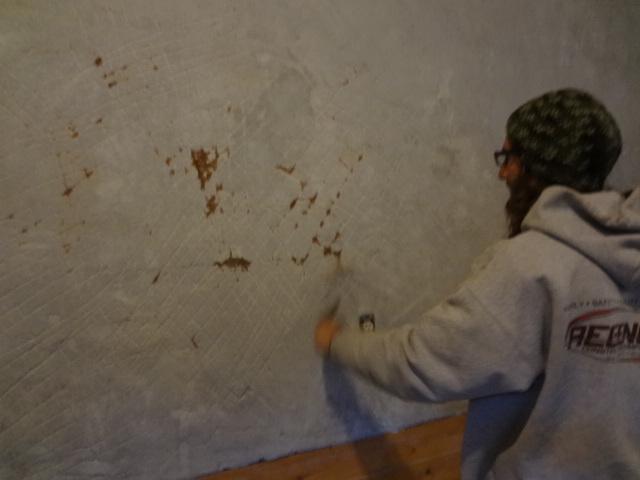
Scarring the old coat of lime plaster
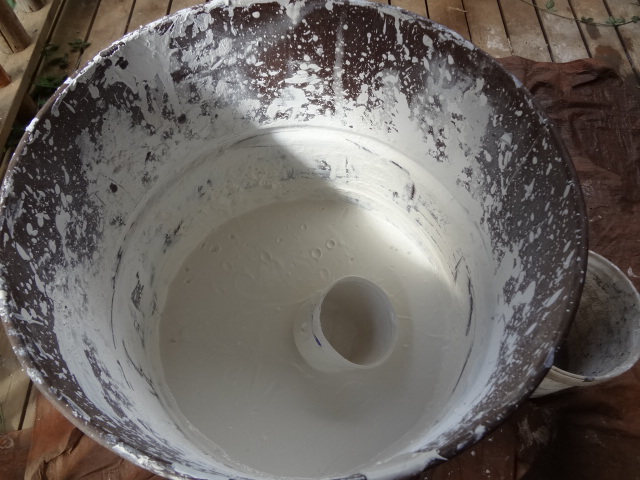
Lime putty (lime + water)
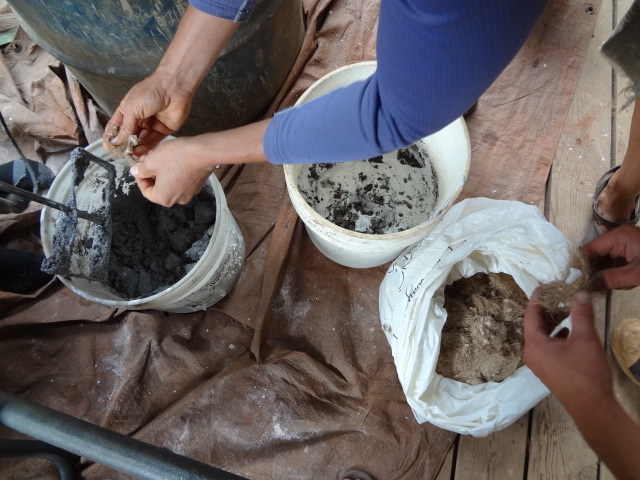
Combining lime putty, sand, and elk hair.
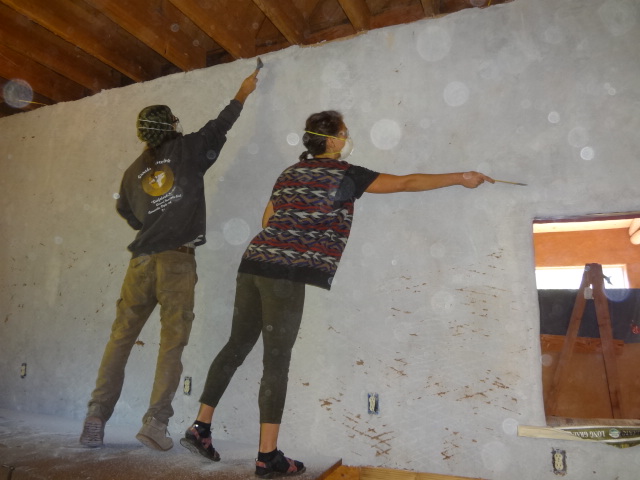
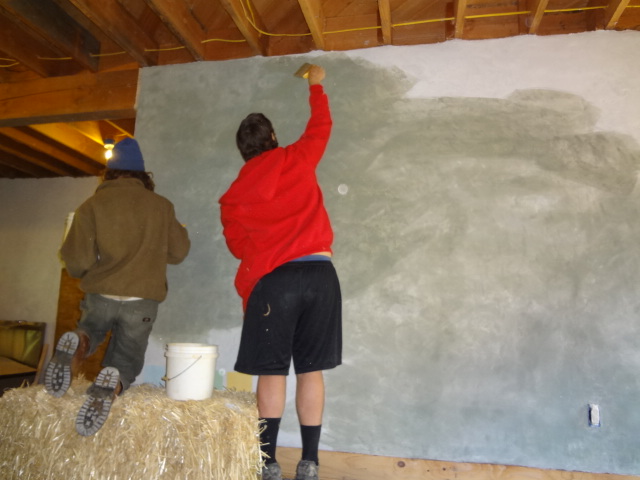
Applying a fresh lime plaster
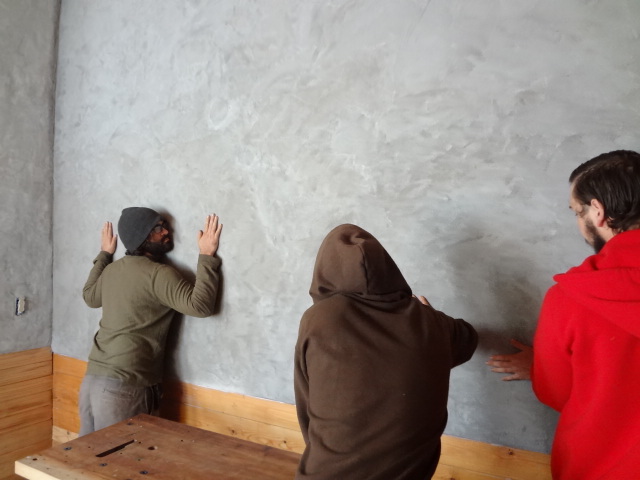
Feeling the wall the next day
To add some color to your lime wall, you can create and apply a lime wash, by diluting the lime putty with water, 1:4. We made a very light color of blue and green, which someone aptly named “sky foam”.
Lime wash. It dries much lighter than it goes on.
Tadelakt
Tadelakt is a Moroccan tradition of highly polishing a lime surface into a glossy water resistant state by rubbing olive oil into it with a stone.

Tadelakt circle
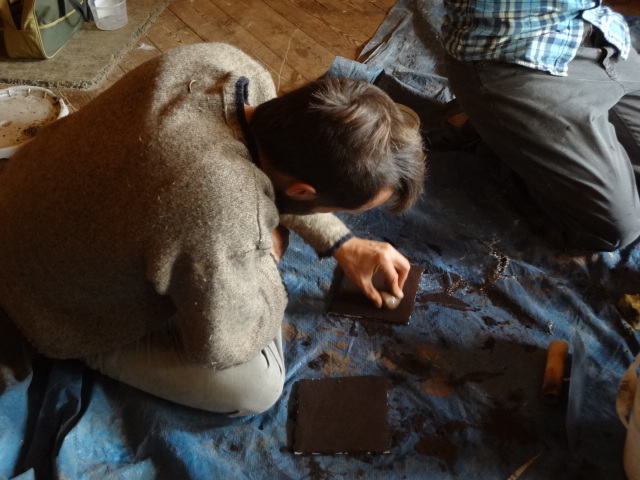
Rubbing olive soap into the lime plaster with a stone. For a loooong time
Probably not near as shiny as it could be…
Natural plasters have been used in construction for thousands of years. However, you make a great point about how the moisture of a room or environment can influence the type of plaster you will use to ensure that it stands the test of time. It is also important that it is applied properly, and it looks like you have some people that are plasterers to guide all of the volunteers and workers. Thanks for sharing your project with us.
Thanks for your comment, Alex. Hope you found something useful and interesting in the post.